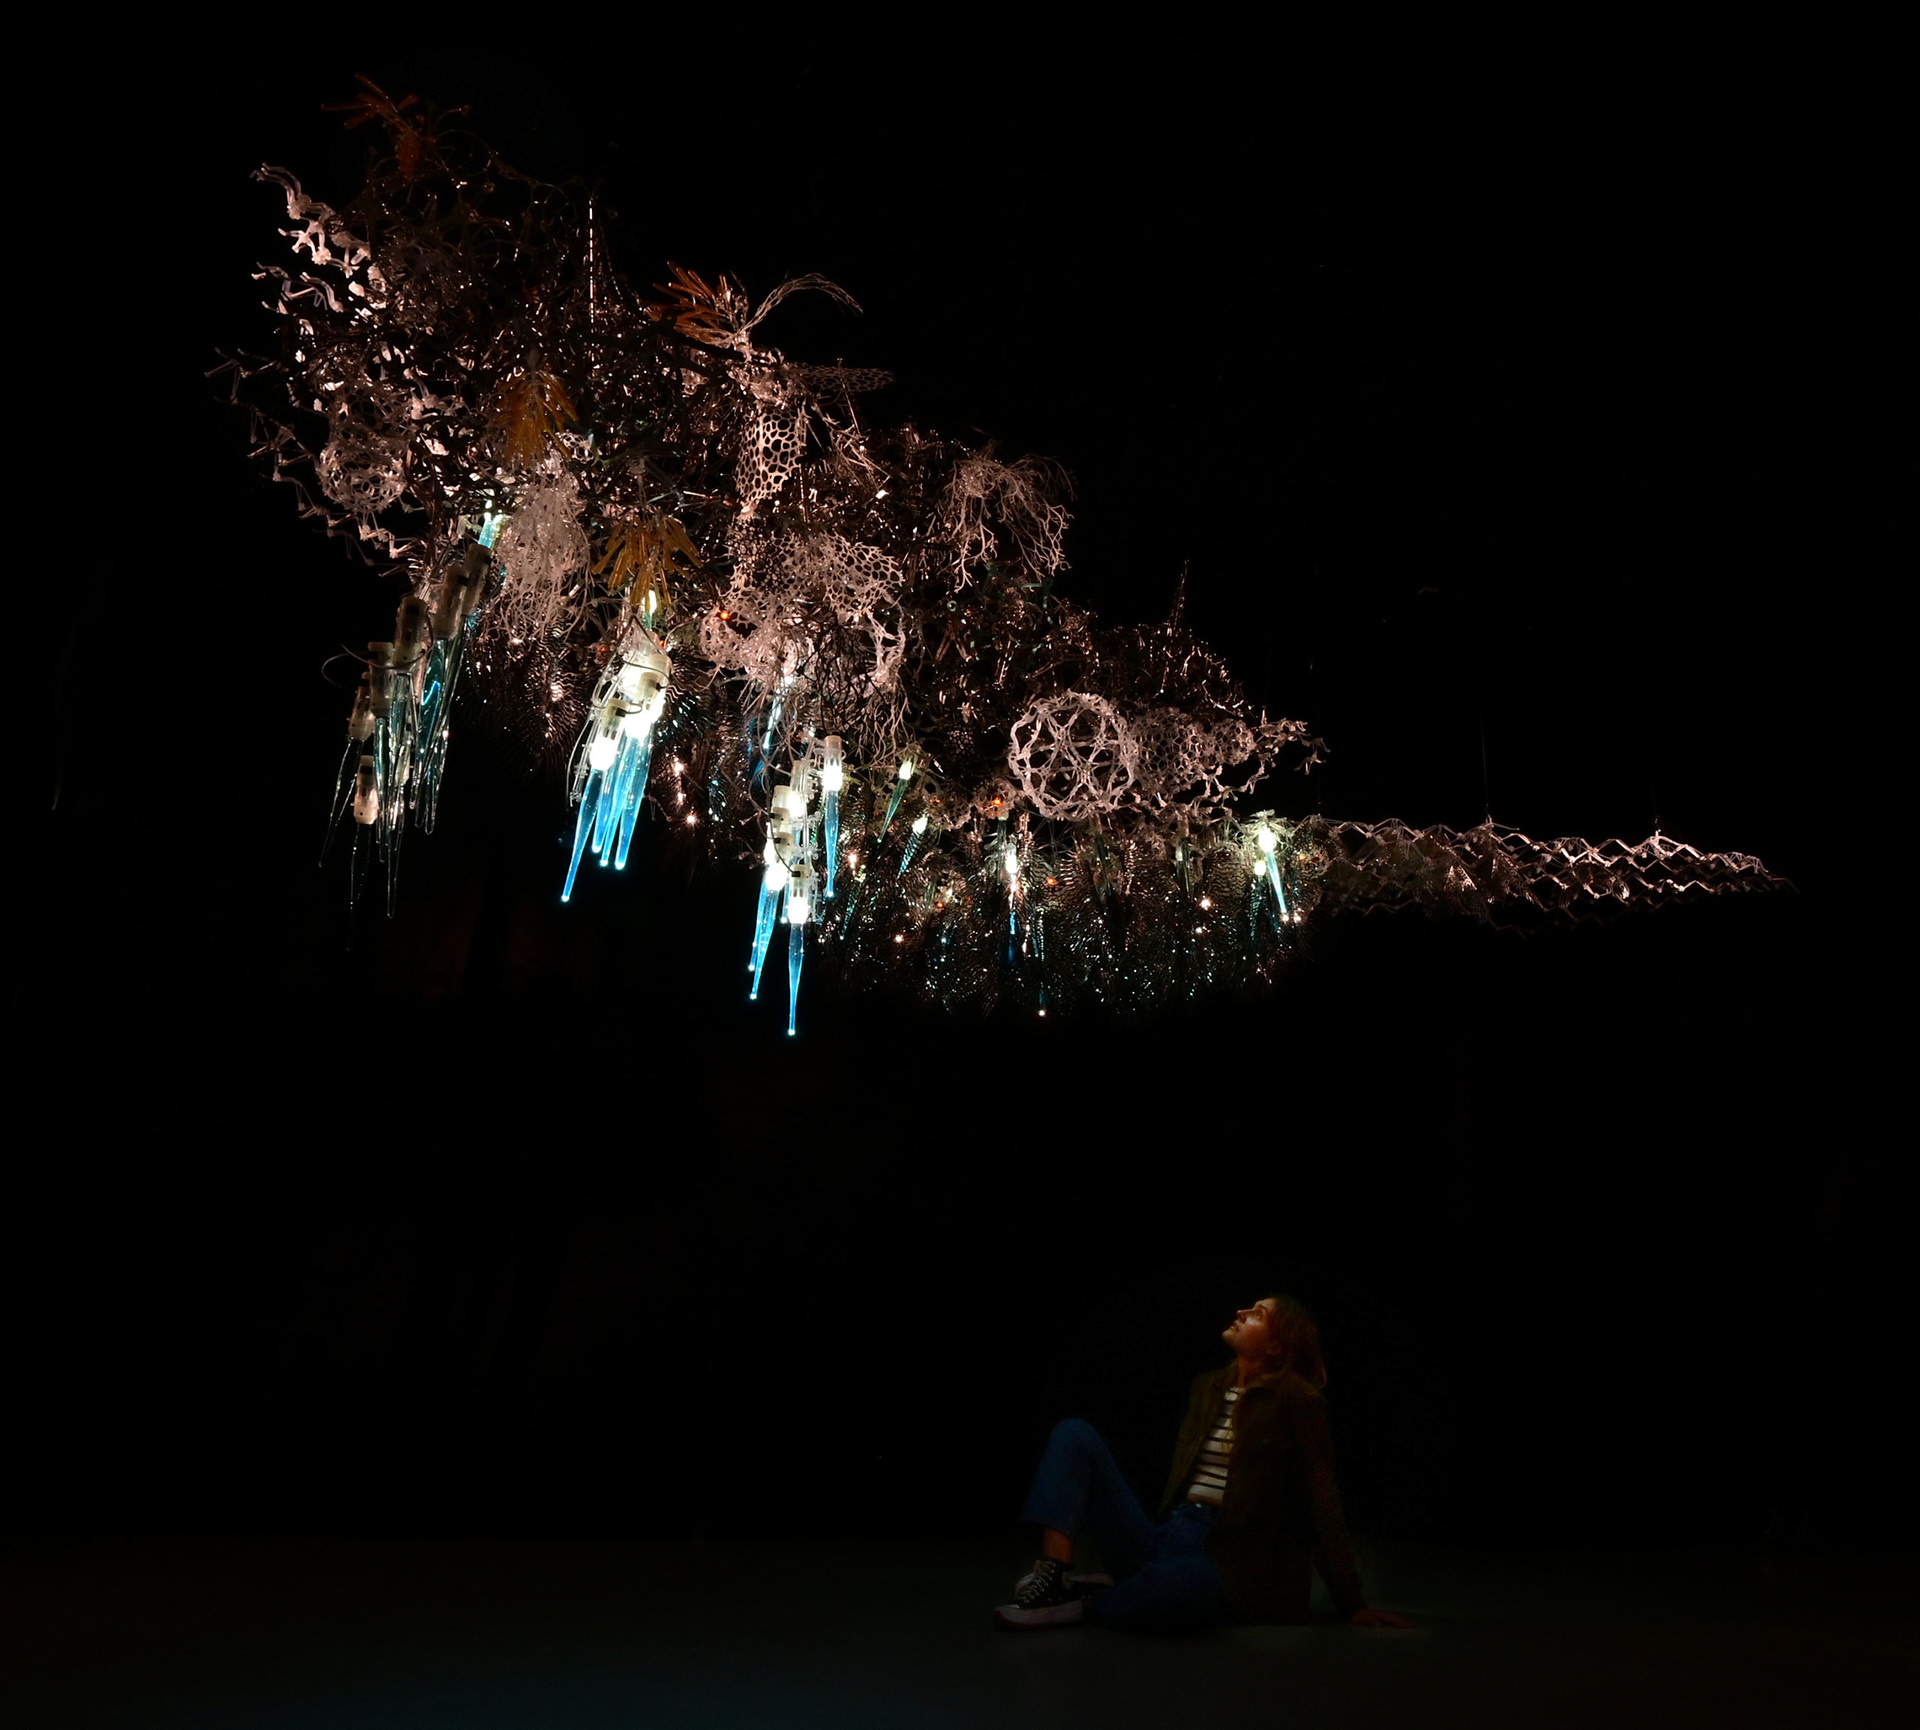
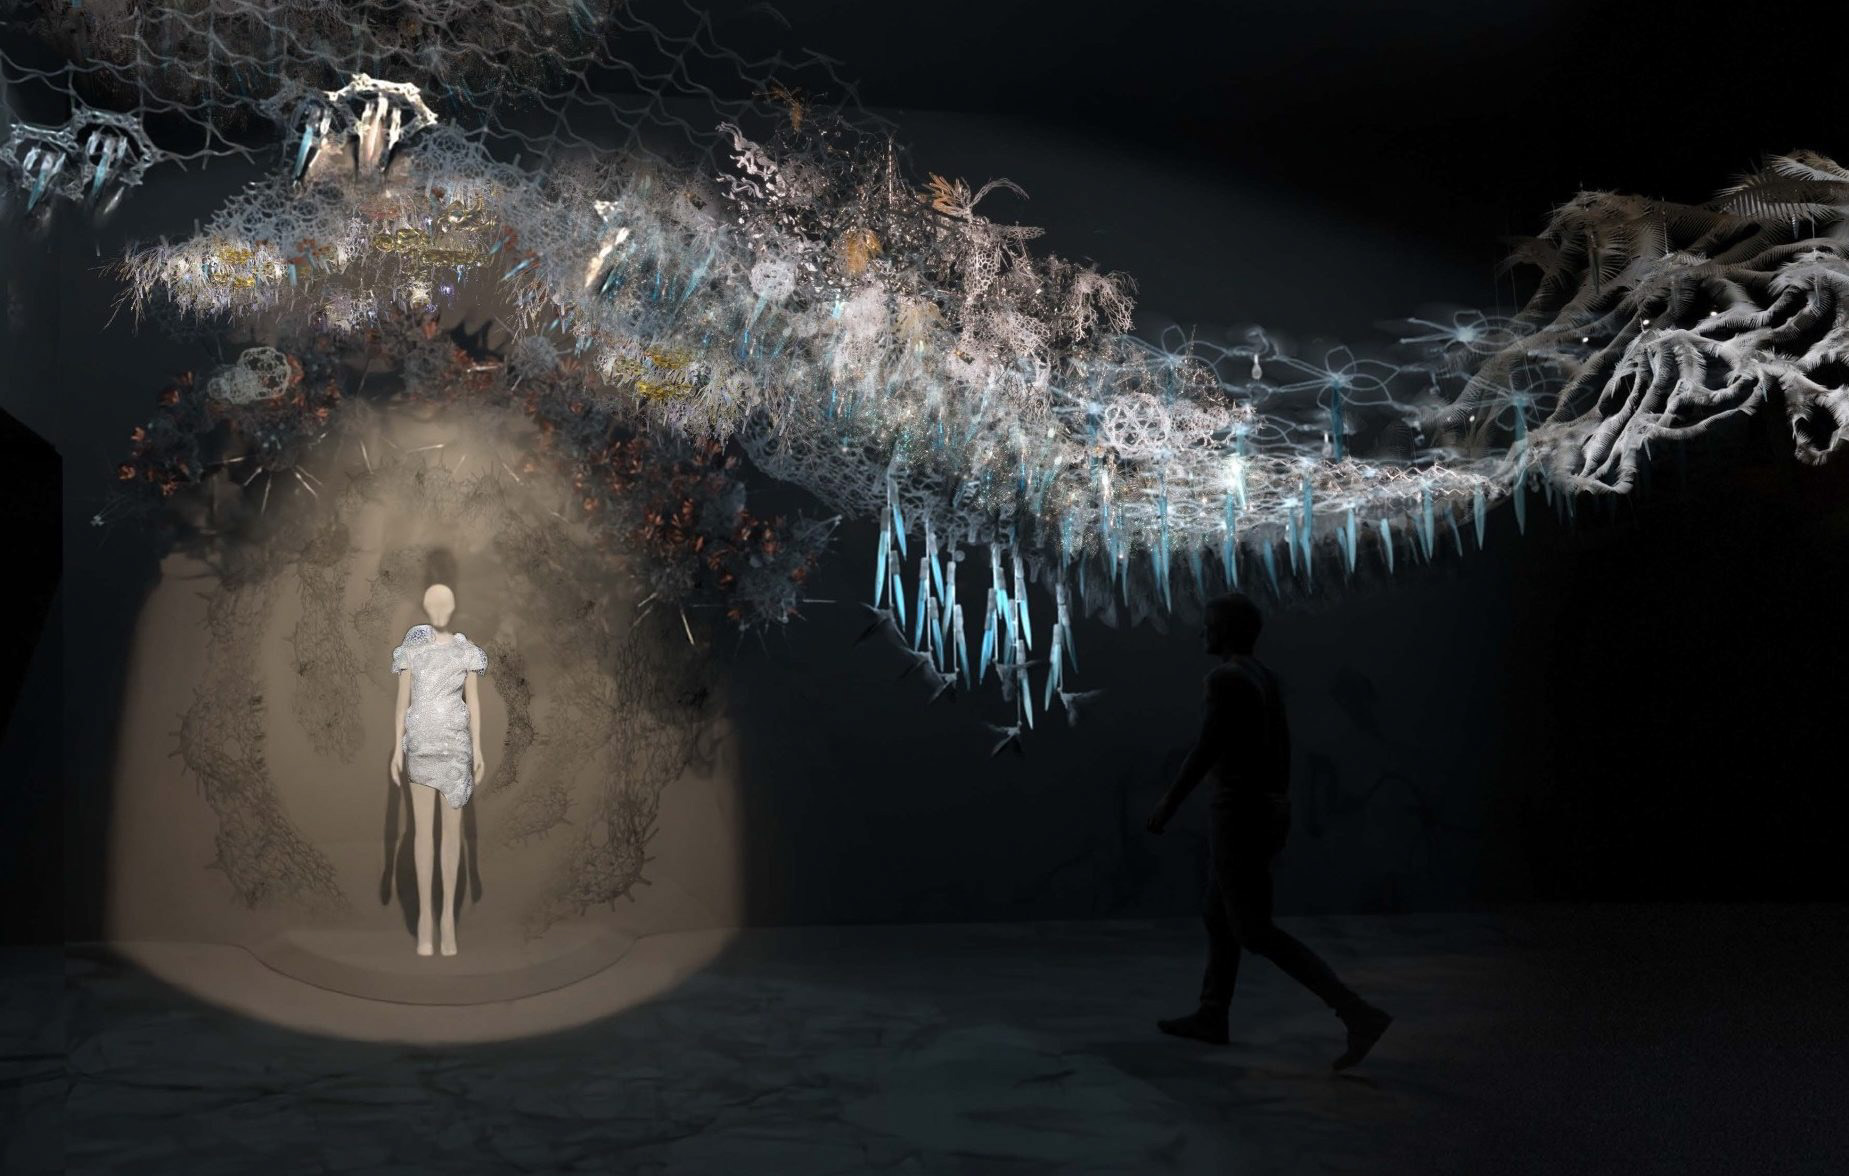
*Not my render* Concept Image for Poietic Veil Installation at the Tilburg Textile Museum
Overview
Philip Beesley Studio/Living Architecture Systems Group is an interdisciplinary studio creating interactive art installations, focusing on the intersection between architectural space, people, and technology. Led by renowned Canadian architect and artist Philip Beesley, they produce works for clients all over the world.
In my role as Industrial Design Intern I designed parts for integration into sculptural works. These included mounts and encapsulating parts for electronics, along with more aesthetically focused 'dressing' pieces to coat the structural scaffold of the sculptures.
I worked on site at the LASG/PBSI studio in Toronto, Canada for a period of 8 weeks from July to August 2023. I was the only team member with an industrial design background, working mostly with architects and some engineers.
My Role: Designing, prototyping, and testing parts, creating technical drawings, and assisting in production.
Tools: Fusion360, Rhino 7, Adobe Illustrator, FormLabs Resin Printers, Prusa 3D Printers, Laser Cutters, Procreate,
Skills: Design for manufacturing, interdisciplinary teamwork, rapid prototyping, sketching
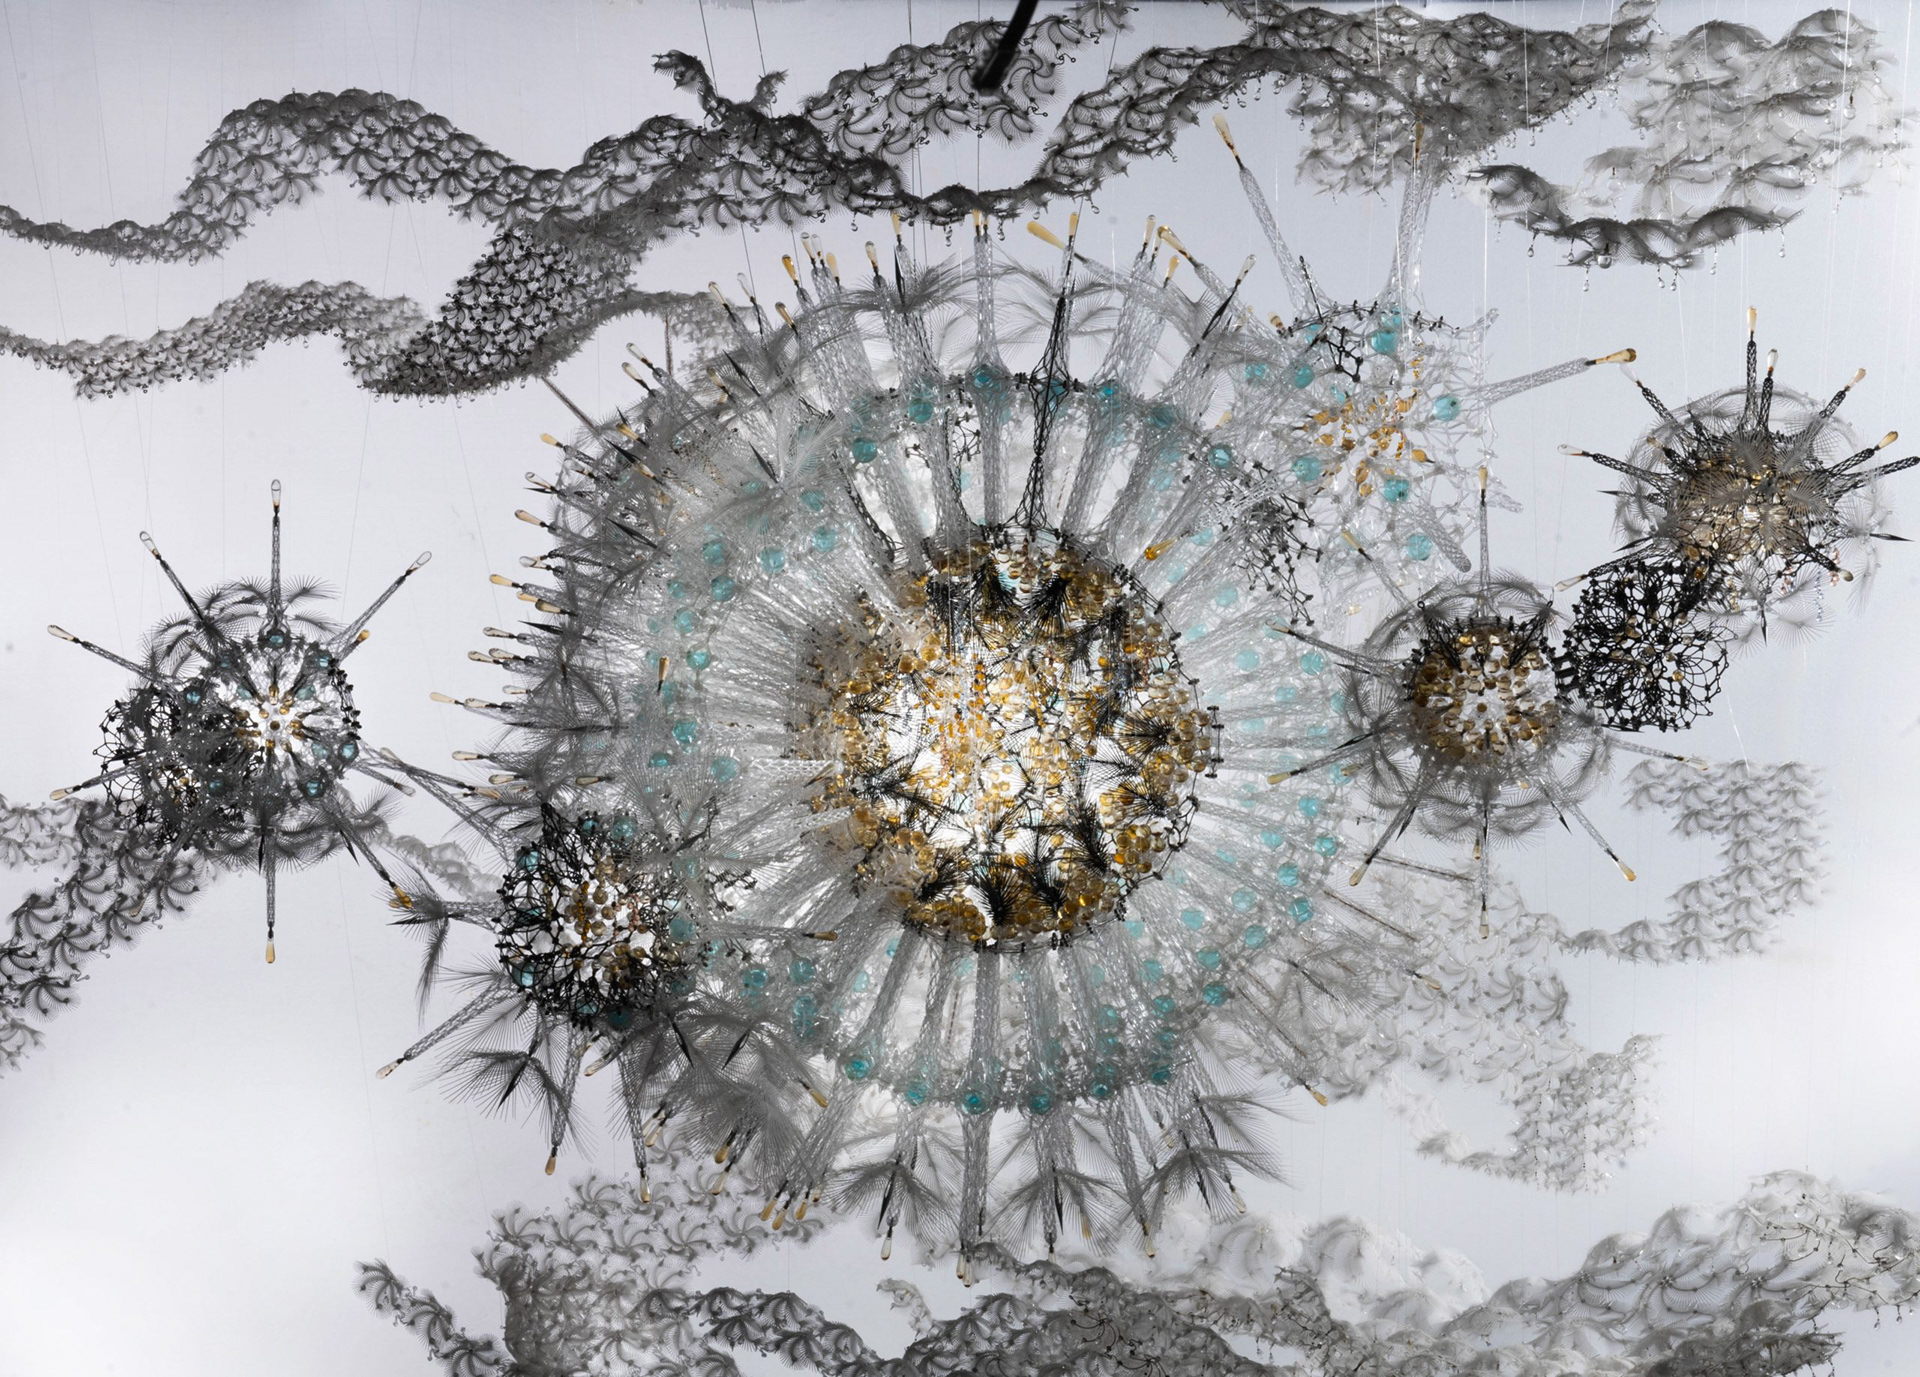
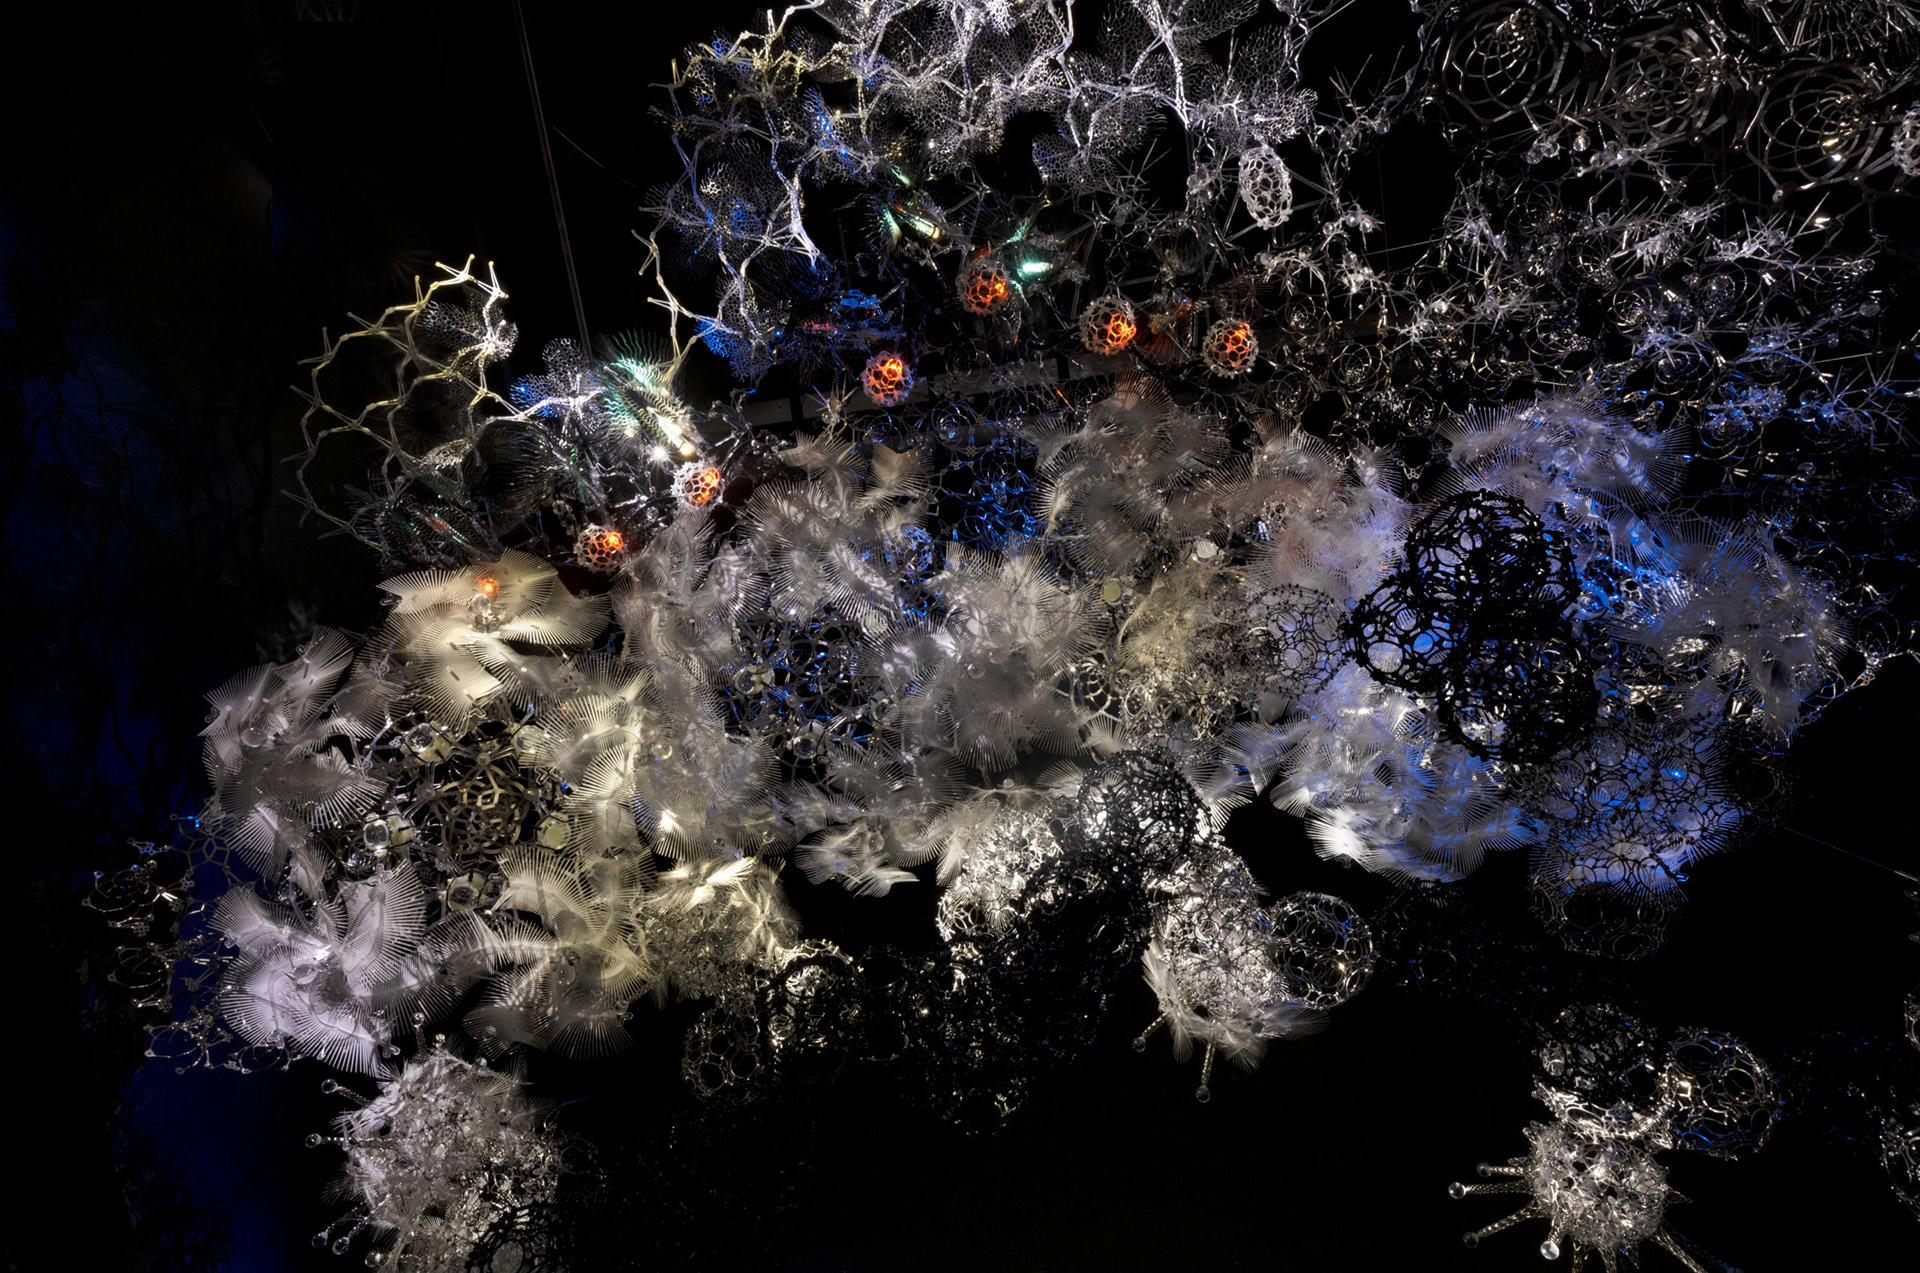
Work Examples from PBSI/LASG
The Big Picture: Tilburg Poietic Veil
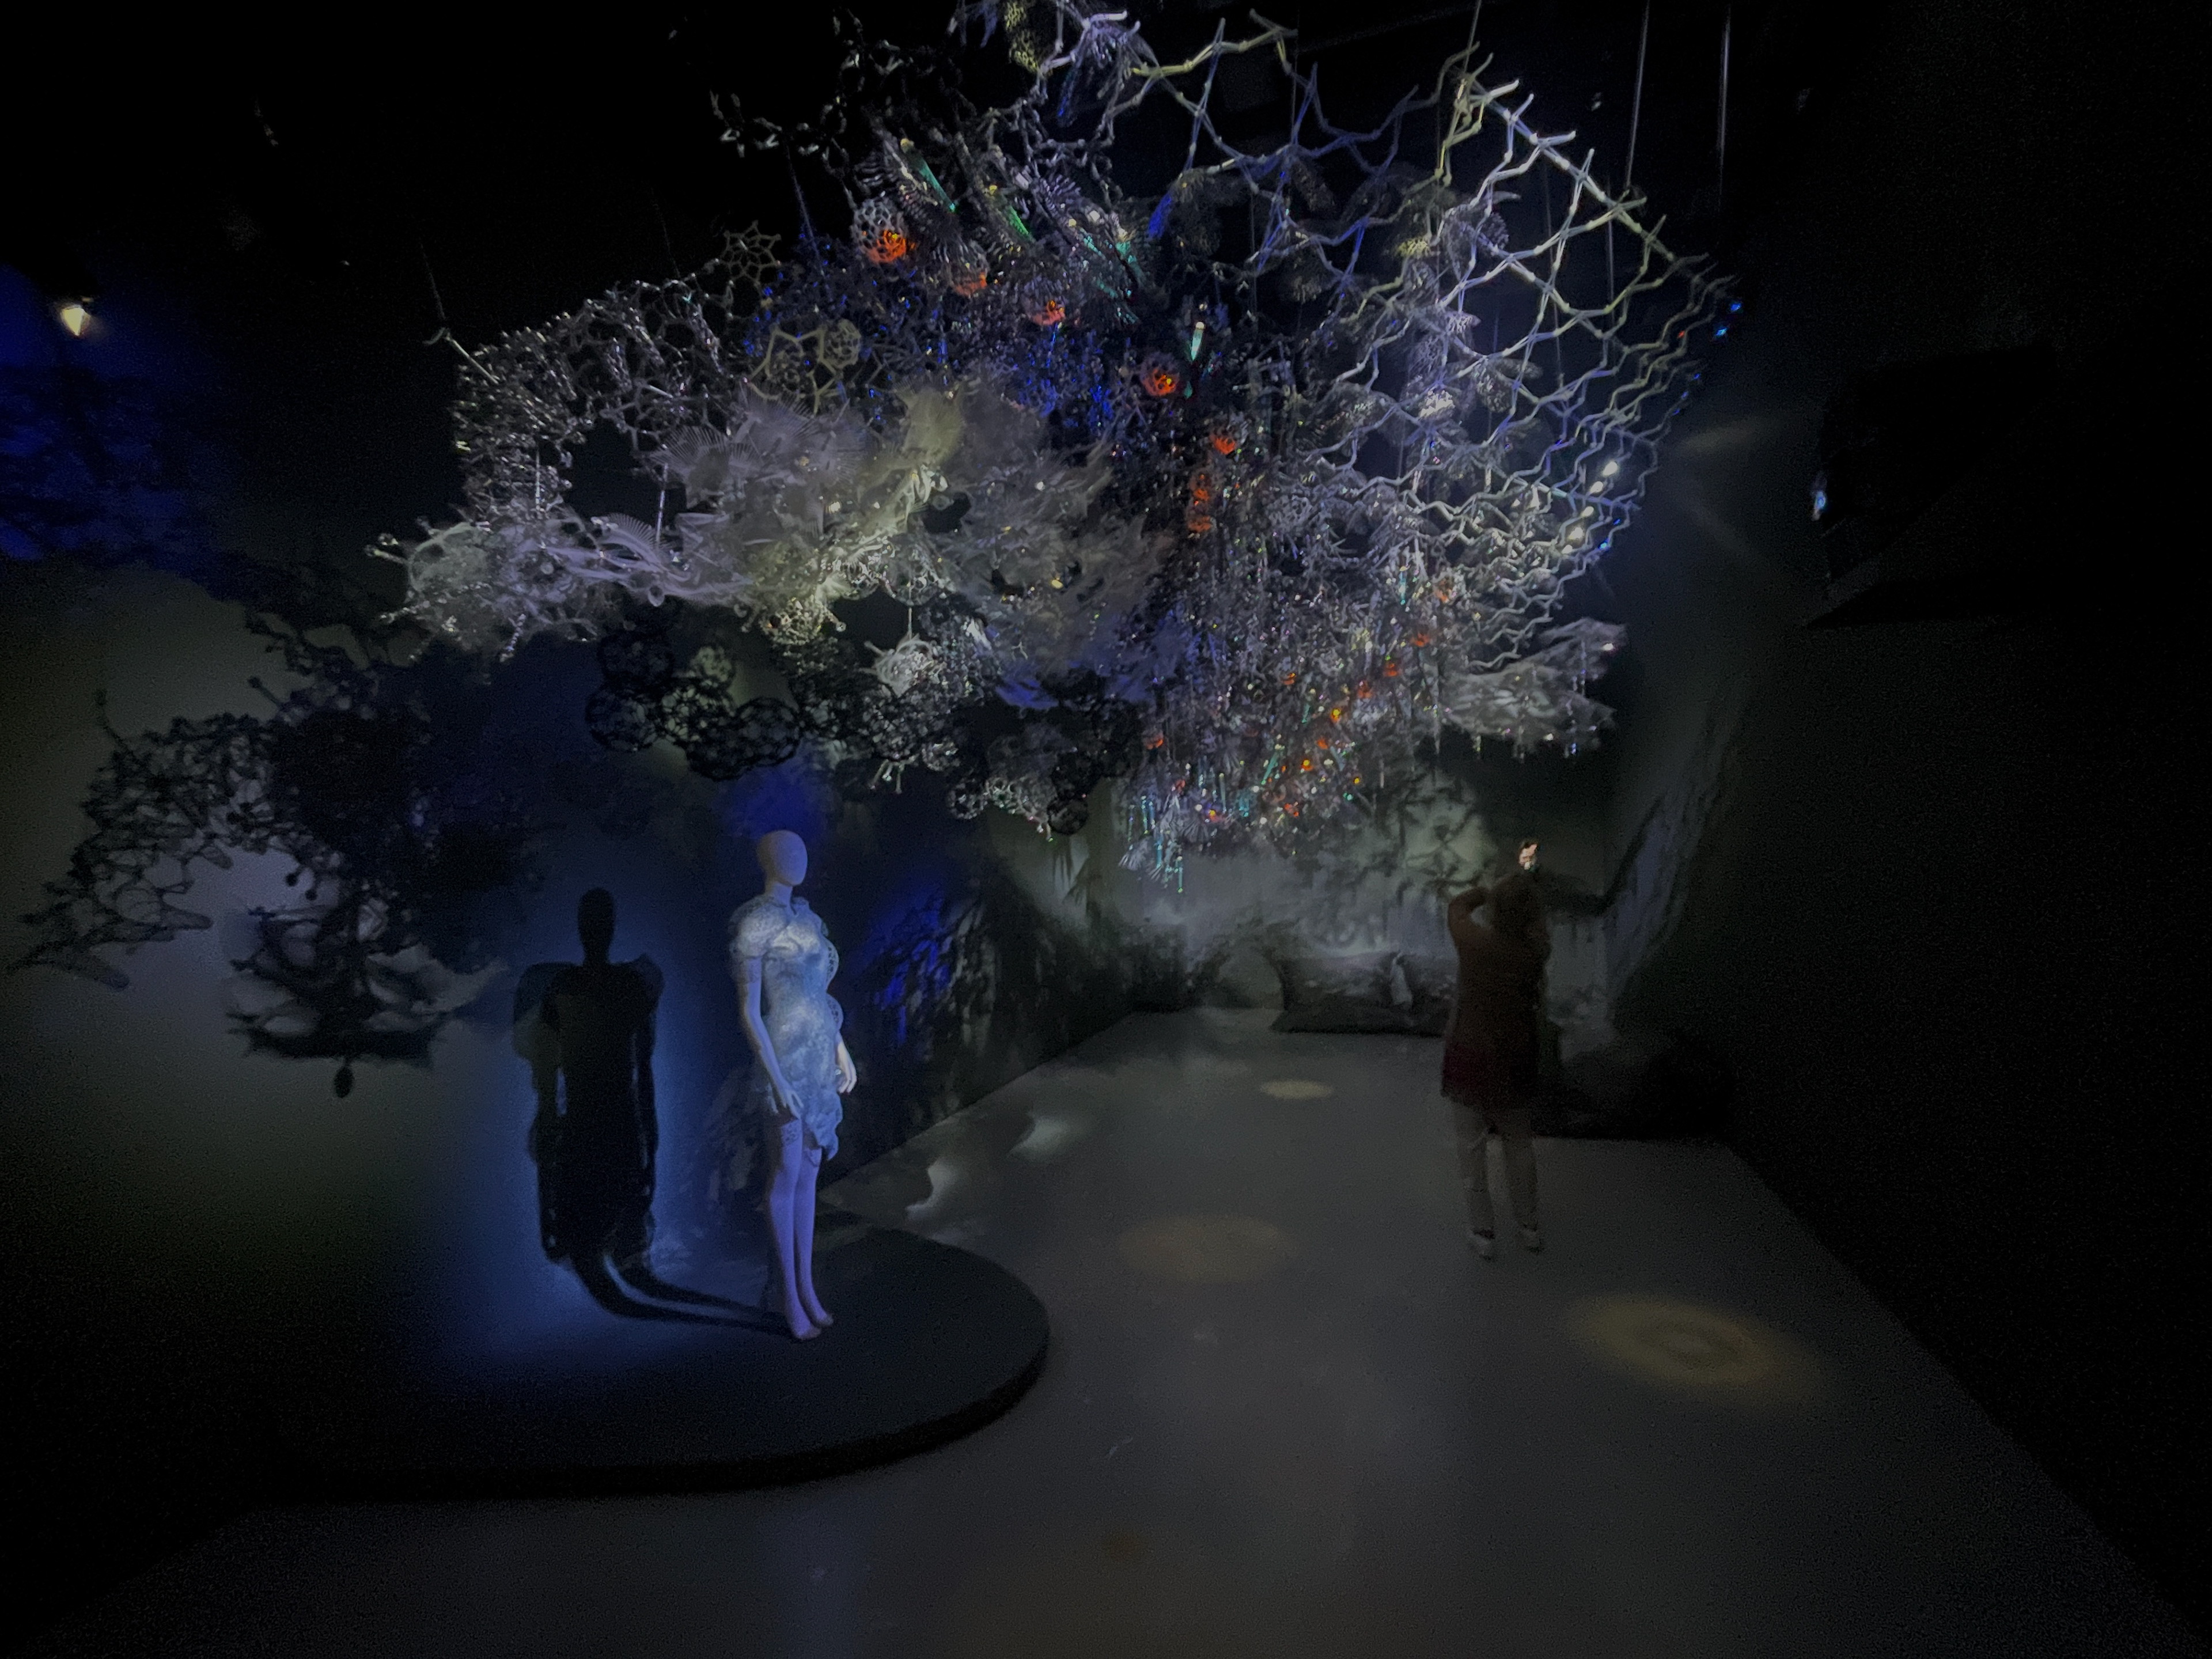
Part of a project which will cumulate with a permanent installation in the TU Delft Science Centre, the installation in Tilburg, NL at the Tilburg Textile Museum is the second iteration after the first prototype in Delft (which I worked on during the LASG + Interactive Environments Minor workshop November 2022). As part of the "Is It Alive" exhibit in Tilburg, the work uses light, sound, artificial shadows, trilling fronds, and a complex storm-like algorithm to create a responsive veil that hangs over visitors, making them question if it really might be alive.
With this overarching experience in mind, my job was merely to design small parts. However, these parts had to fit into the aesthetic experience of the work and properly facilitate interactive behavior. In one case, a part I designed even allowed for a whole new behavior.
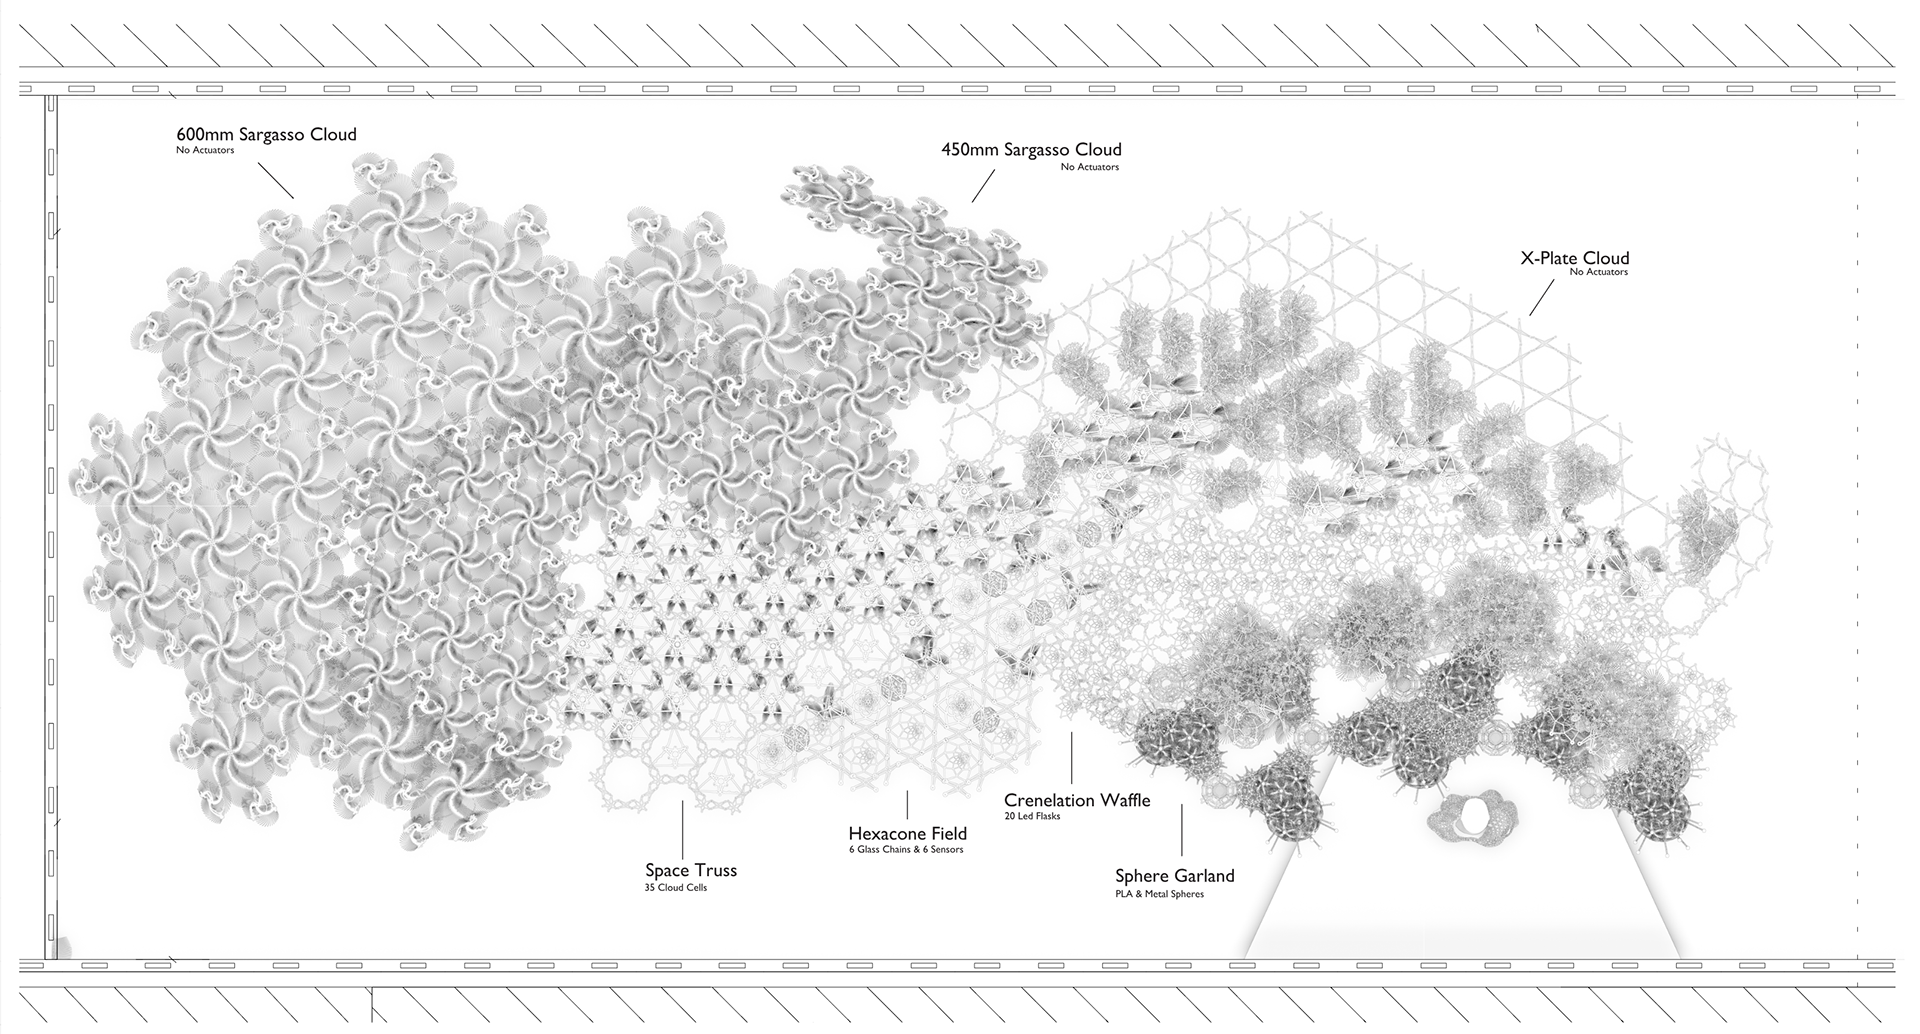
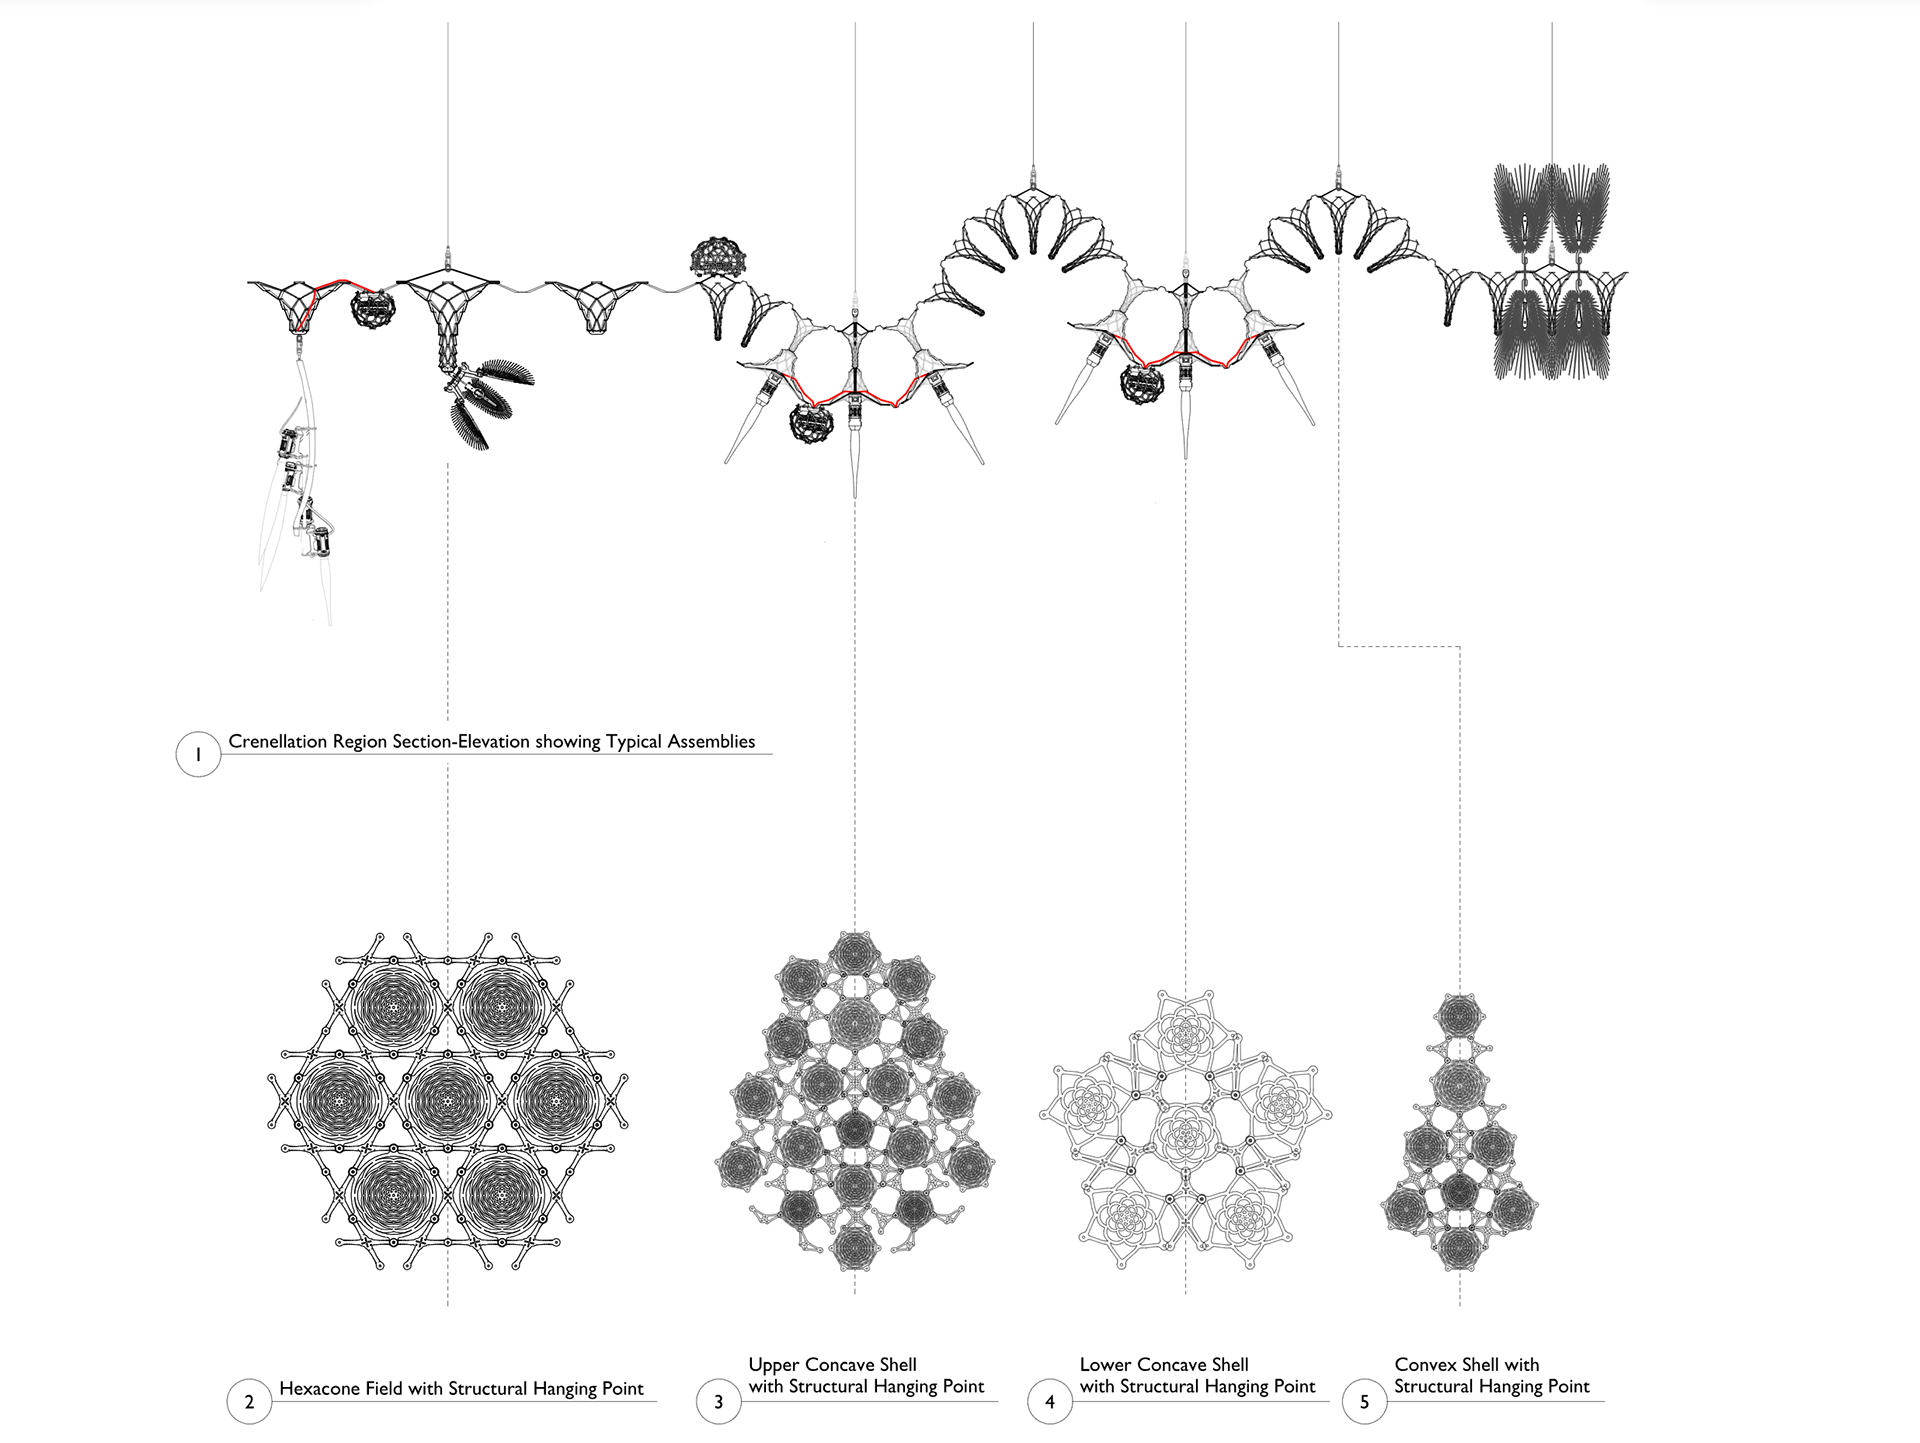
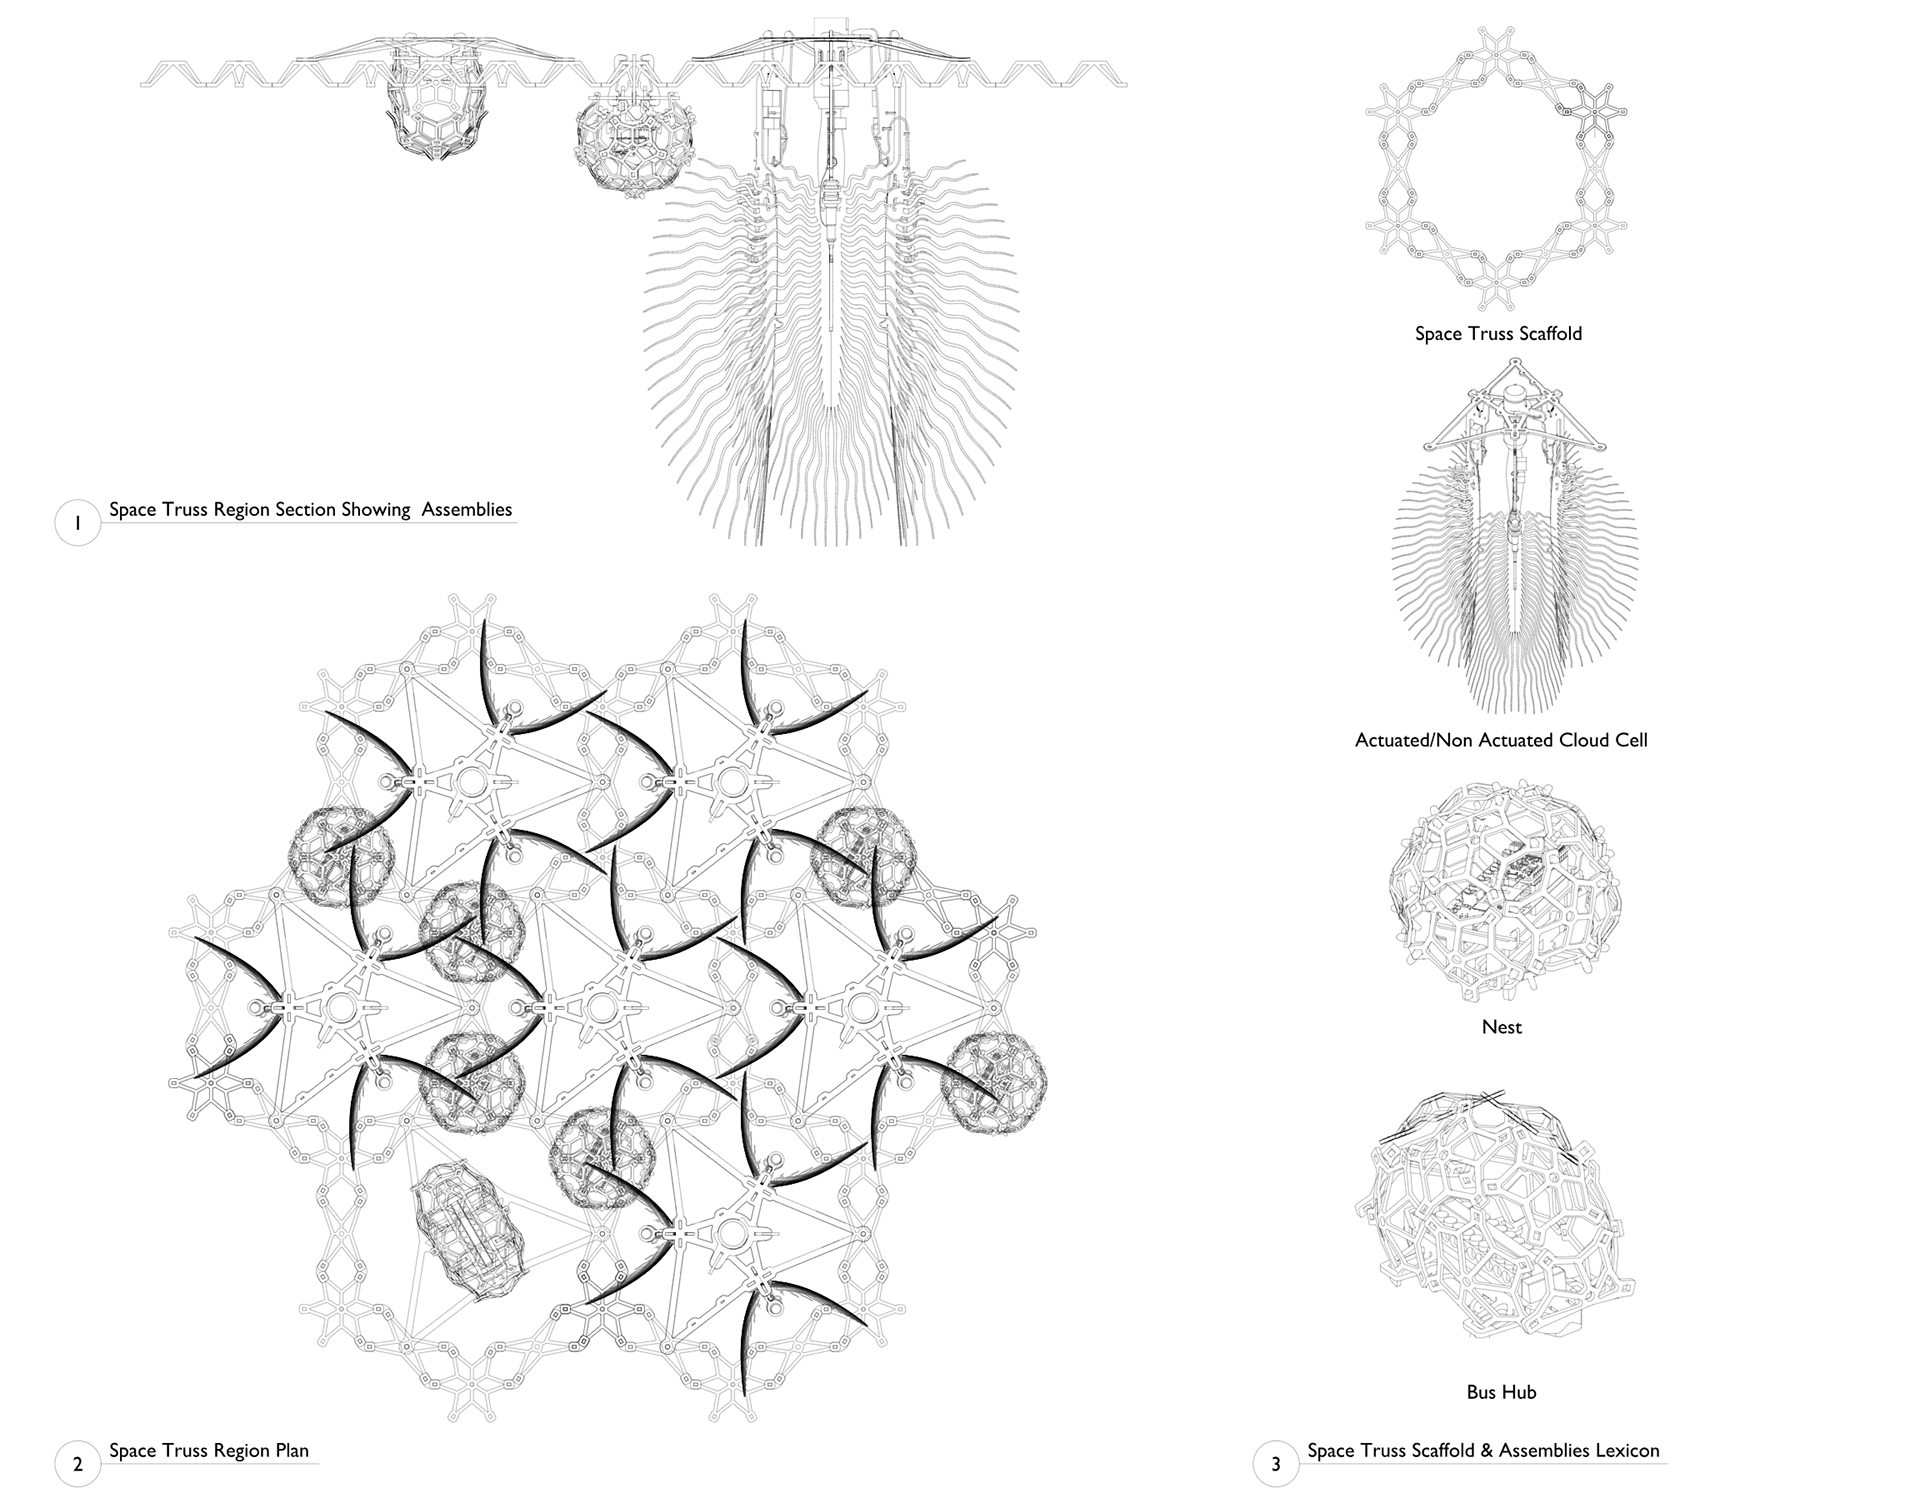
Included are some images that show the final result as was exhibited in Tilburg and some drawings to give a spatial context to my work that follows.
My Results
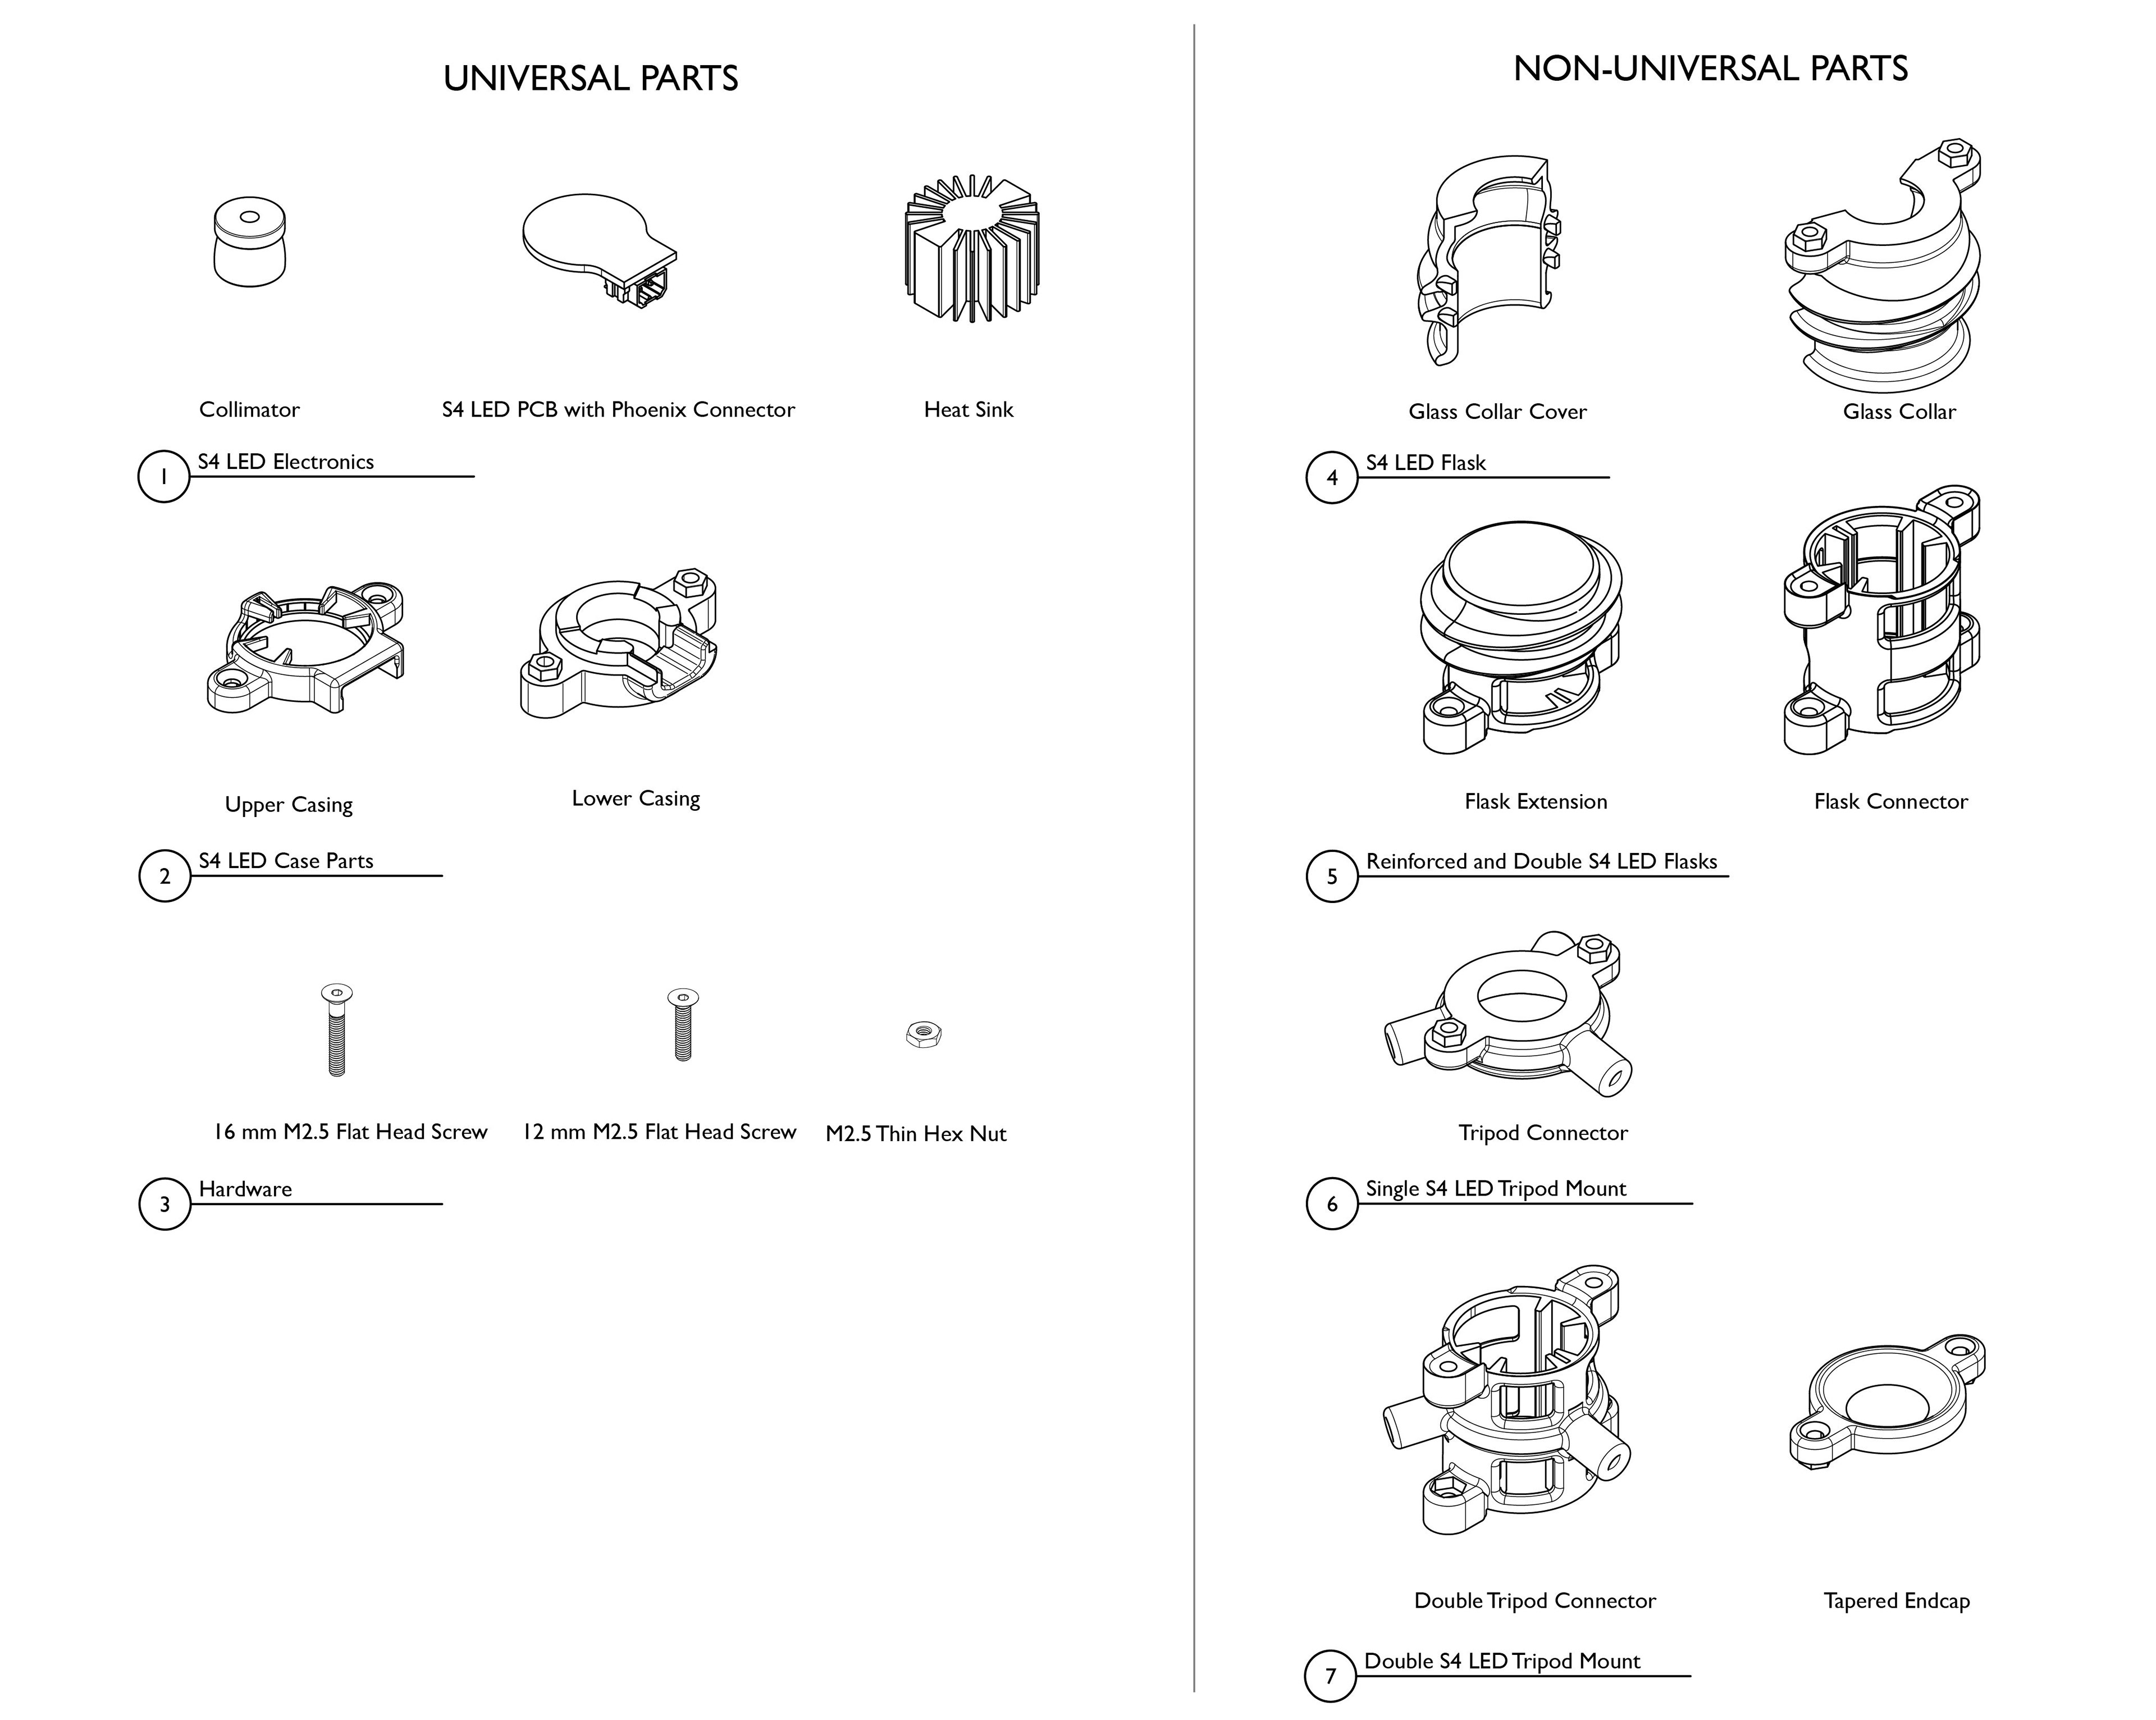
Parts Library v1
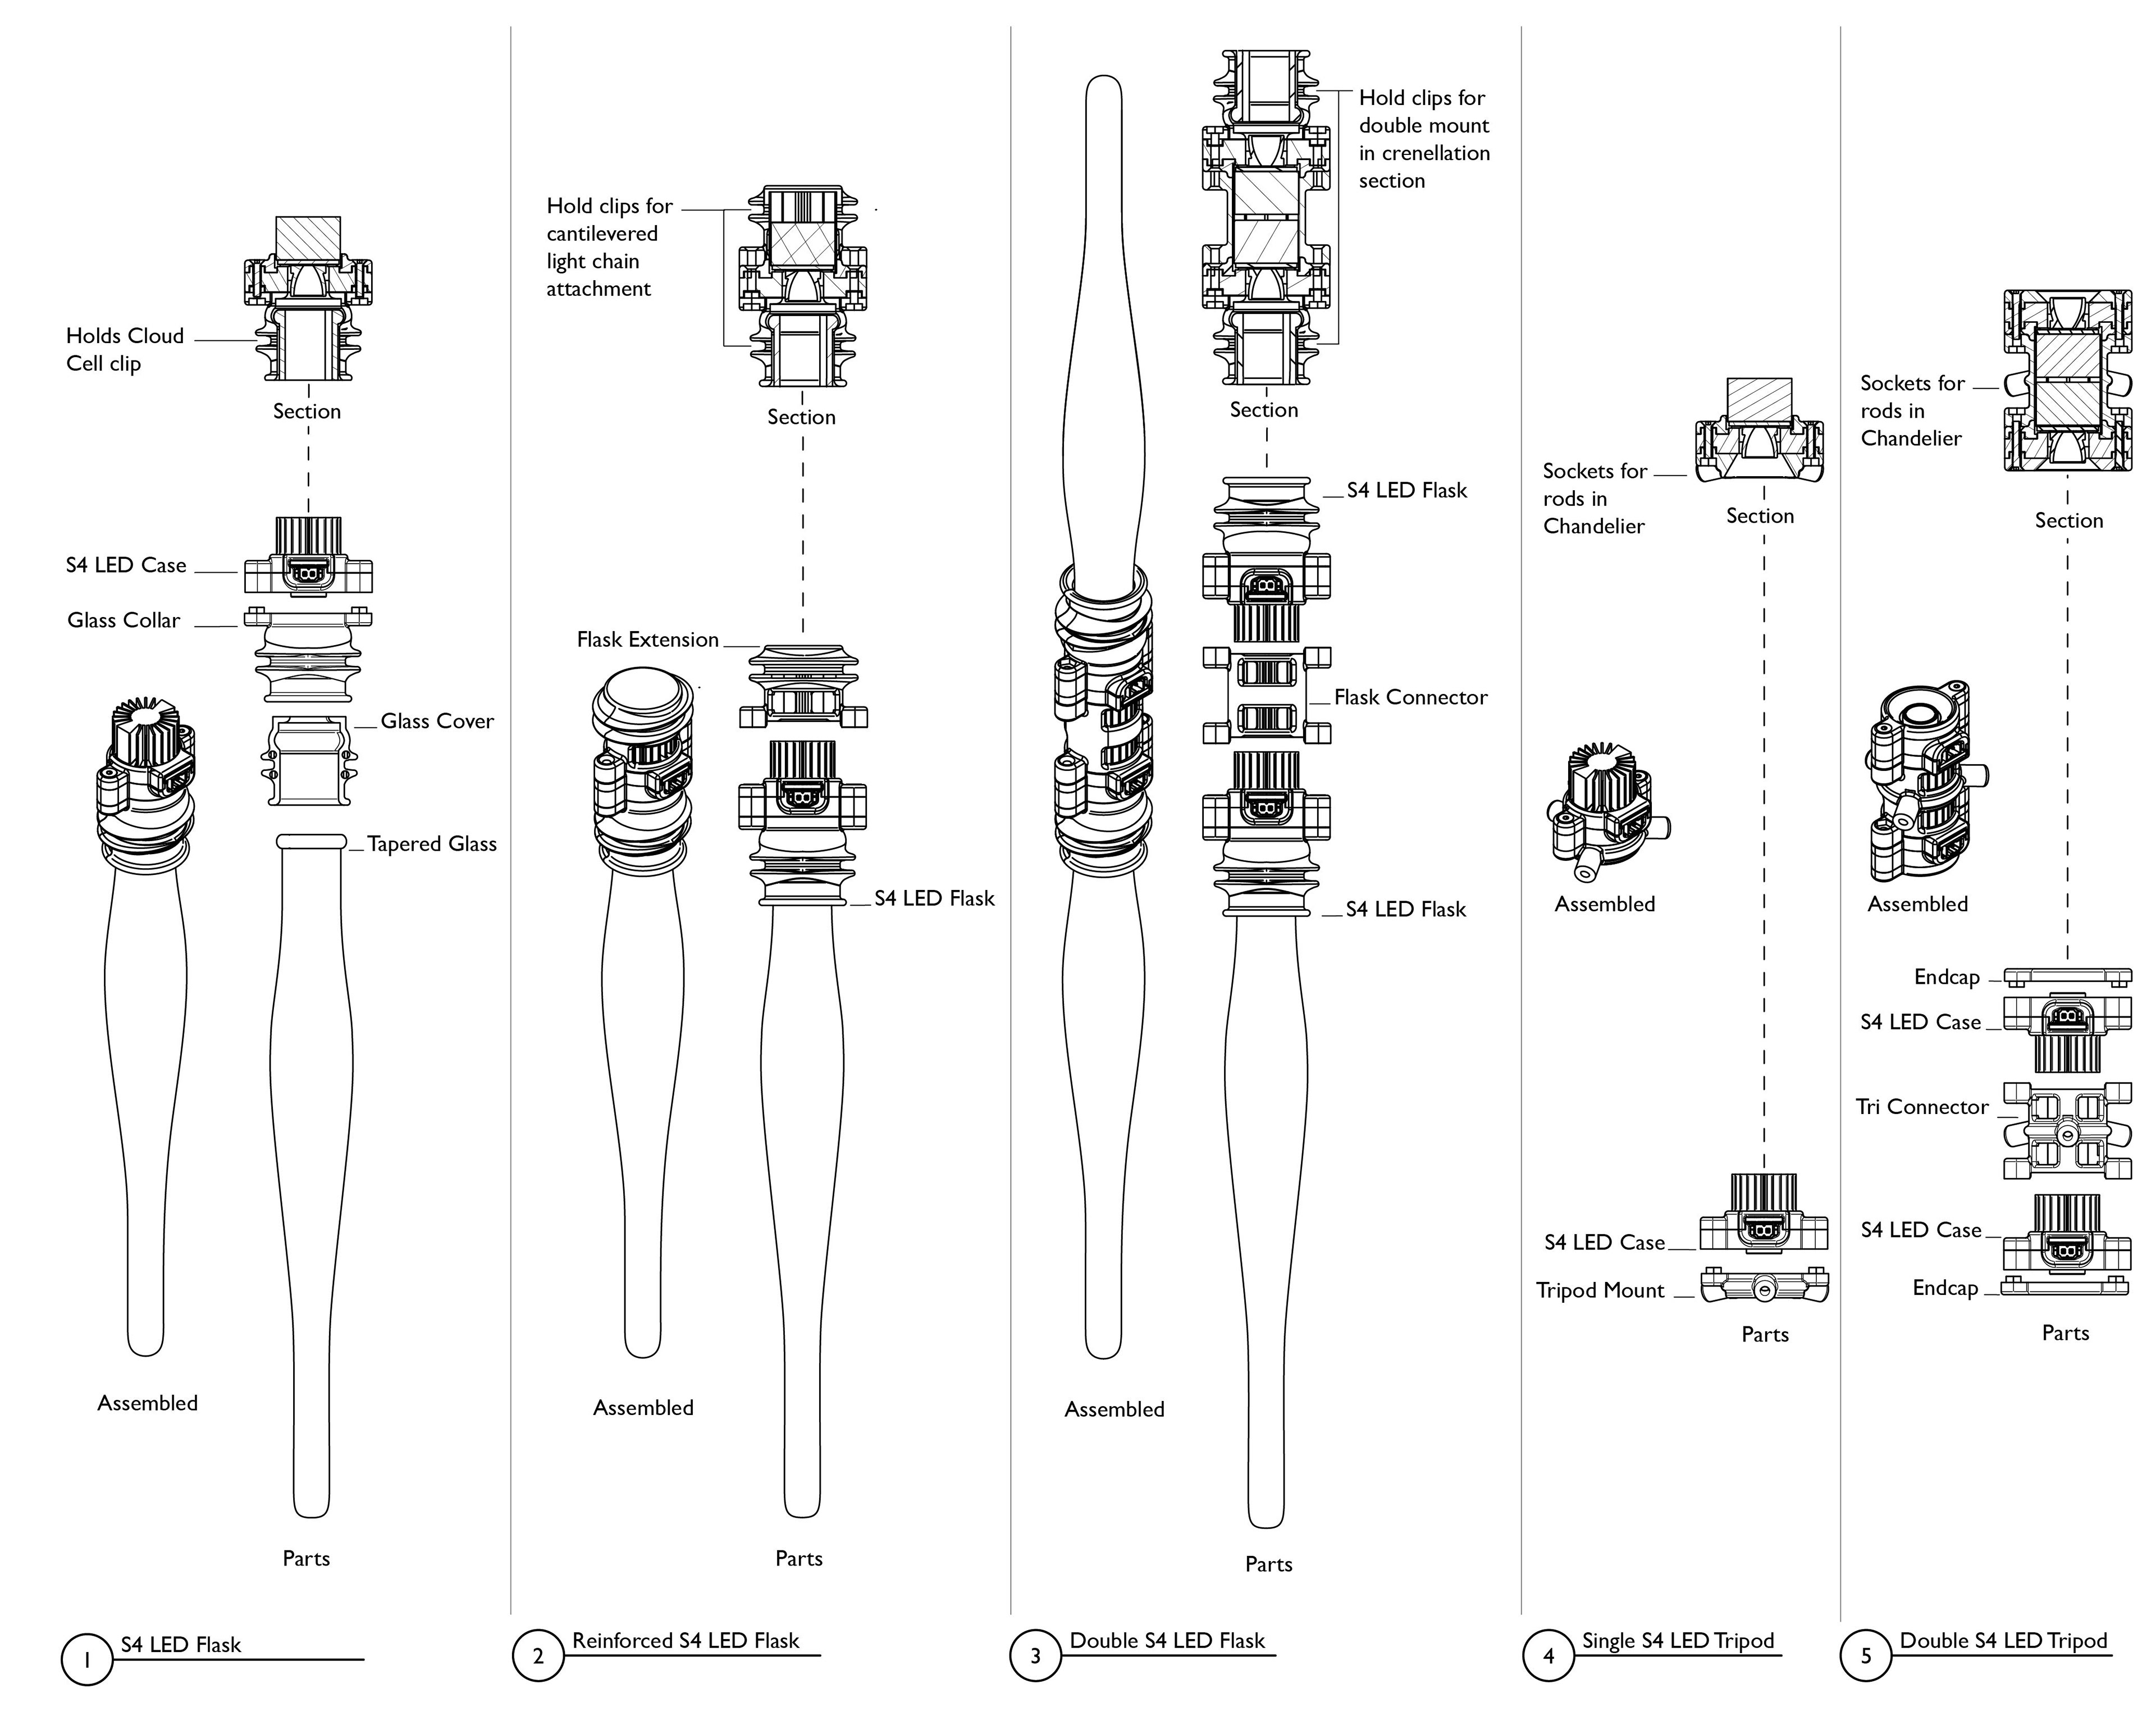
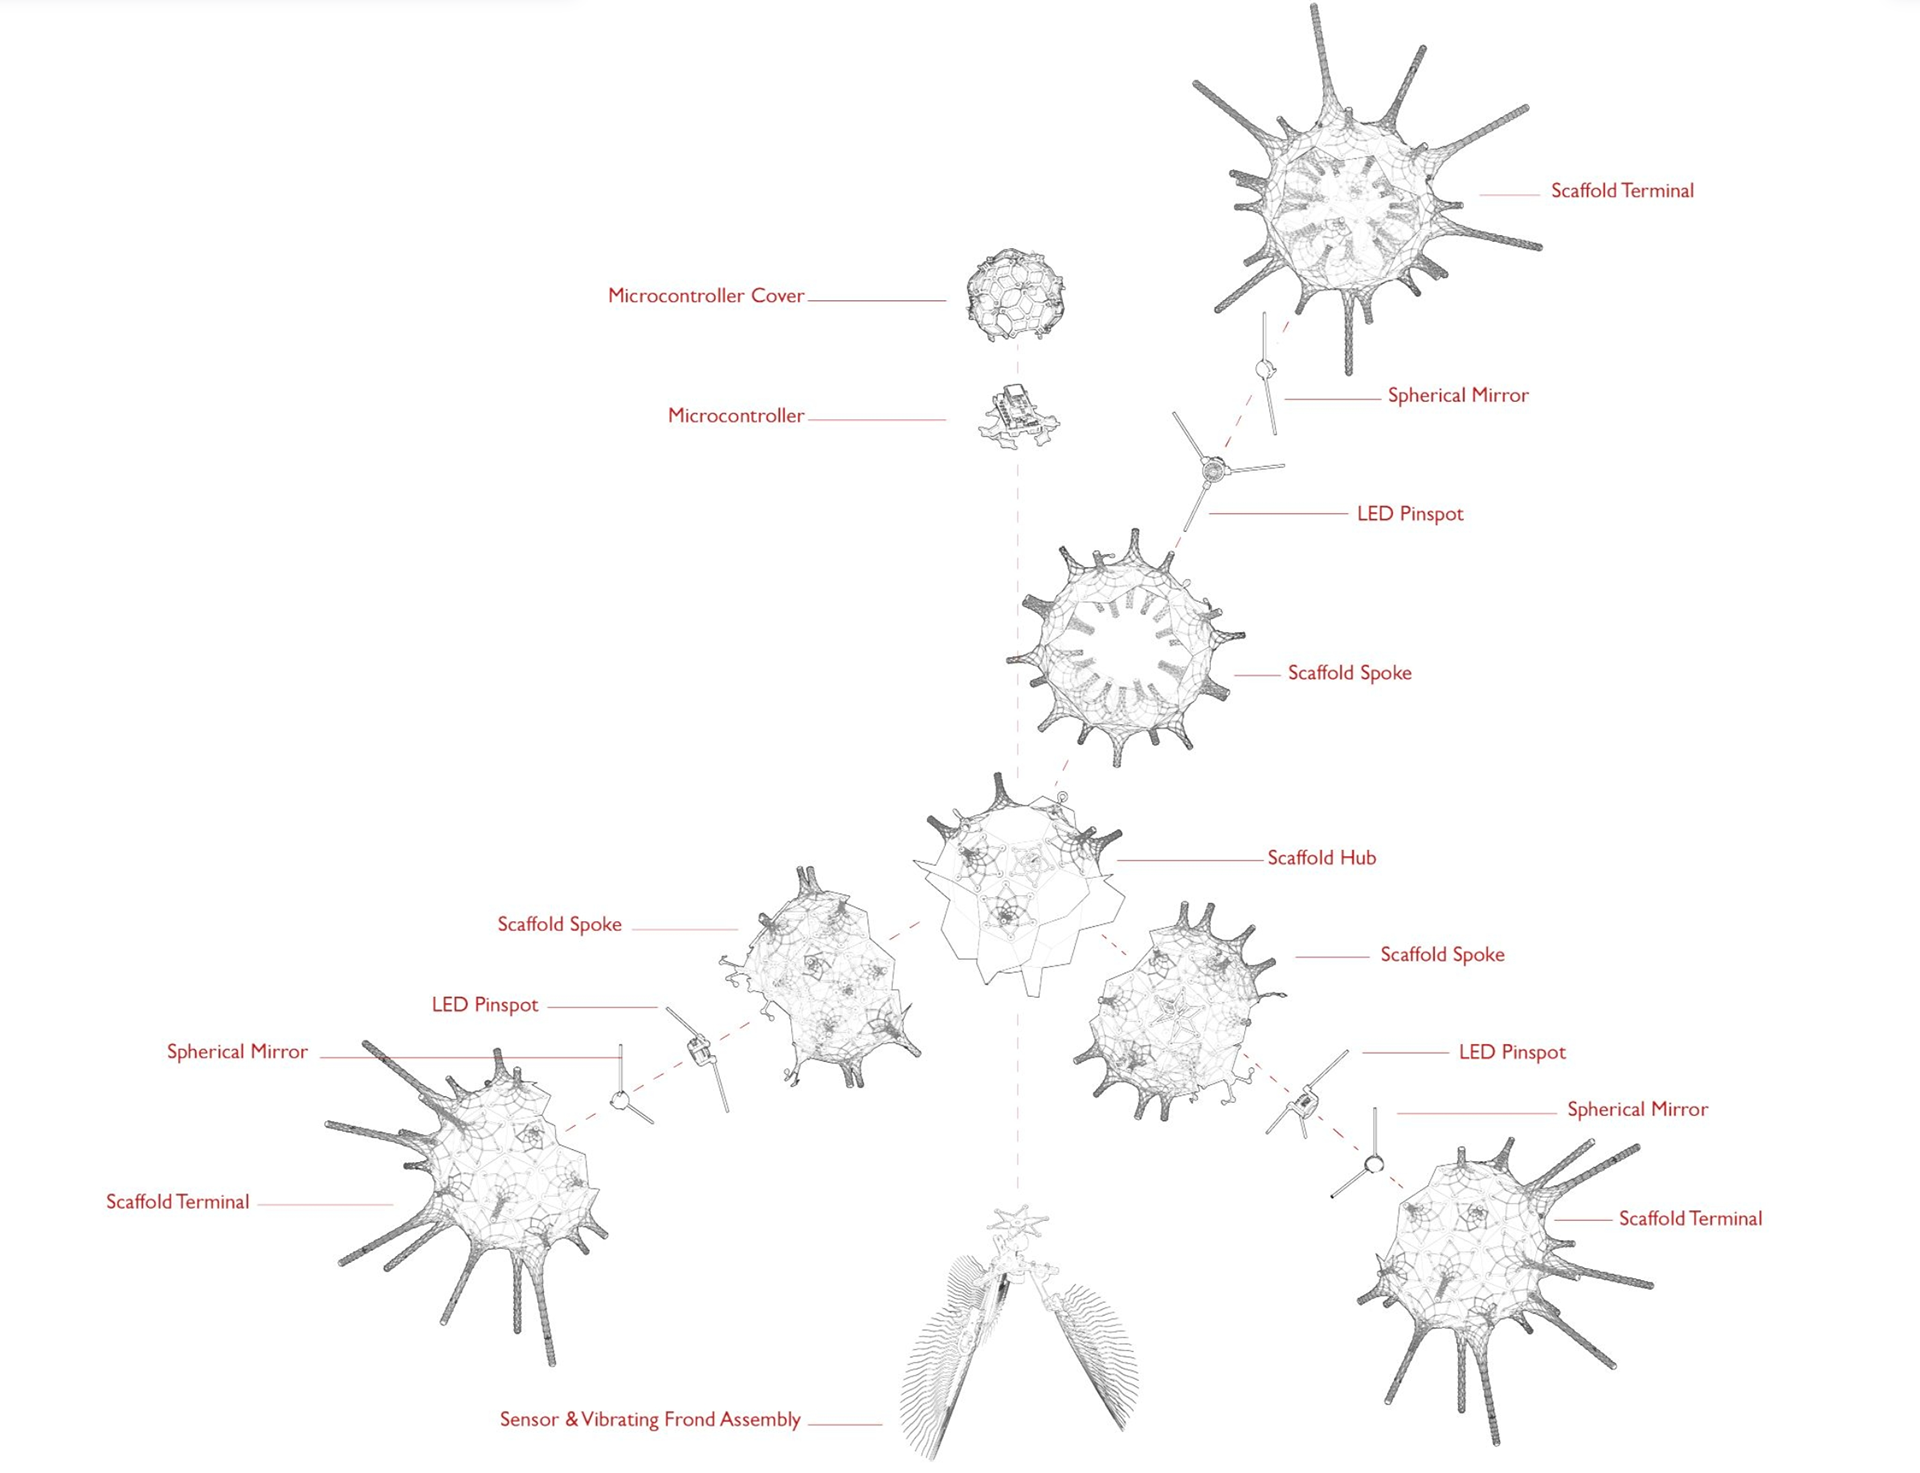
Assemblies Ecosystem for Flask and Mirrorball
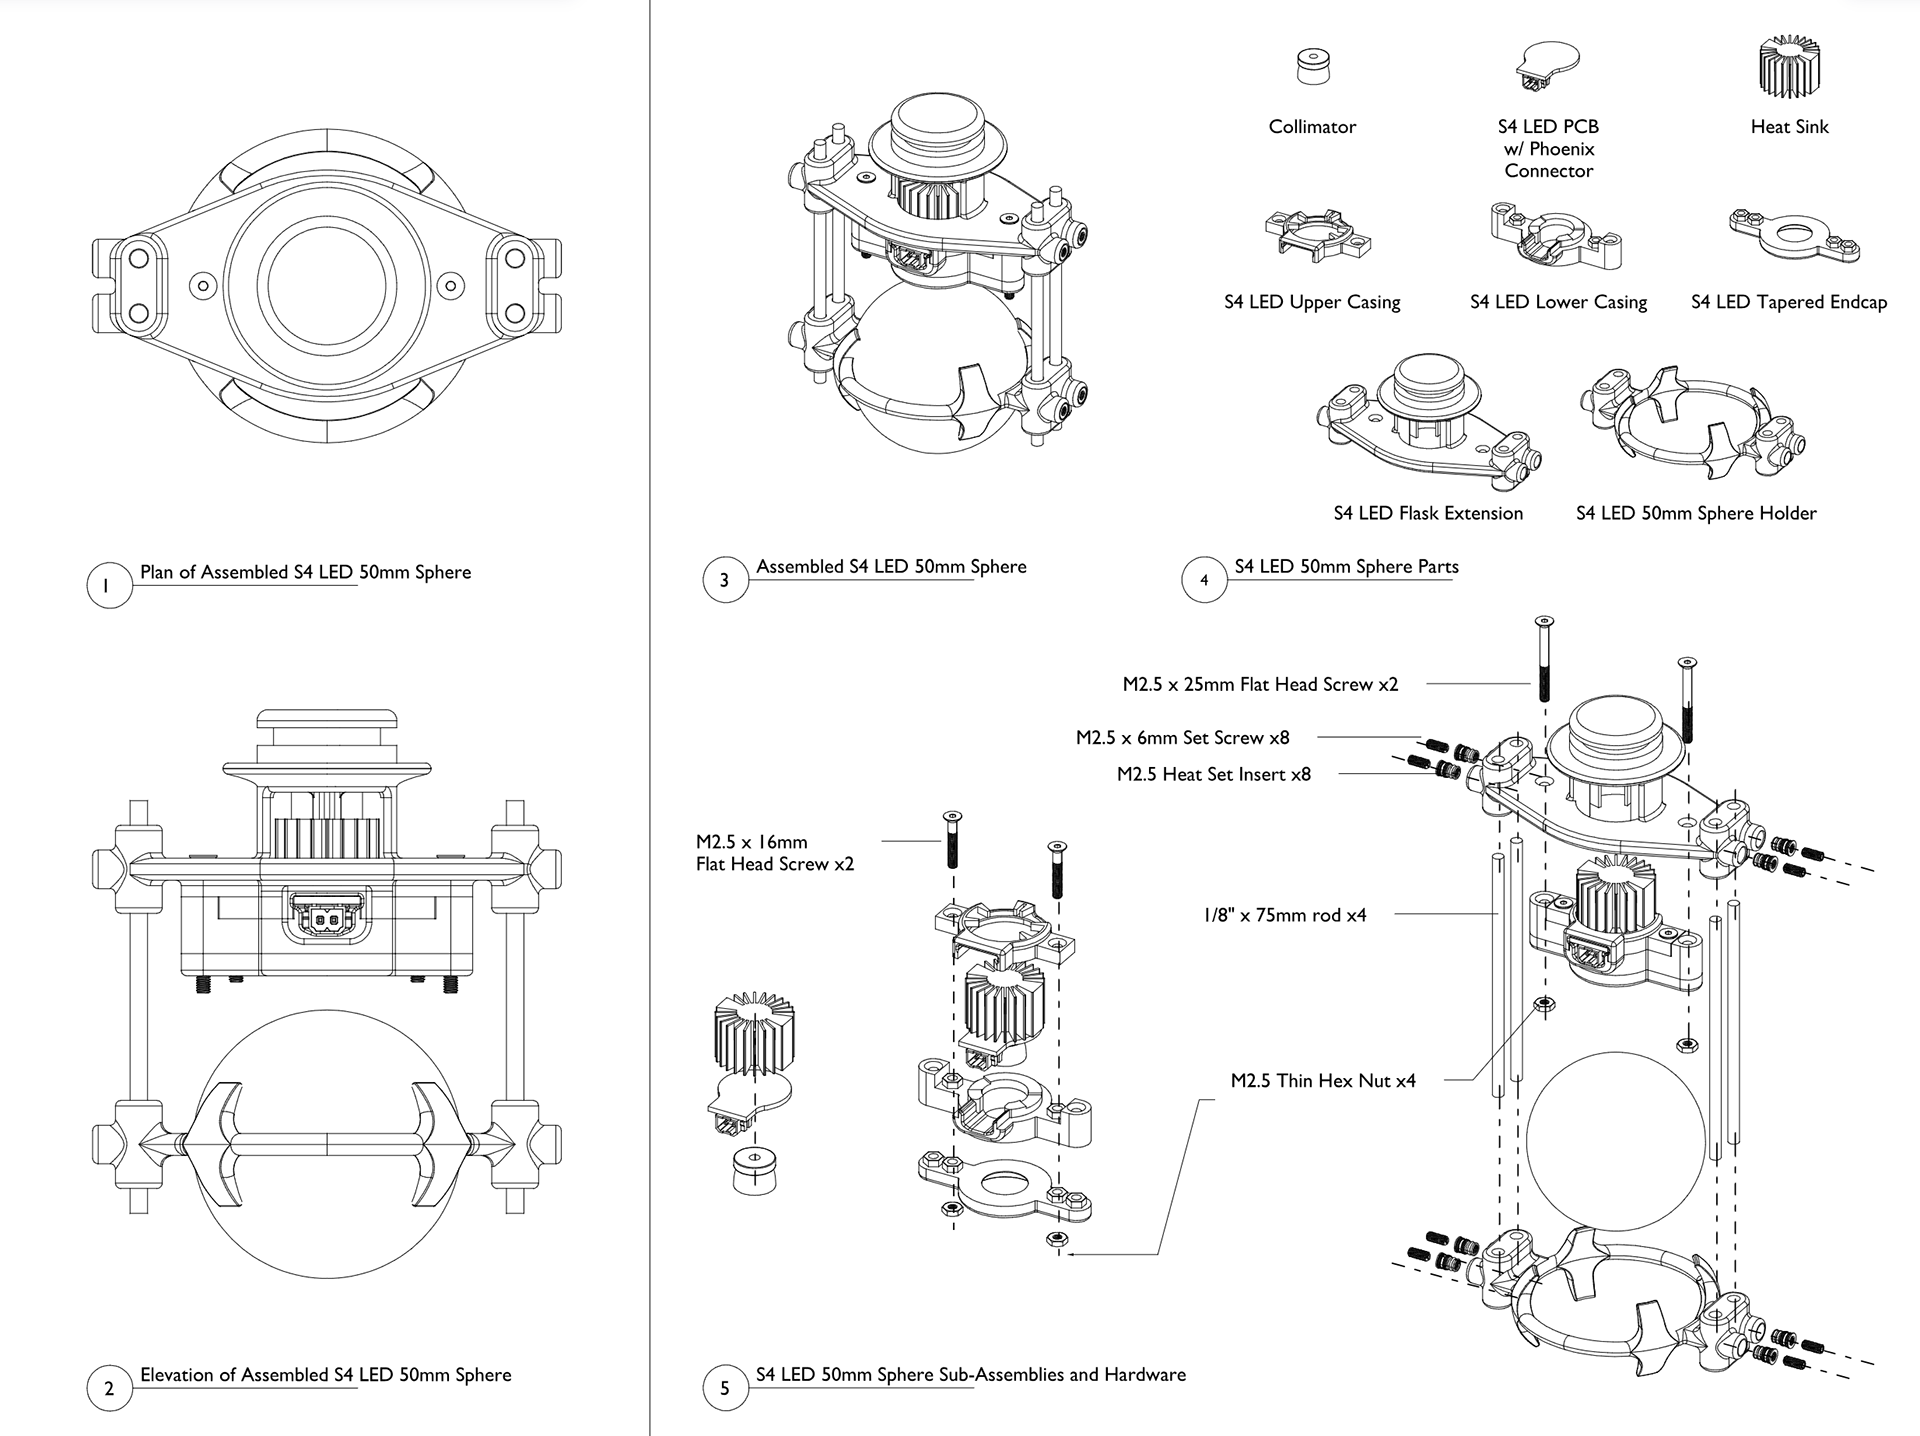
Sphere Mount Assembly
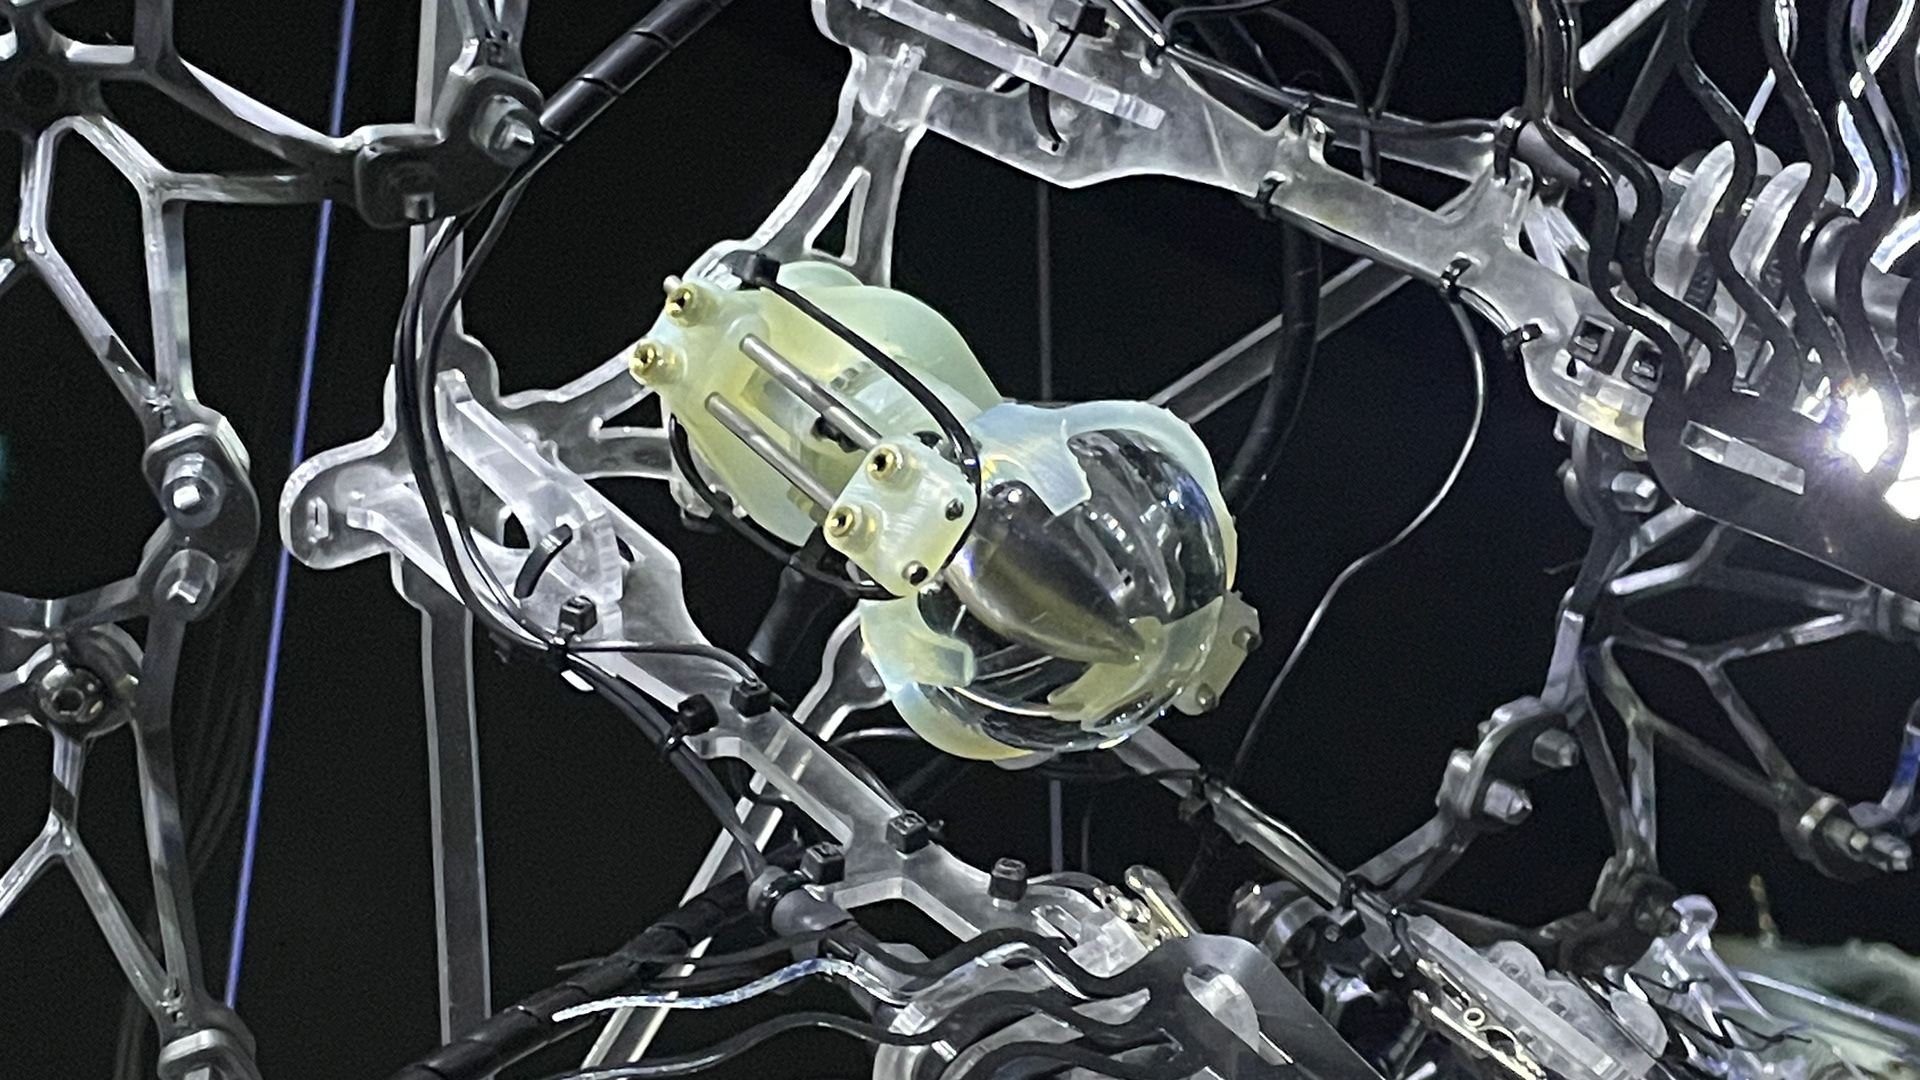
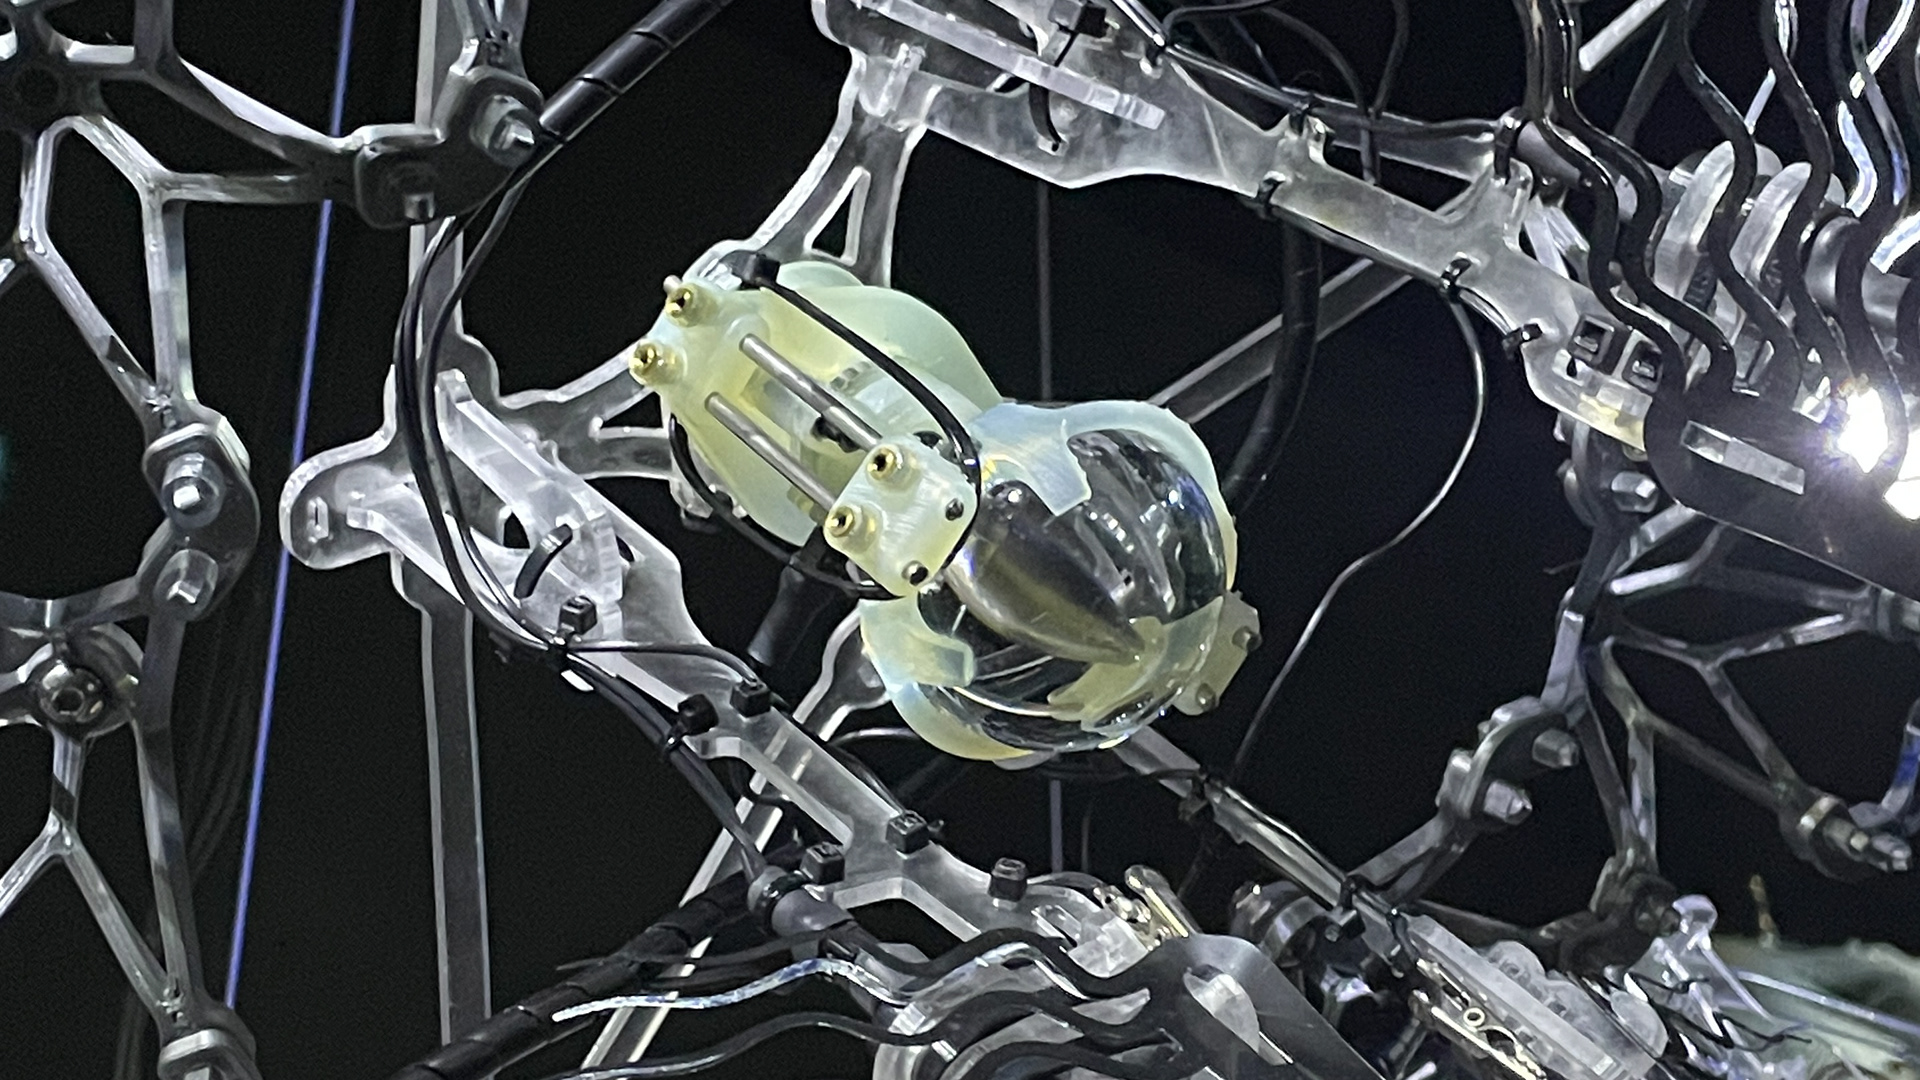
Sphere Mount Installed in Final Work
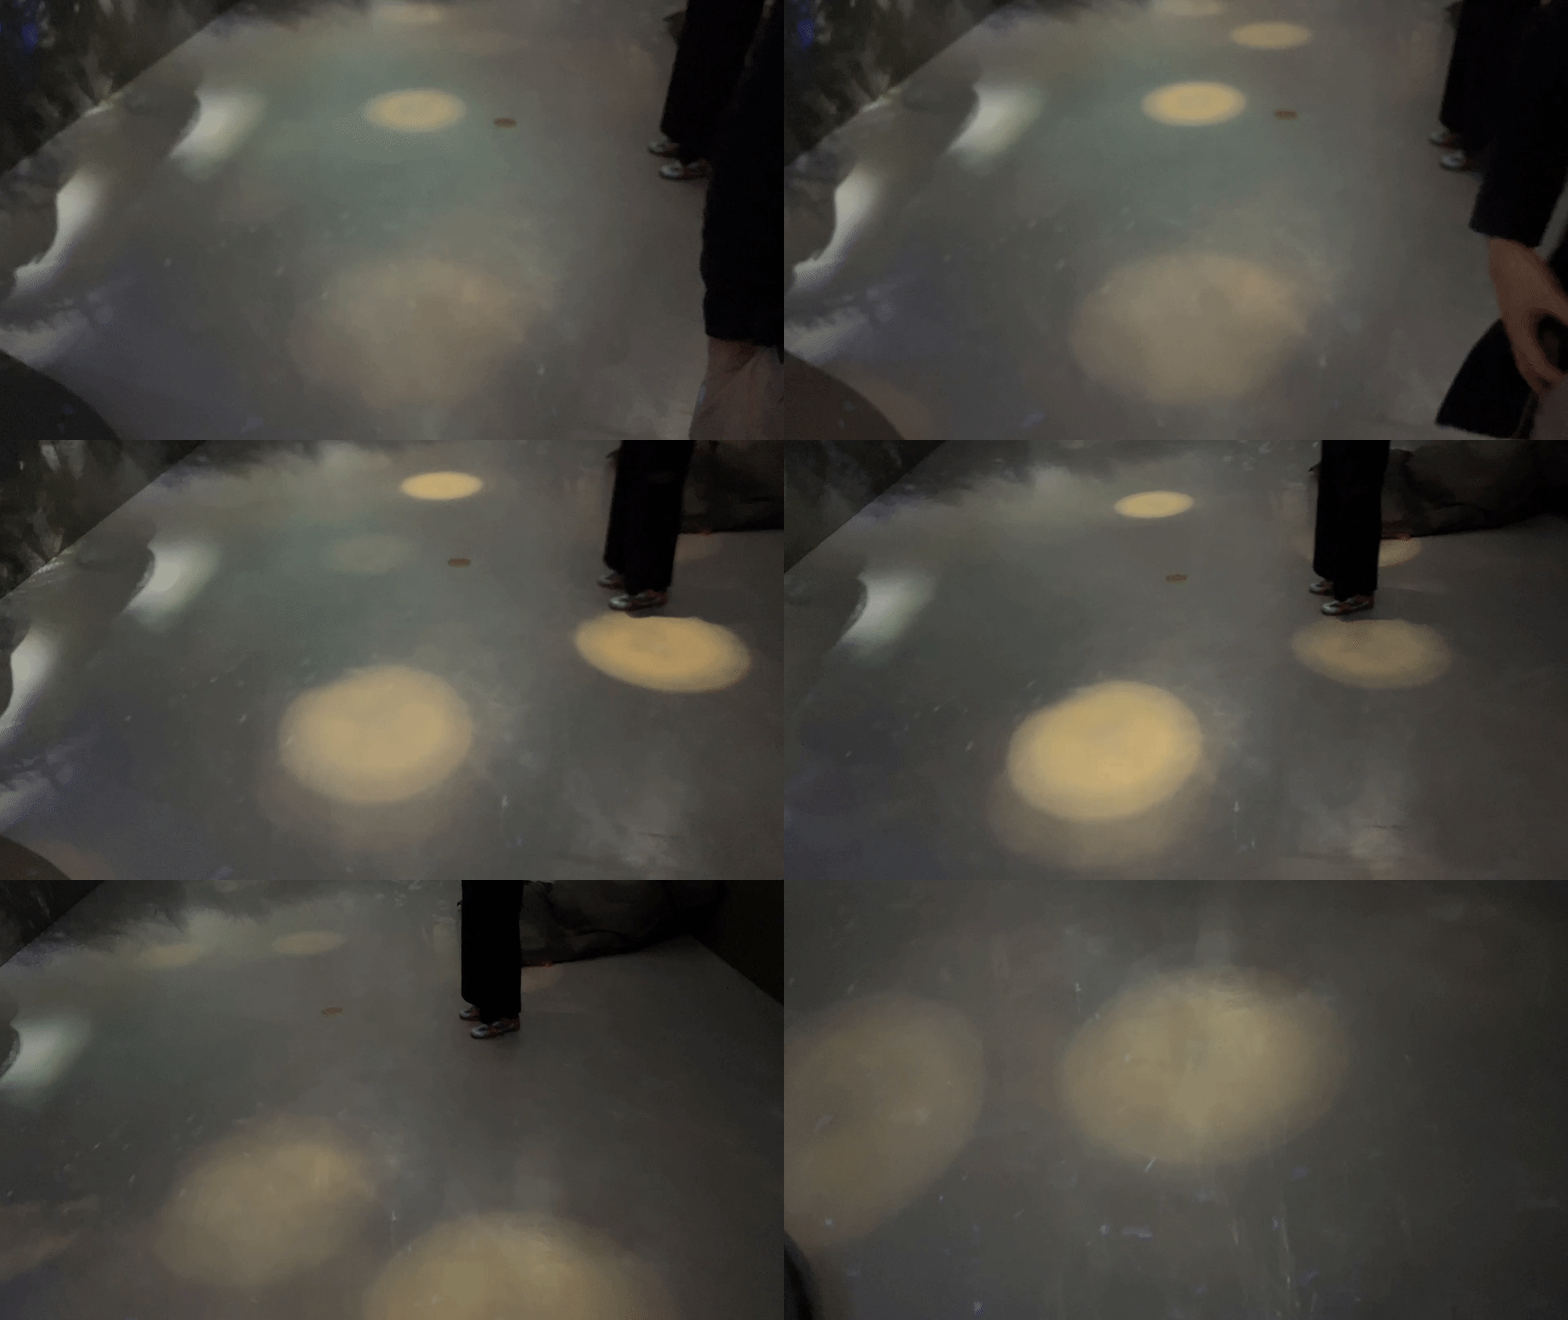
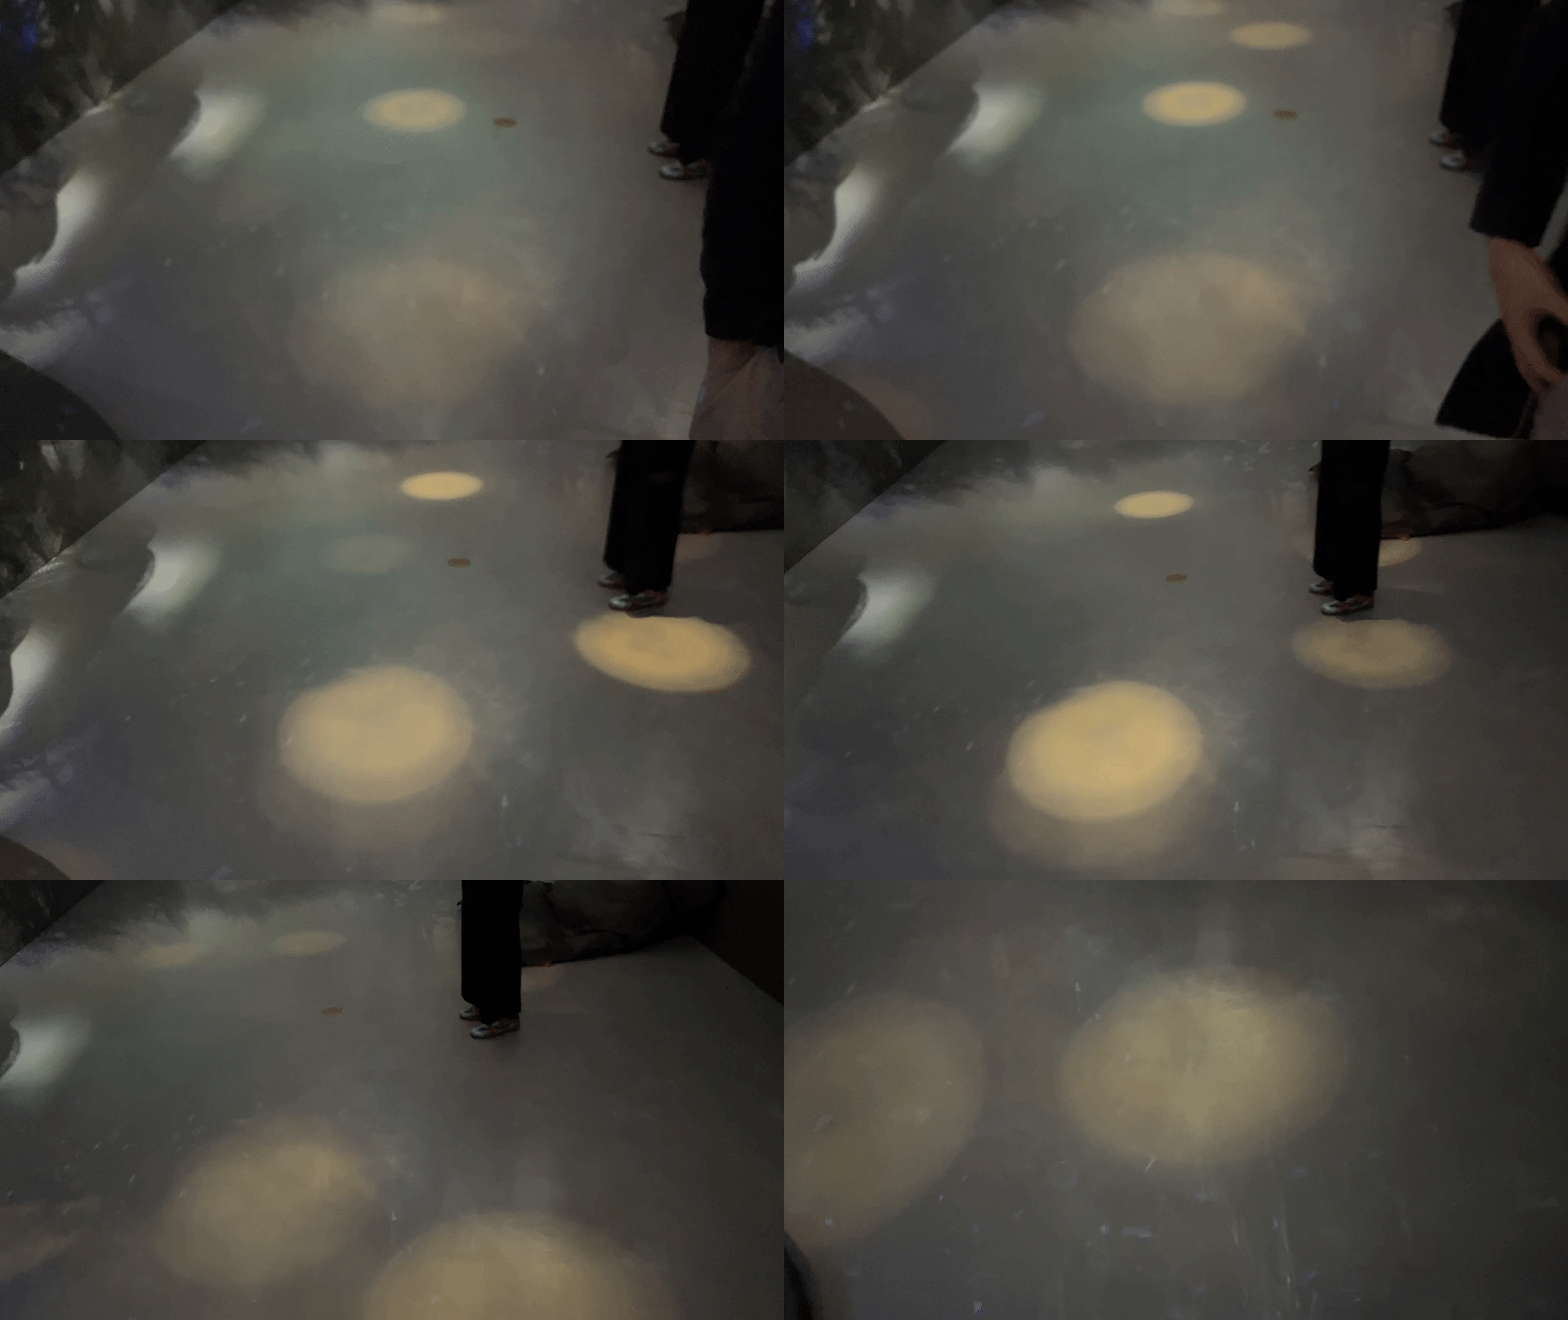
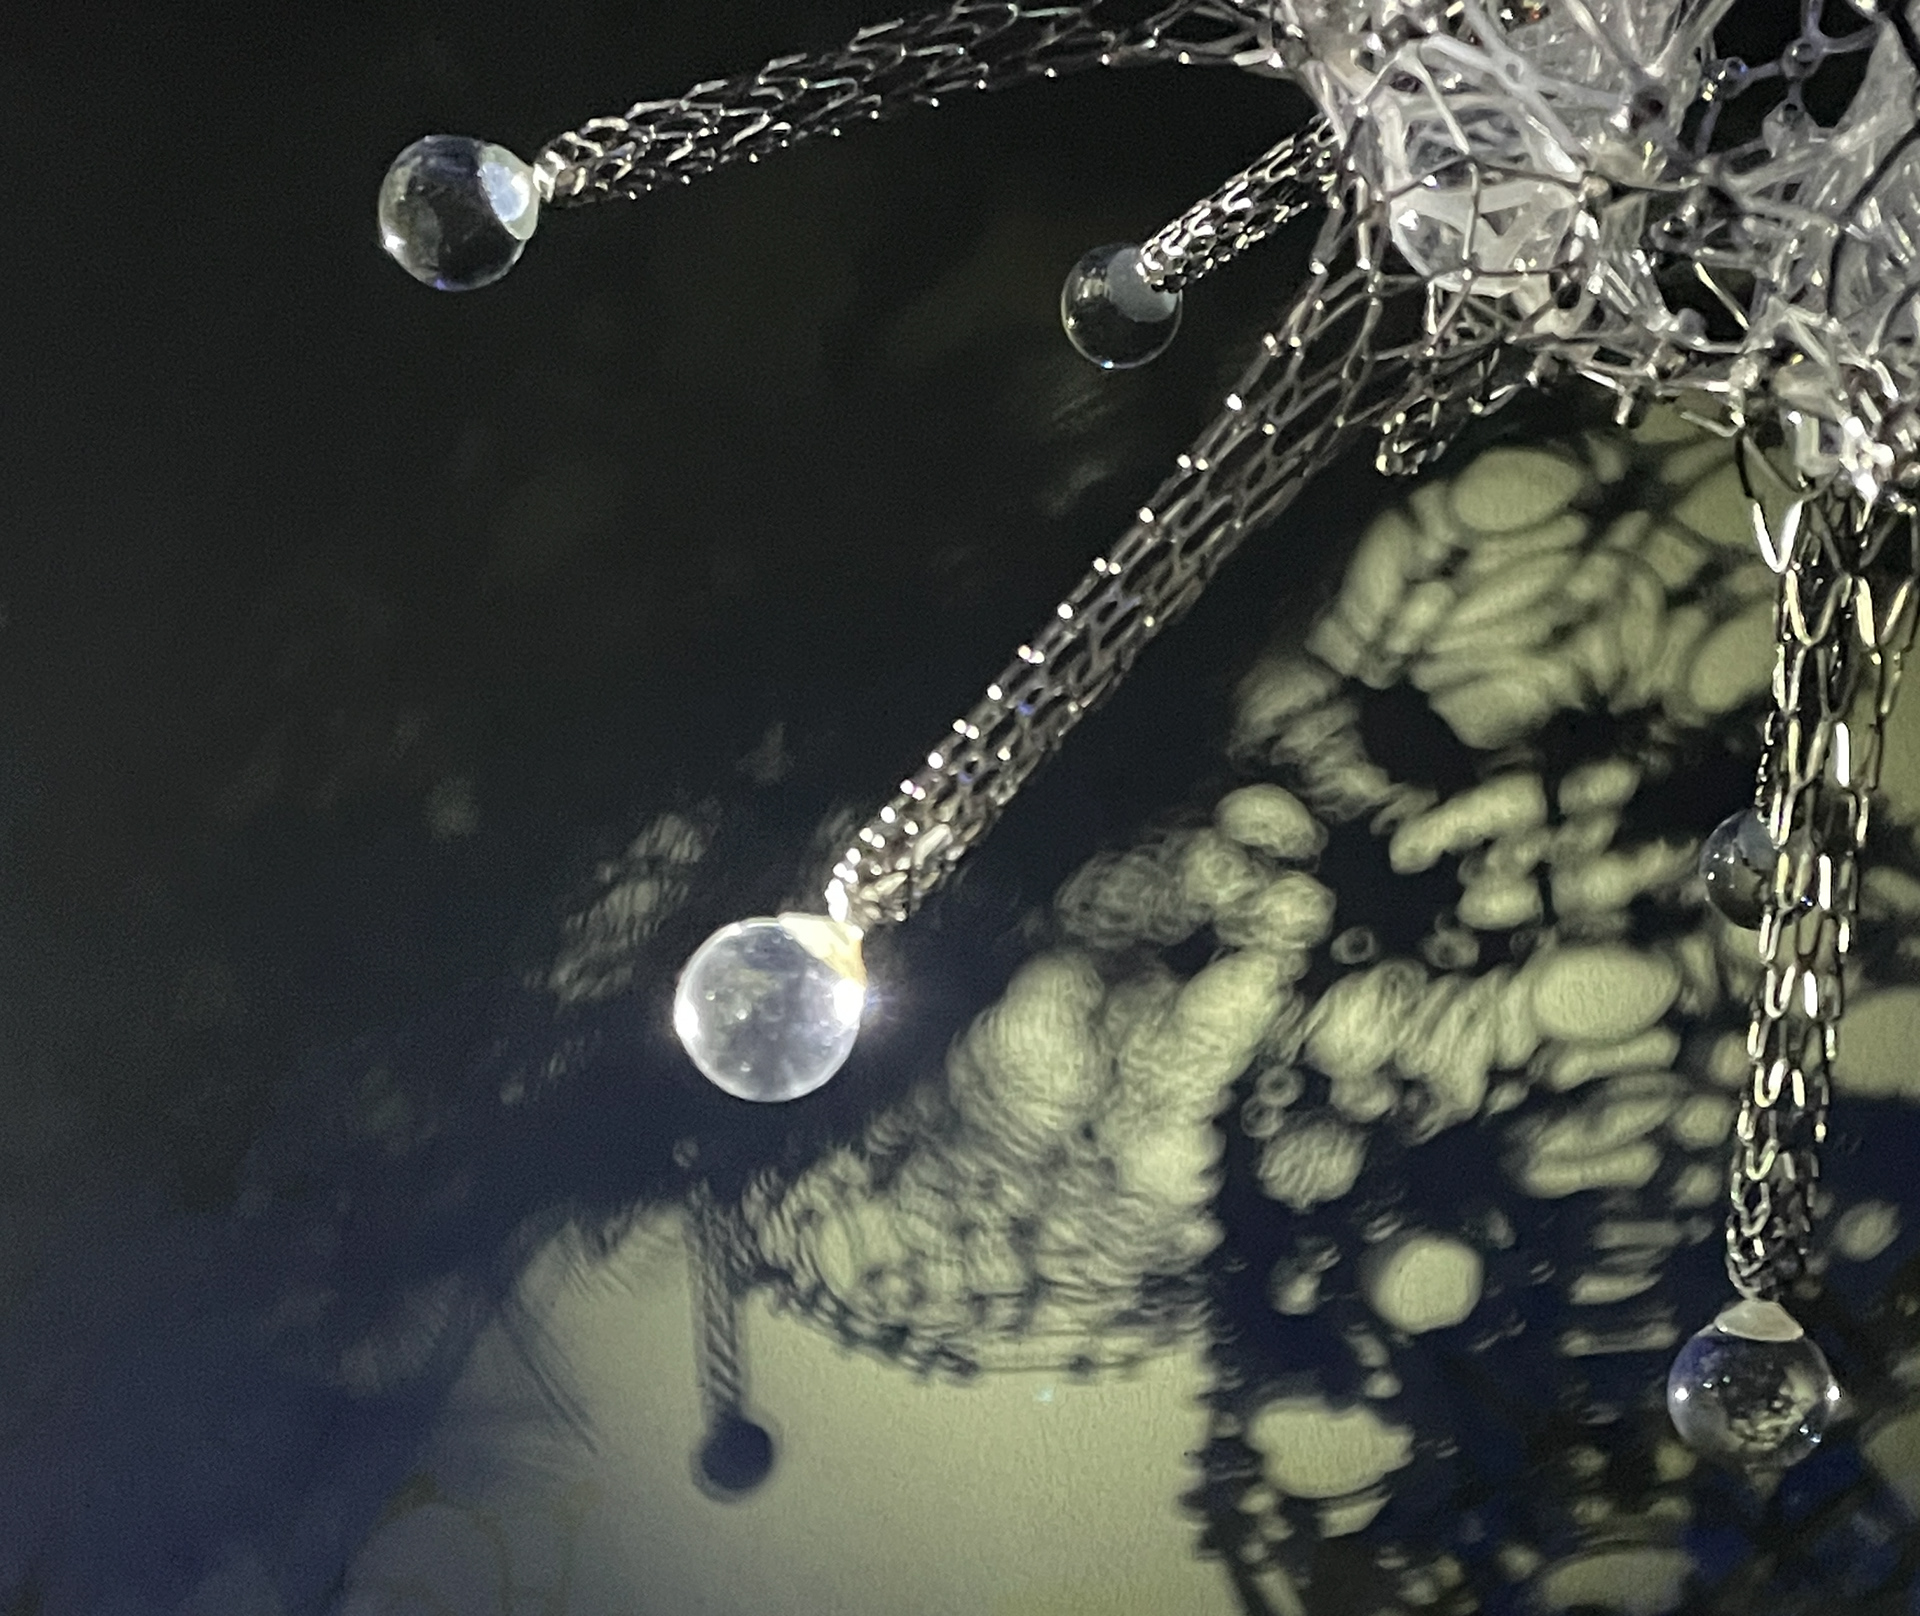
Dappled Spotlight Effect of Sphere Light
I designed mounts for new S4 LEDs in three categories: attached to a glass flask filled with a blue tinted liquid, reflected off a mirror ball in a sphere garland, and shined through a filled glass sphere.
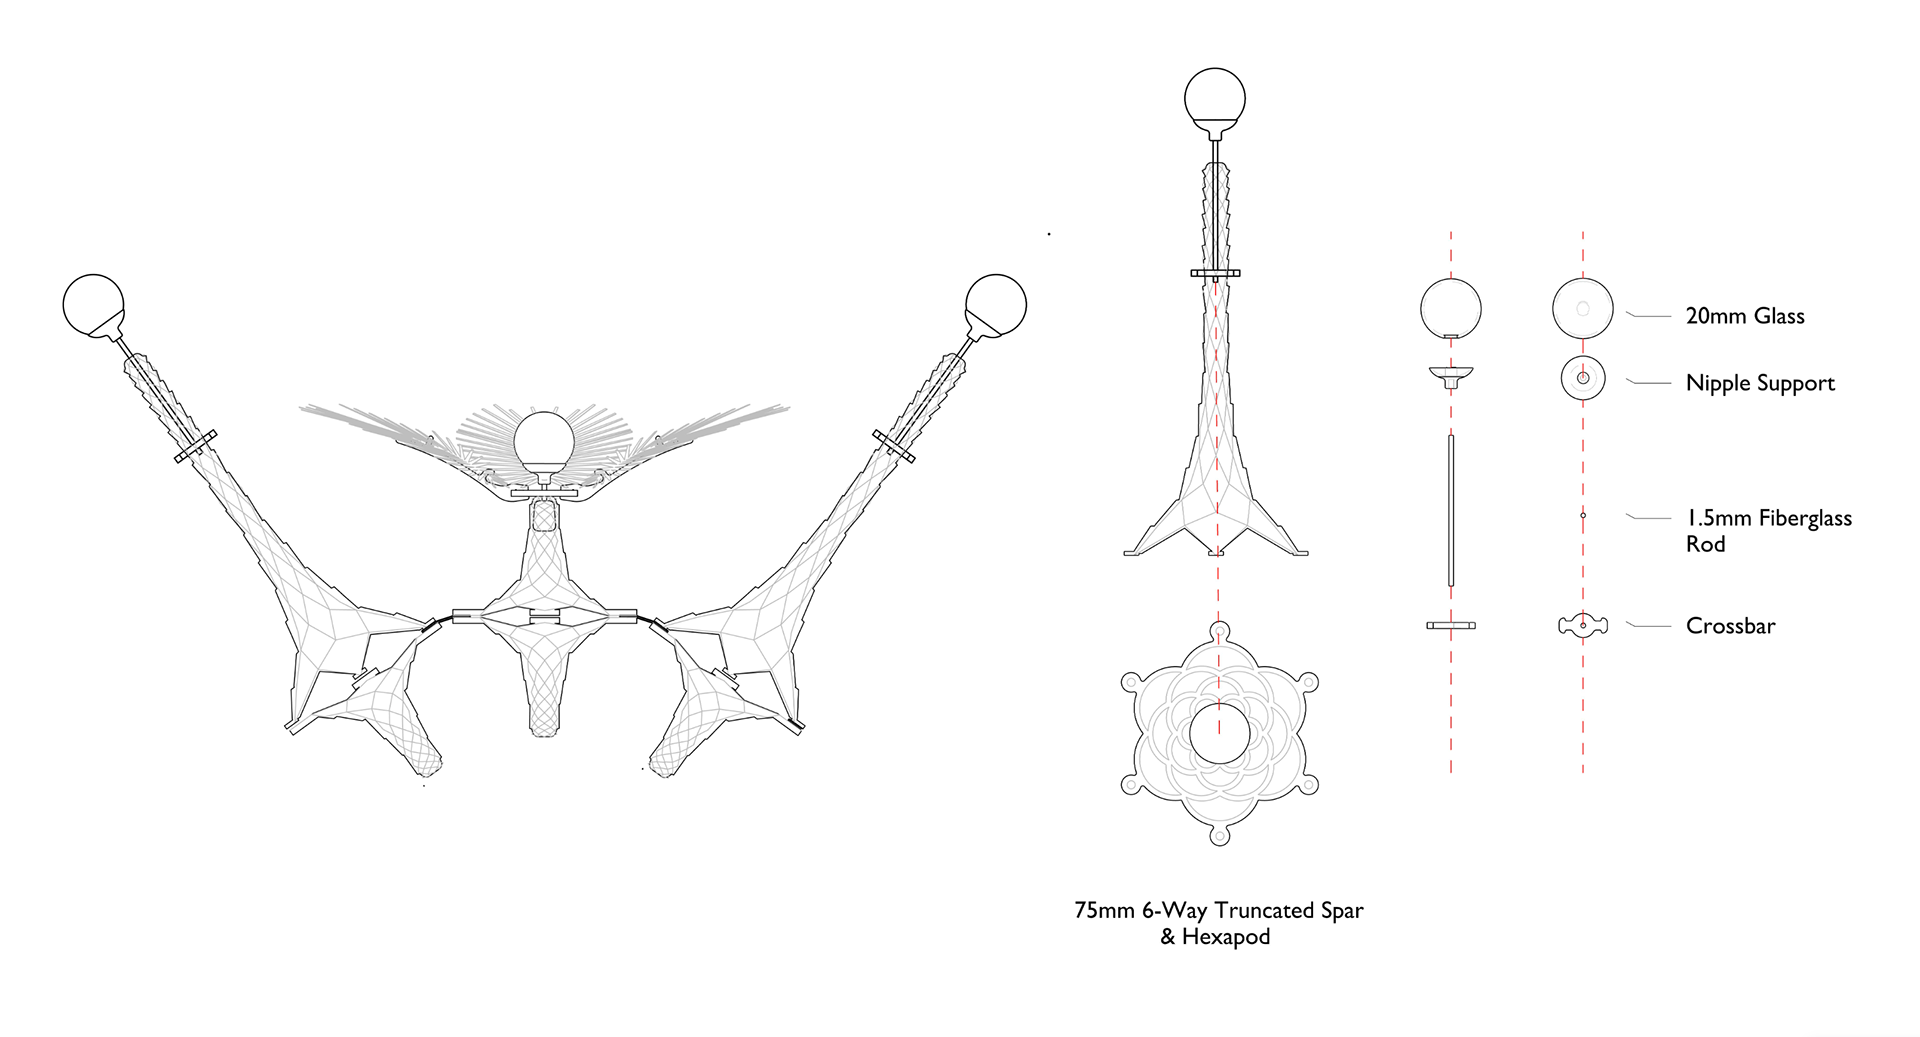
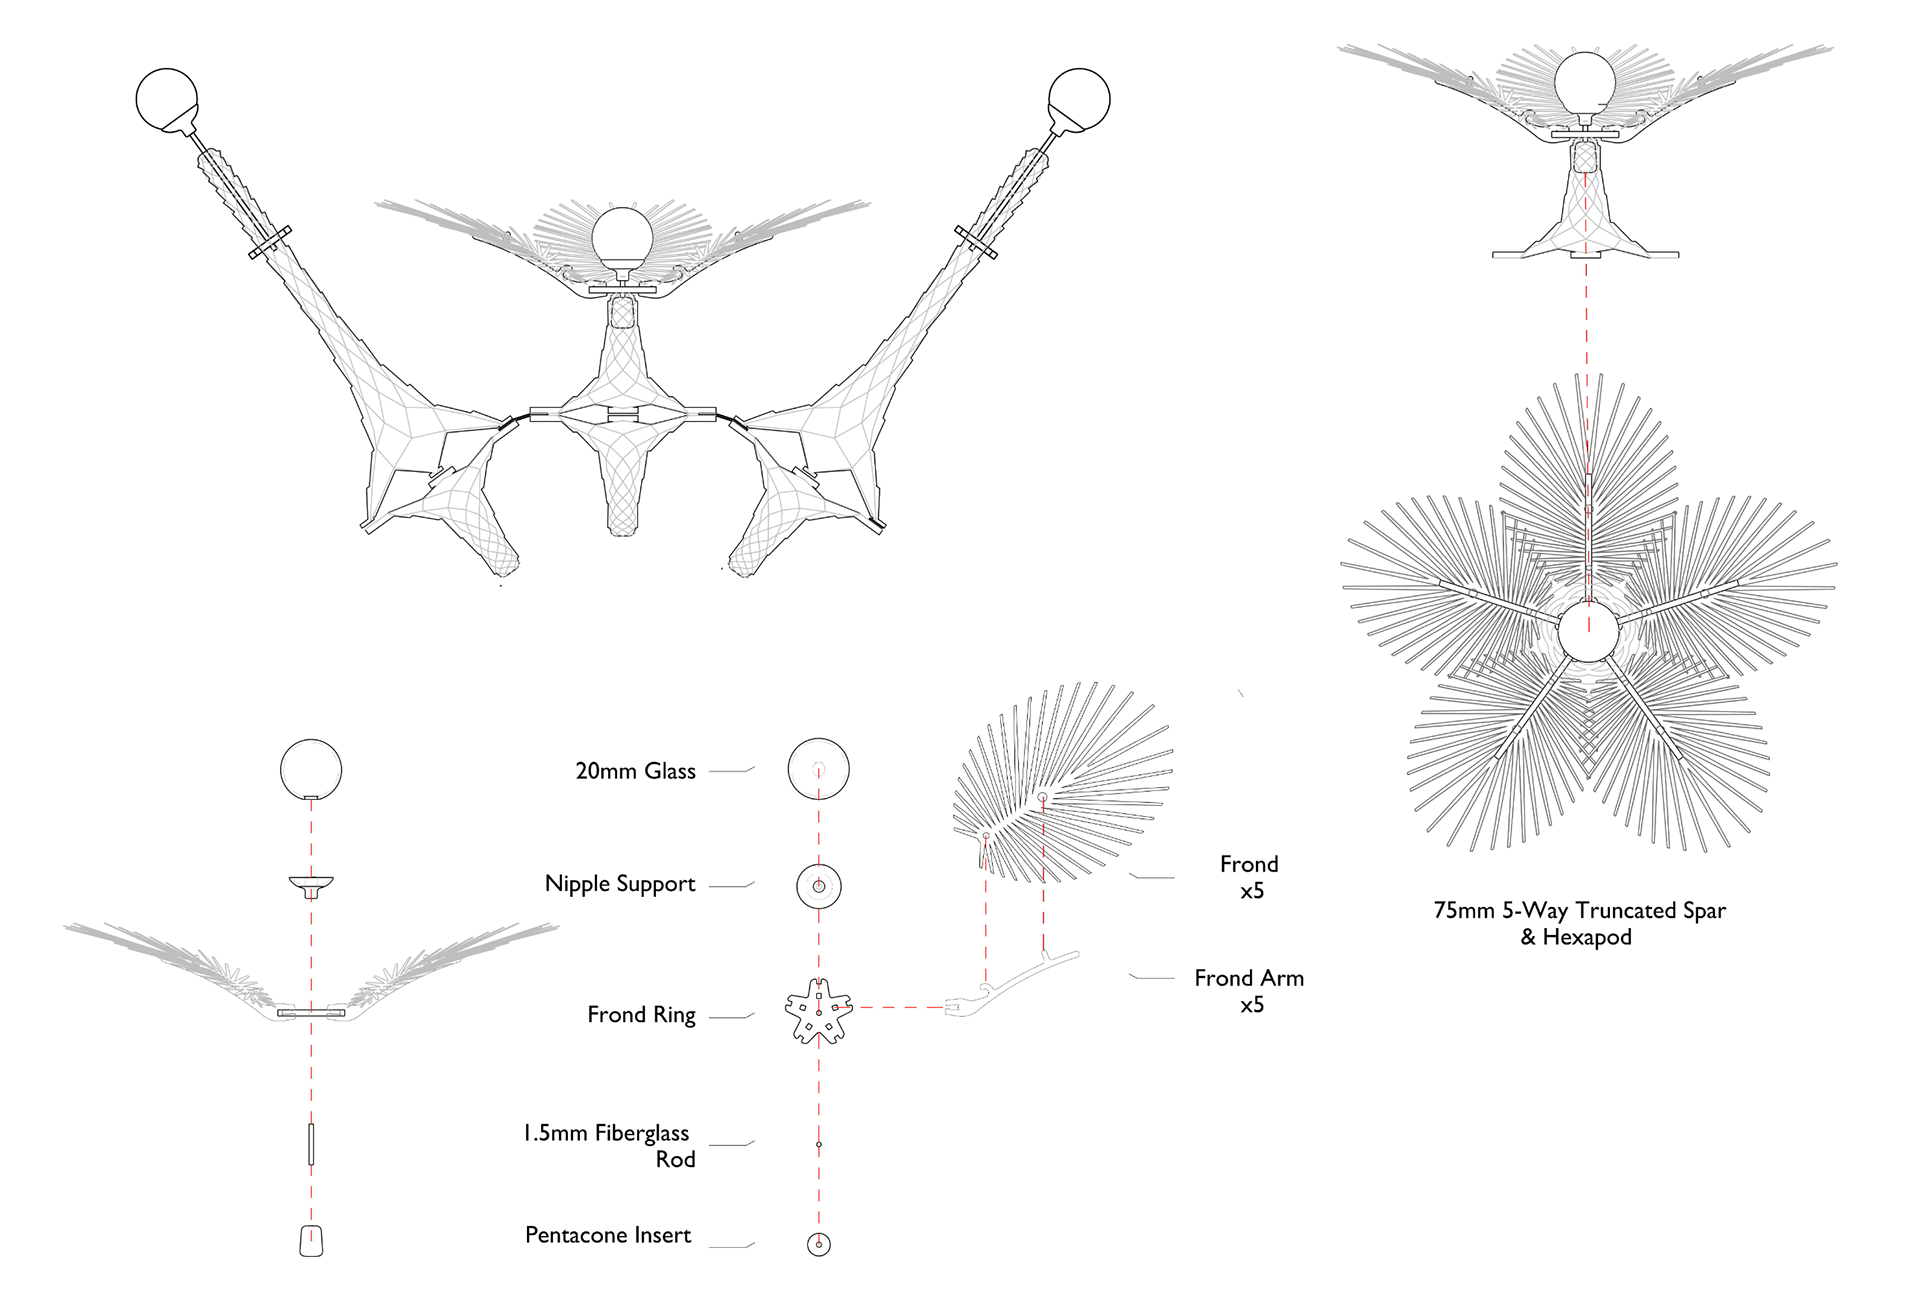

My other results included this system of 'dressing' the sculpture with glass spheres and fronds, but I won't focus on that in this portfolio page.
Modular S4 LED Mounts Process
LEDs are used everywhere in PBSI/LASG Installations, often diffused through glass, to illuminate sections of the sculpture and enable interactive behavior. With new smaller LED units came the opportunity to design more compact mounts and a modular system to fit multiple different instances.
With S4 LEDs replacing the old Rebel Star lights, my assignment was to design a new mount for the smaller electronics that fit onto glass flasks and into multiple locations in the Tilburg sculpture.
Important considerations: adherence to PBSI/LASG design language, assembly + disassembly (installations are partially assembled, shipped, finished, disassembled, and shipped back for reuse), robustness, and production time.
Context
To the left is a map of all the electronic components within the Tilburg sculpture, with every red dot indicating an LED. They are all over the work's active regions as part of multiple different assemblies.
All of the contexts are shown below. Cloud cells are the most common, and include a glass flask filled with liquid as a diffuser. In the glass chains multiple are stacked onto a flexible piece, in the crenellation waffle they hang from the metal scaffold, and in the sphere garland they are mounted on a tripod and shined at a mirror ball. This means mounts have to withstand cantilevering forces and attach onto different structural pieces.
*Sphere Garland was not actuated for Tilburg, those mounts would be for the final version in Delft*
Glass Chains and Crenellation Assemblies
Cloud Cell Assembly
Existing LED-Mirror Ball Assembly in Sphere Garland
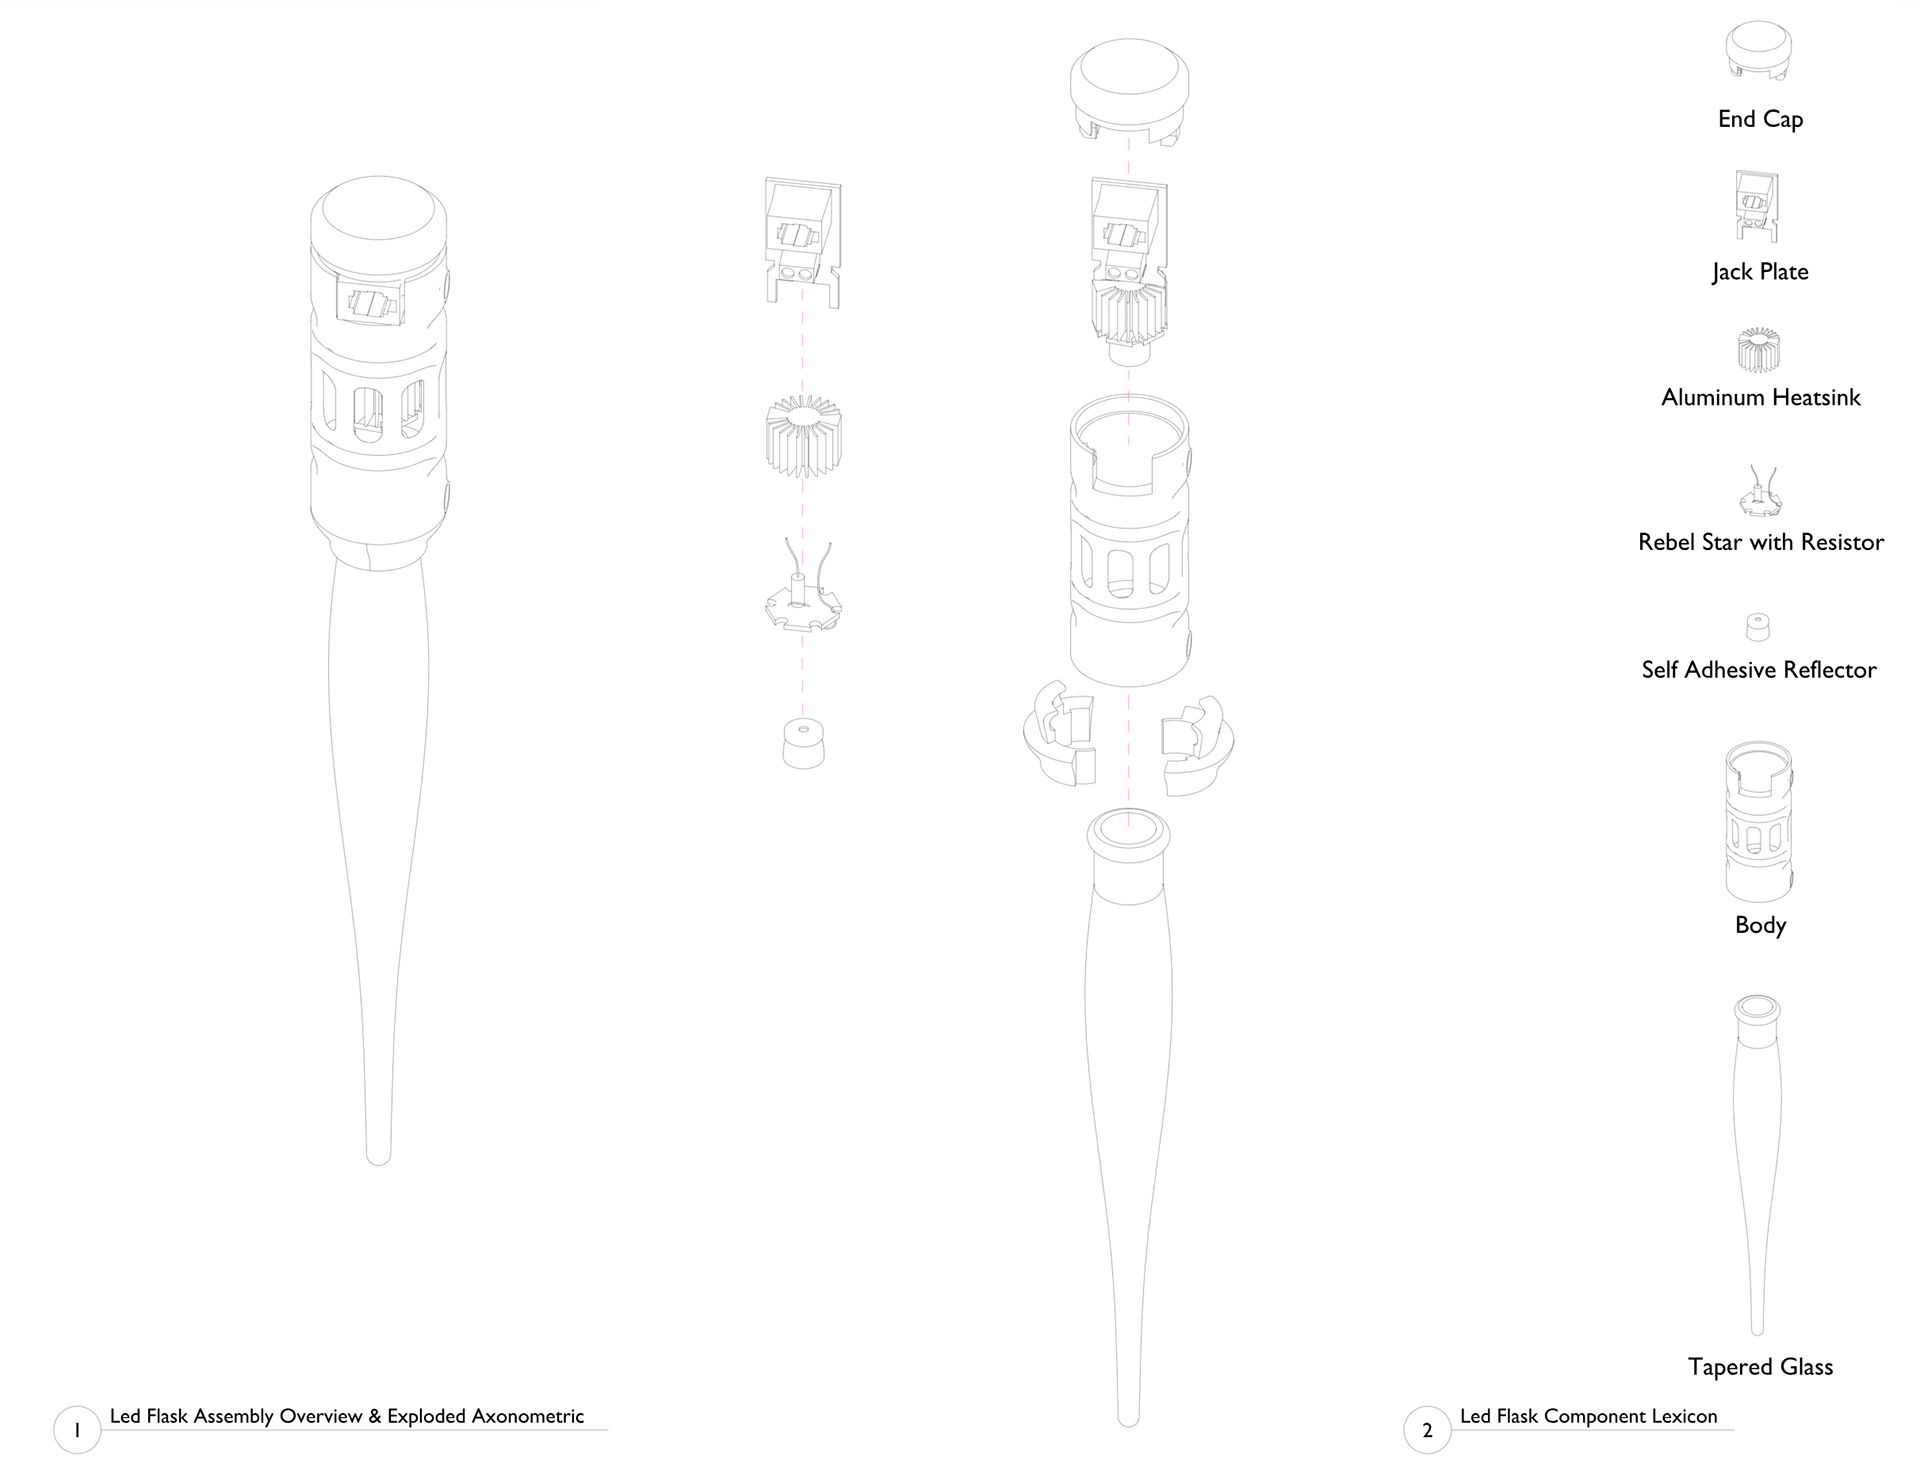
Existing SIngle LED Flask Assembly
Beginning to Develop New System
To start, I looked at the existing LED flask, familiarized myself with all the contexts it is used in, and reviewed the individual parts in the flask assembly including the glass, PCB, and heat sink.

Close-Up of Existing LED Mount

Survey of Glass Pieces
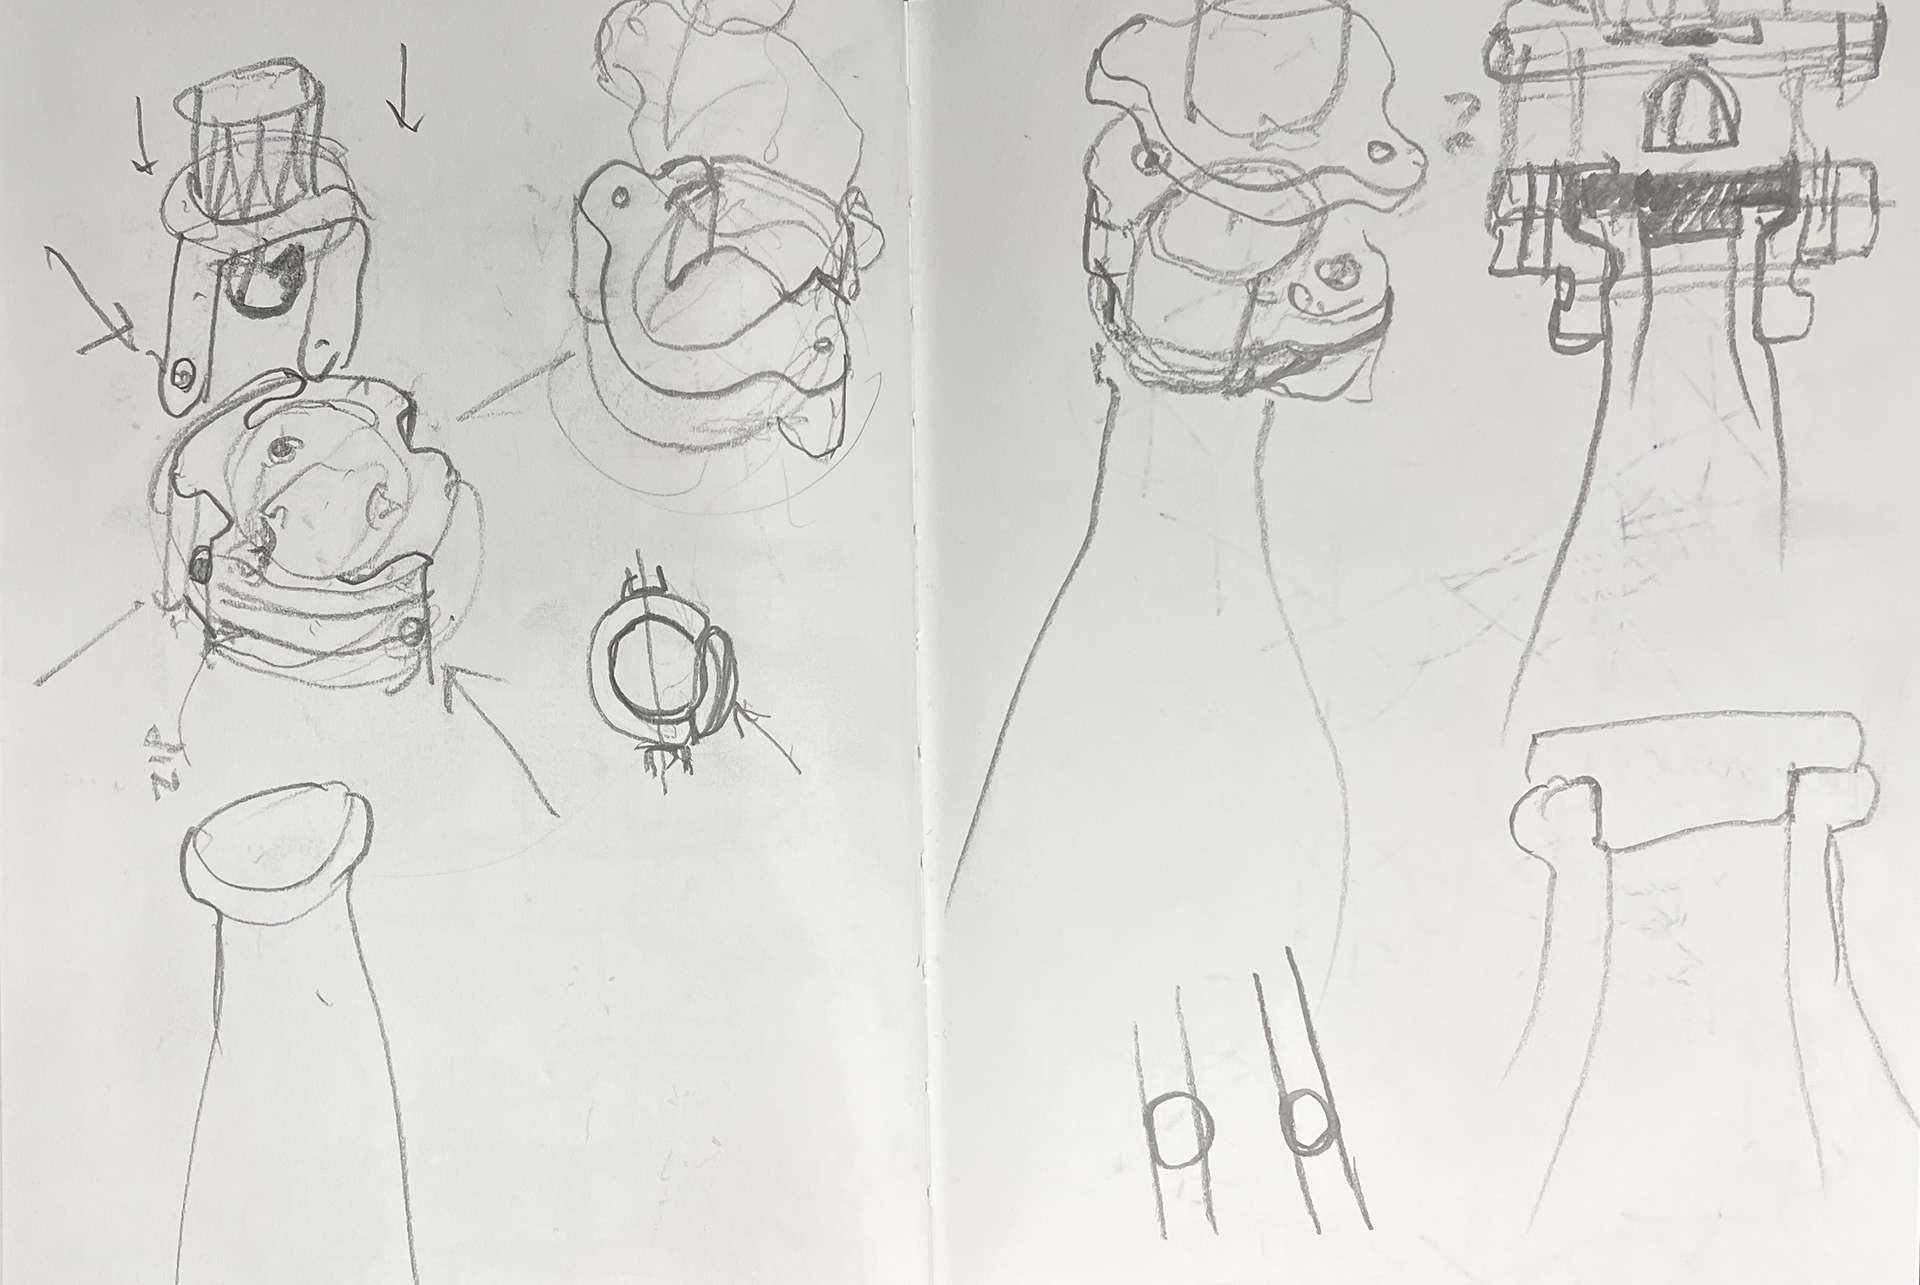
Sketches

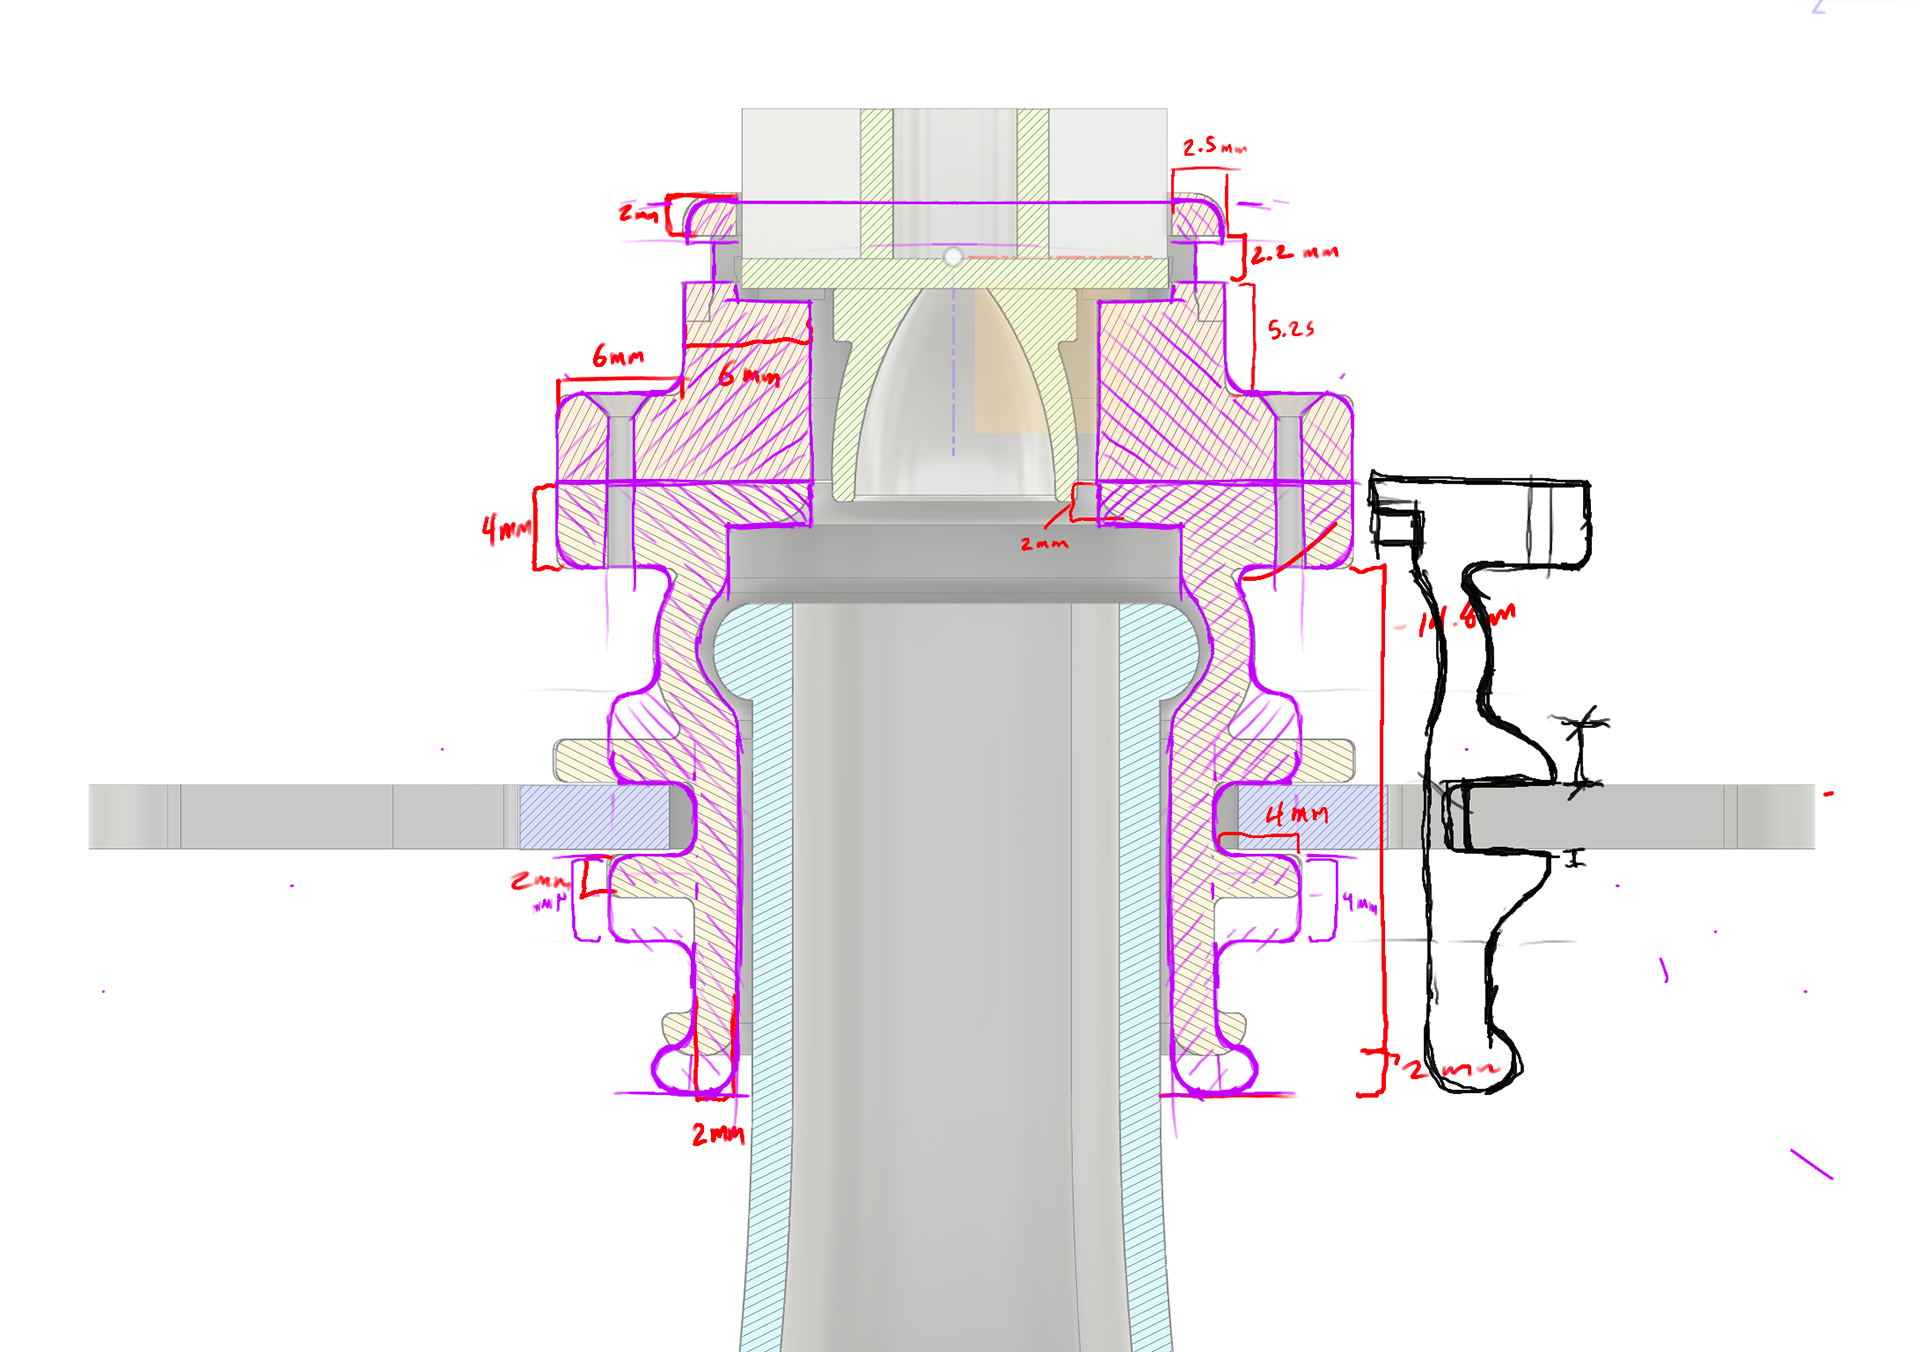
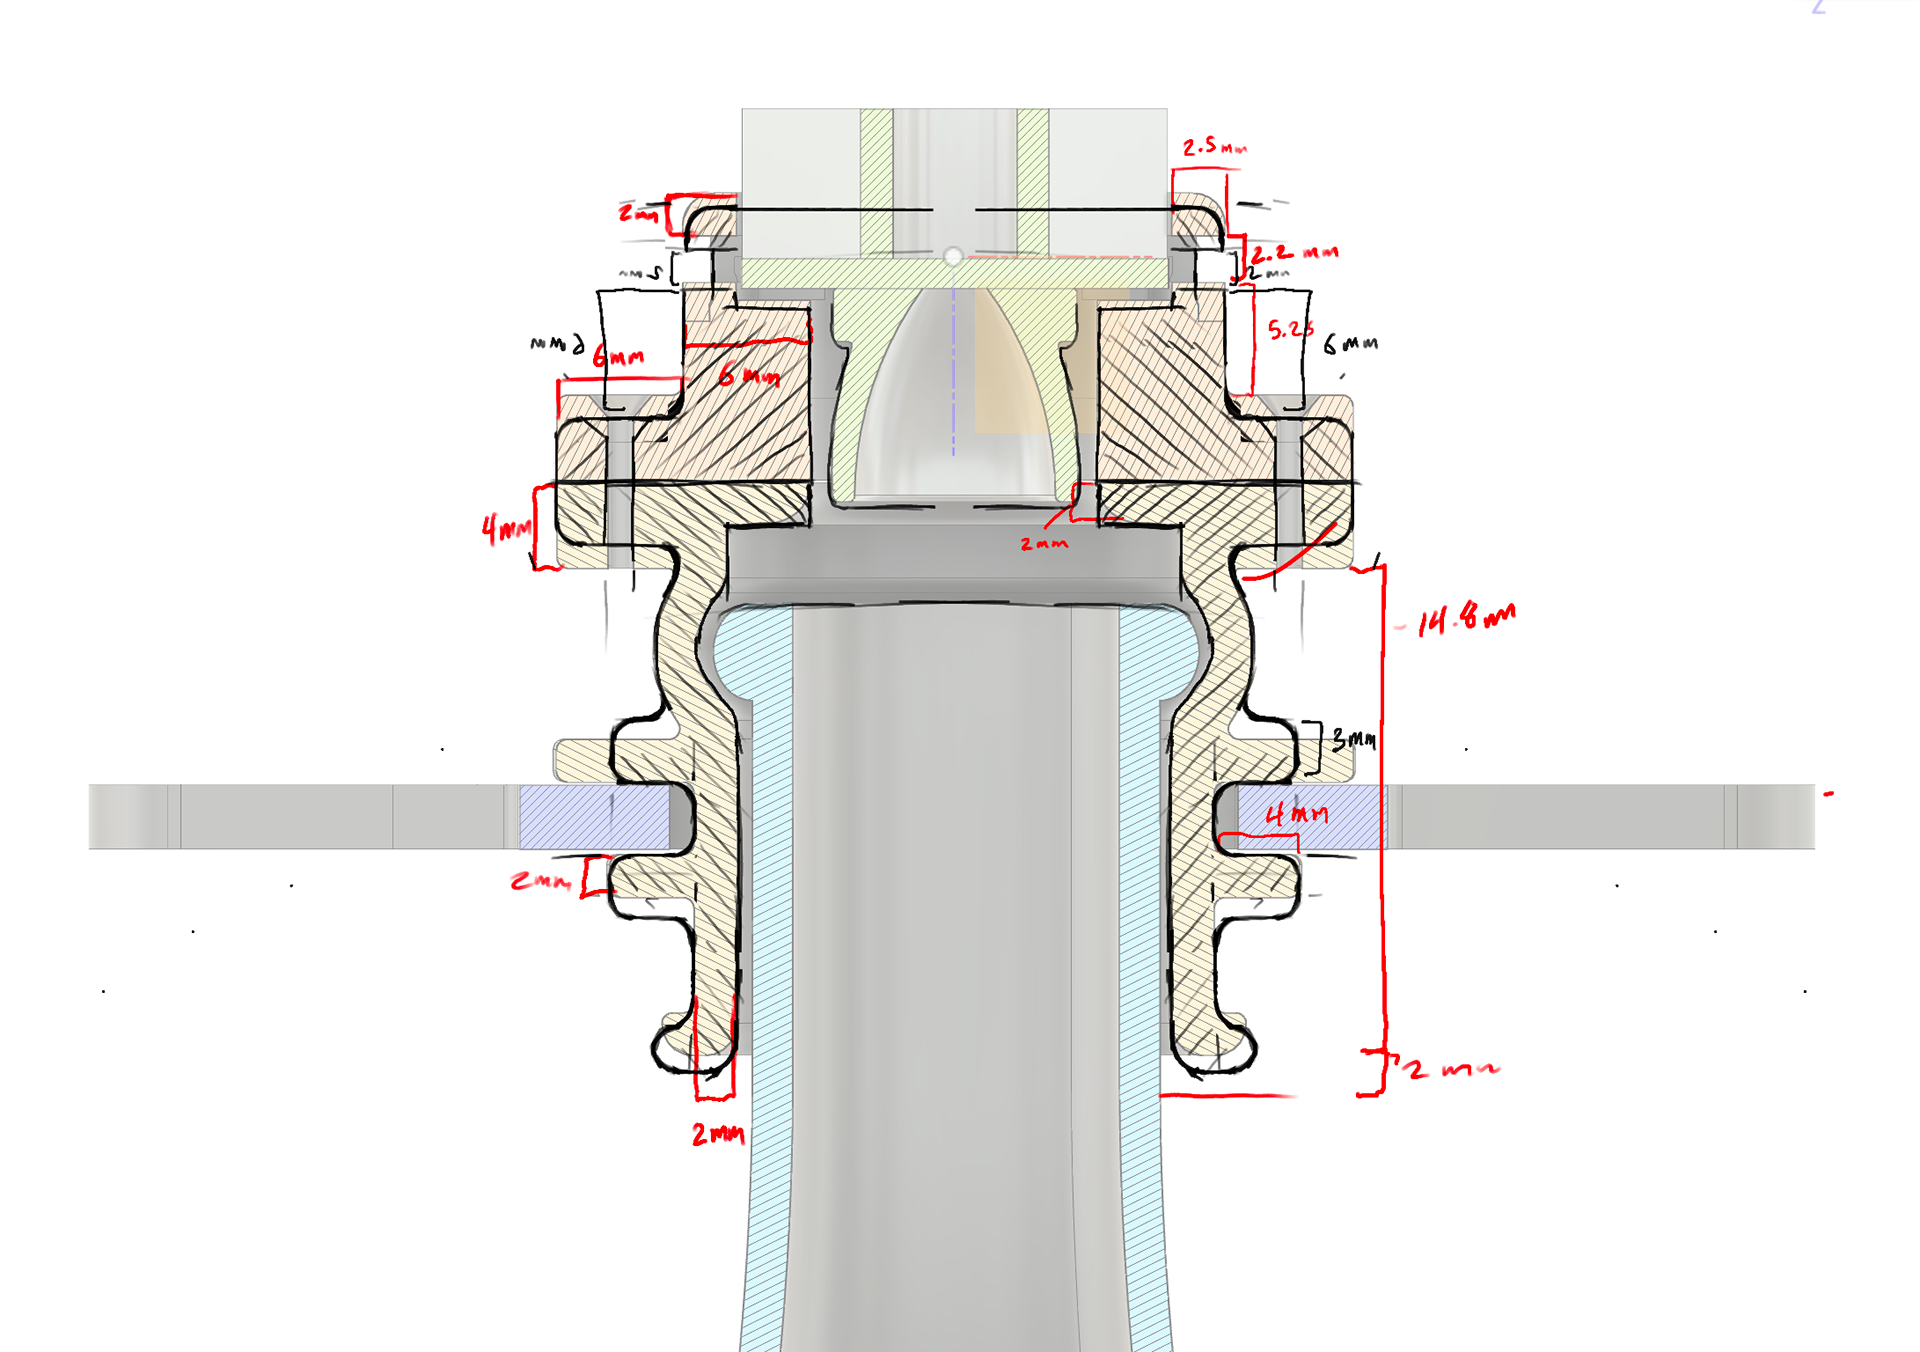
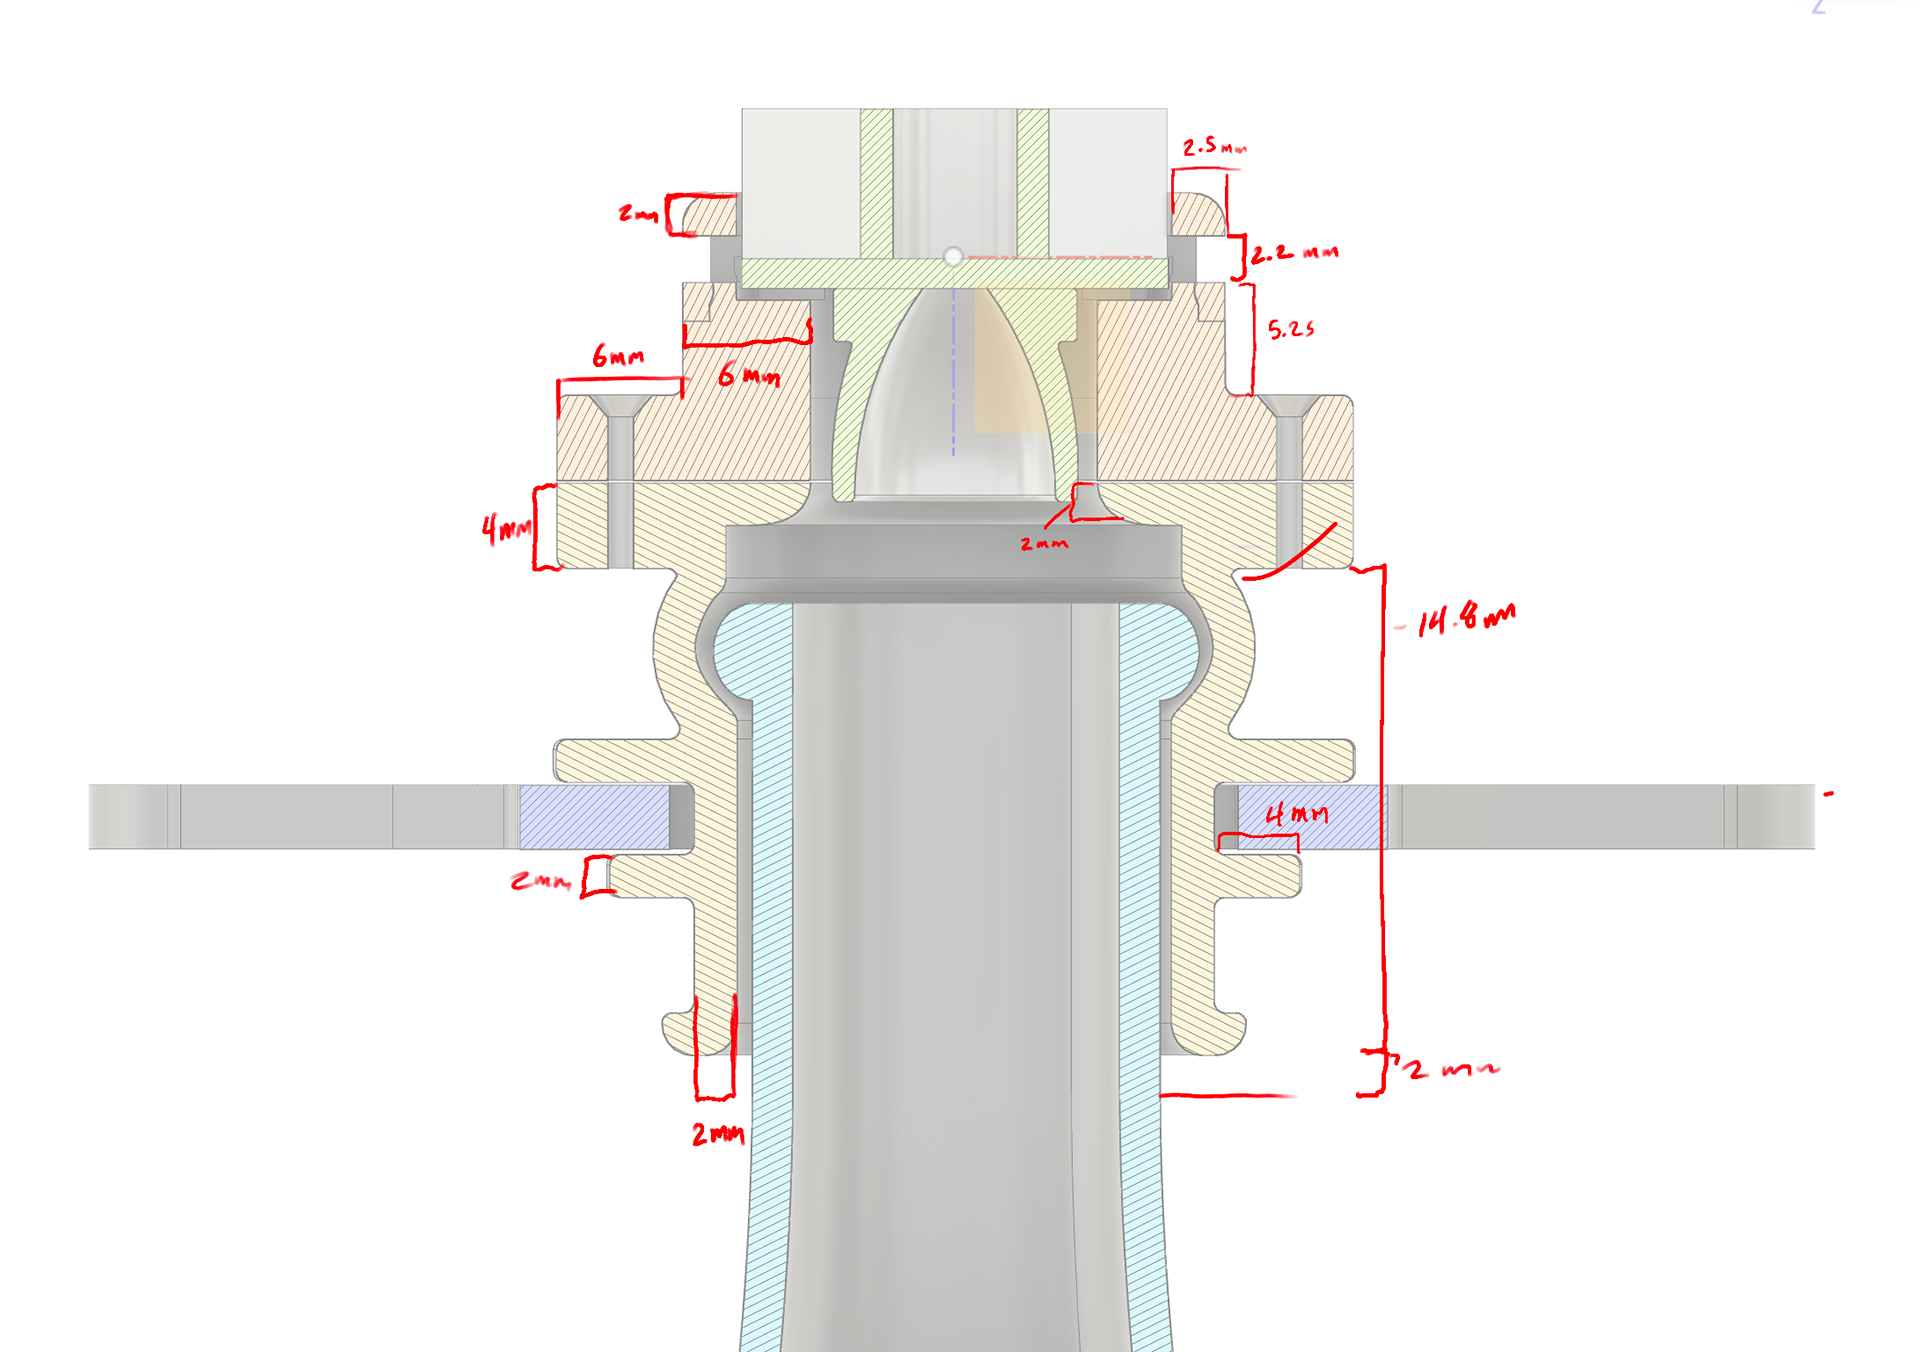


CAD (Fusion360)
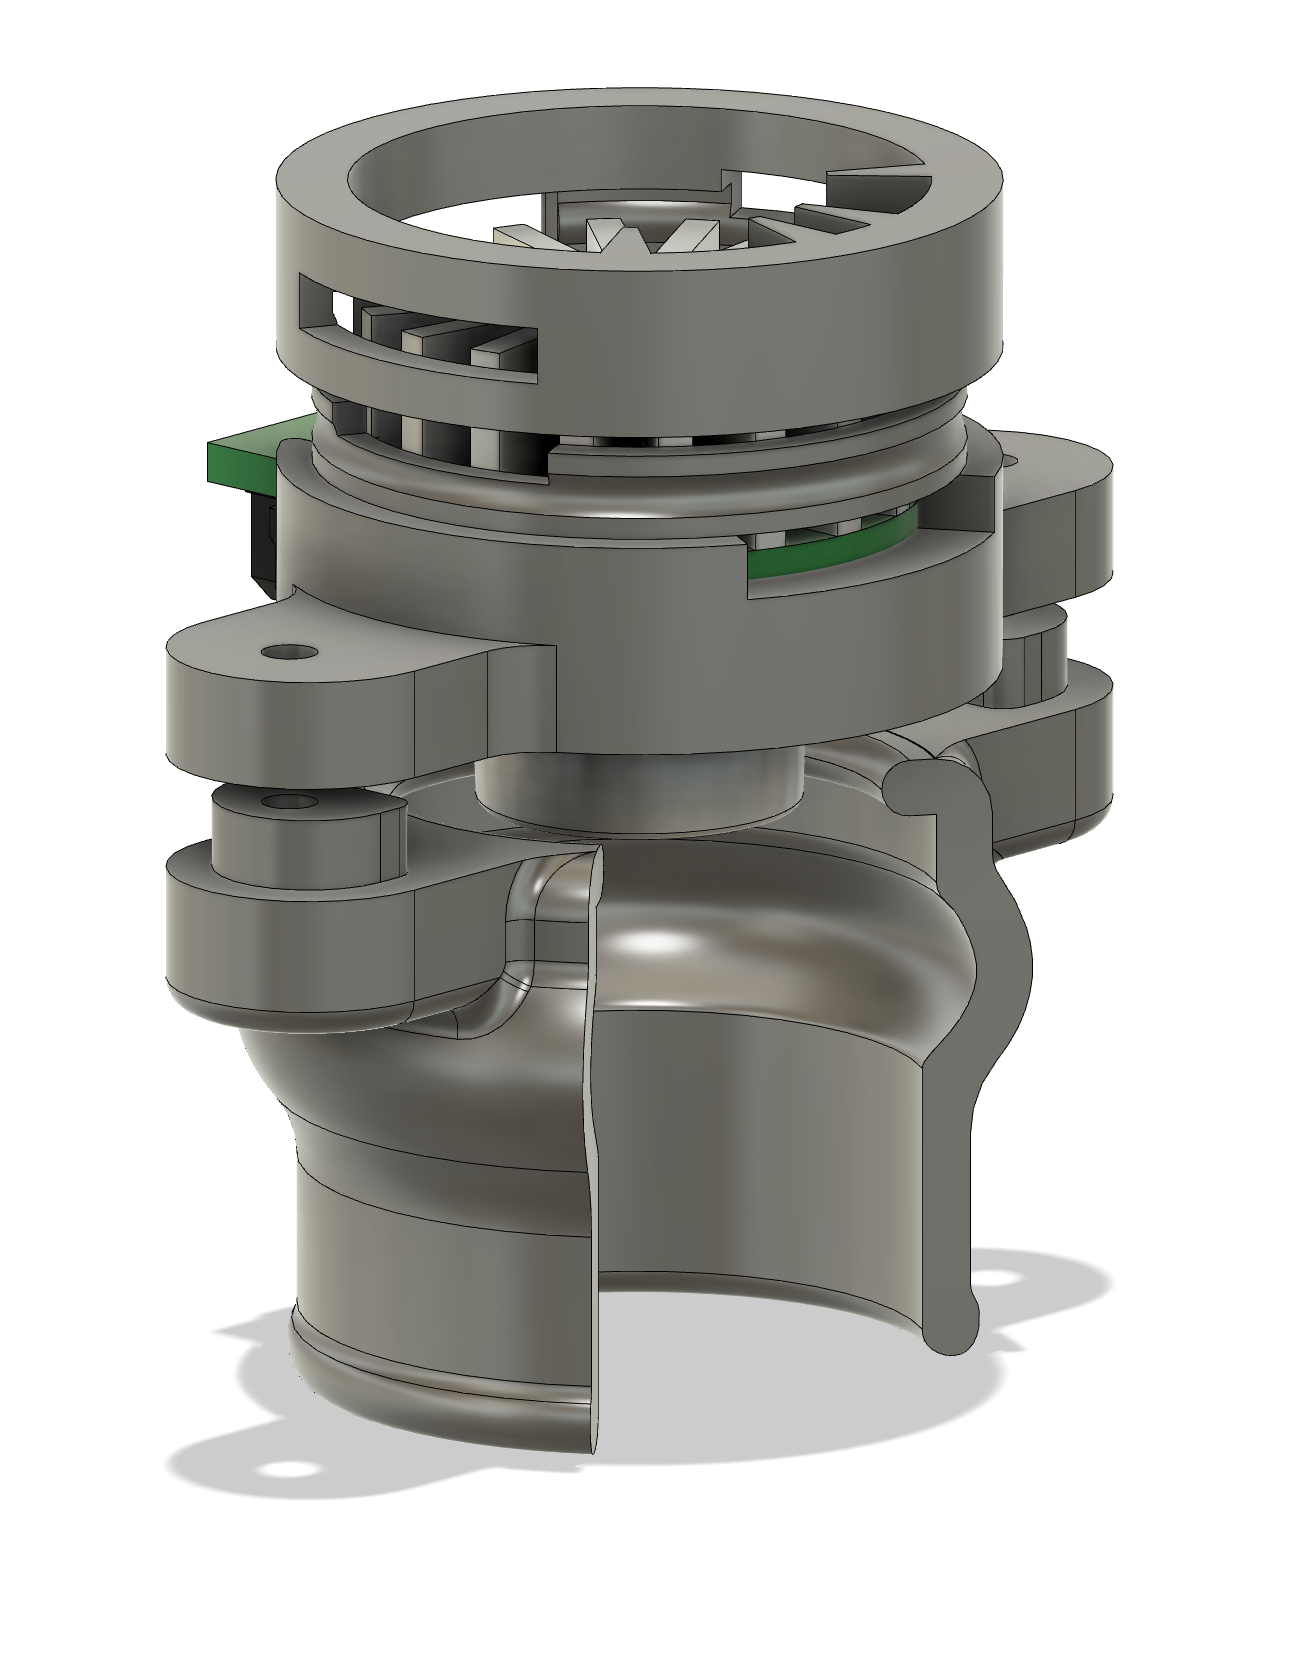
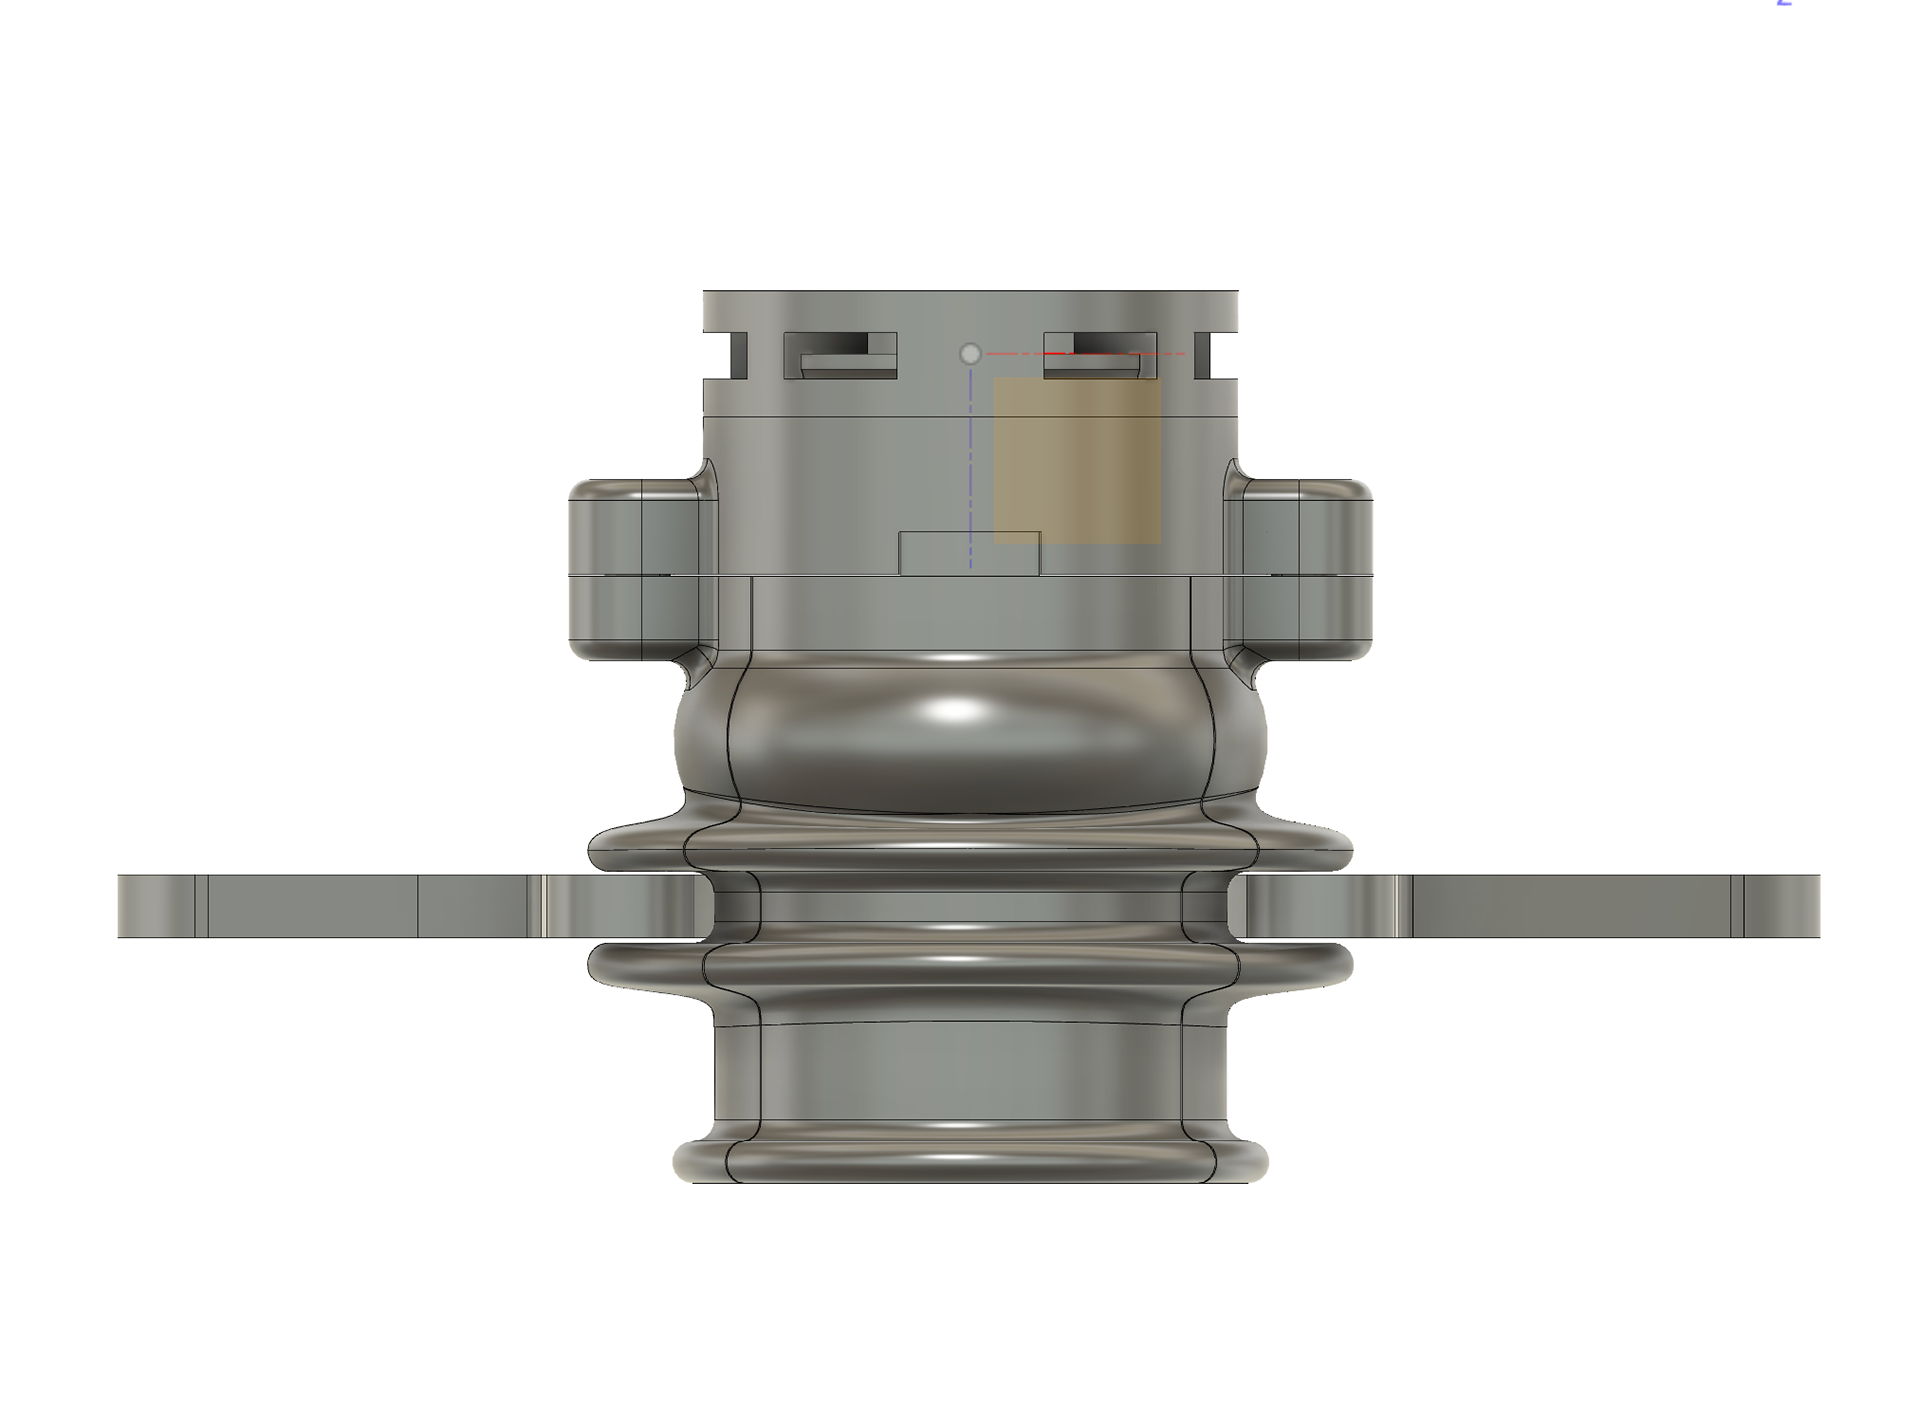
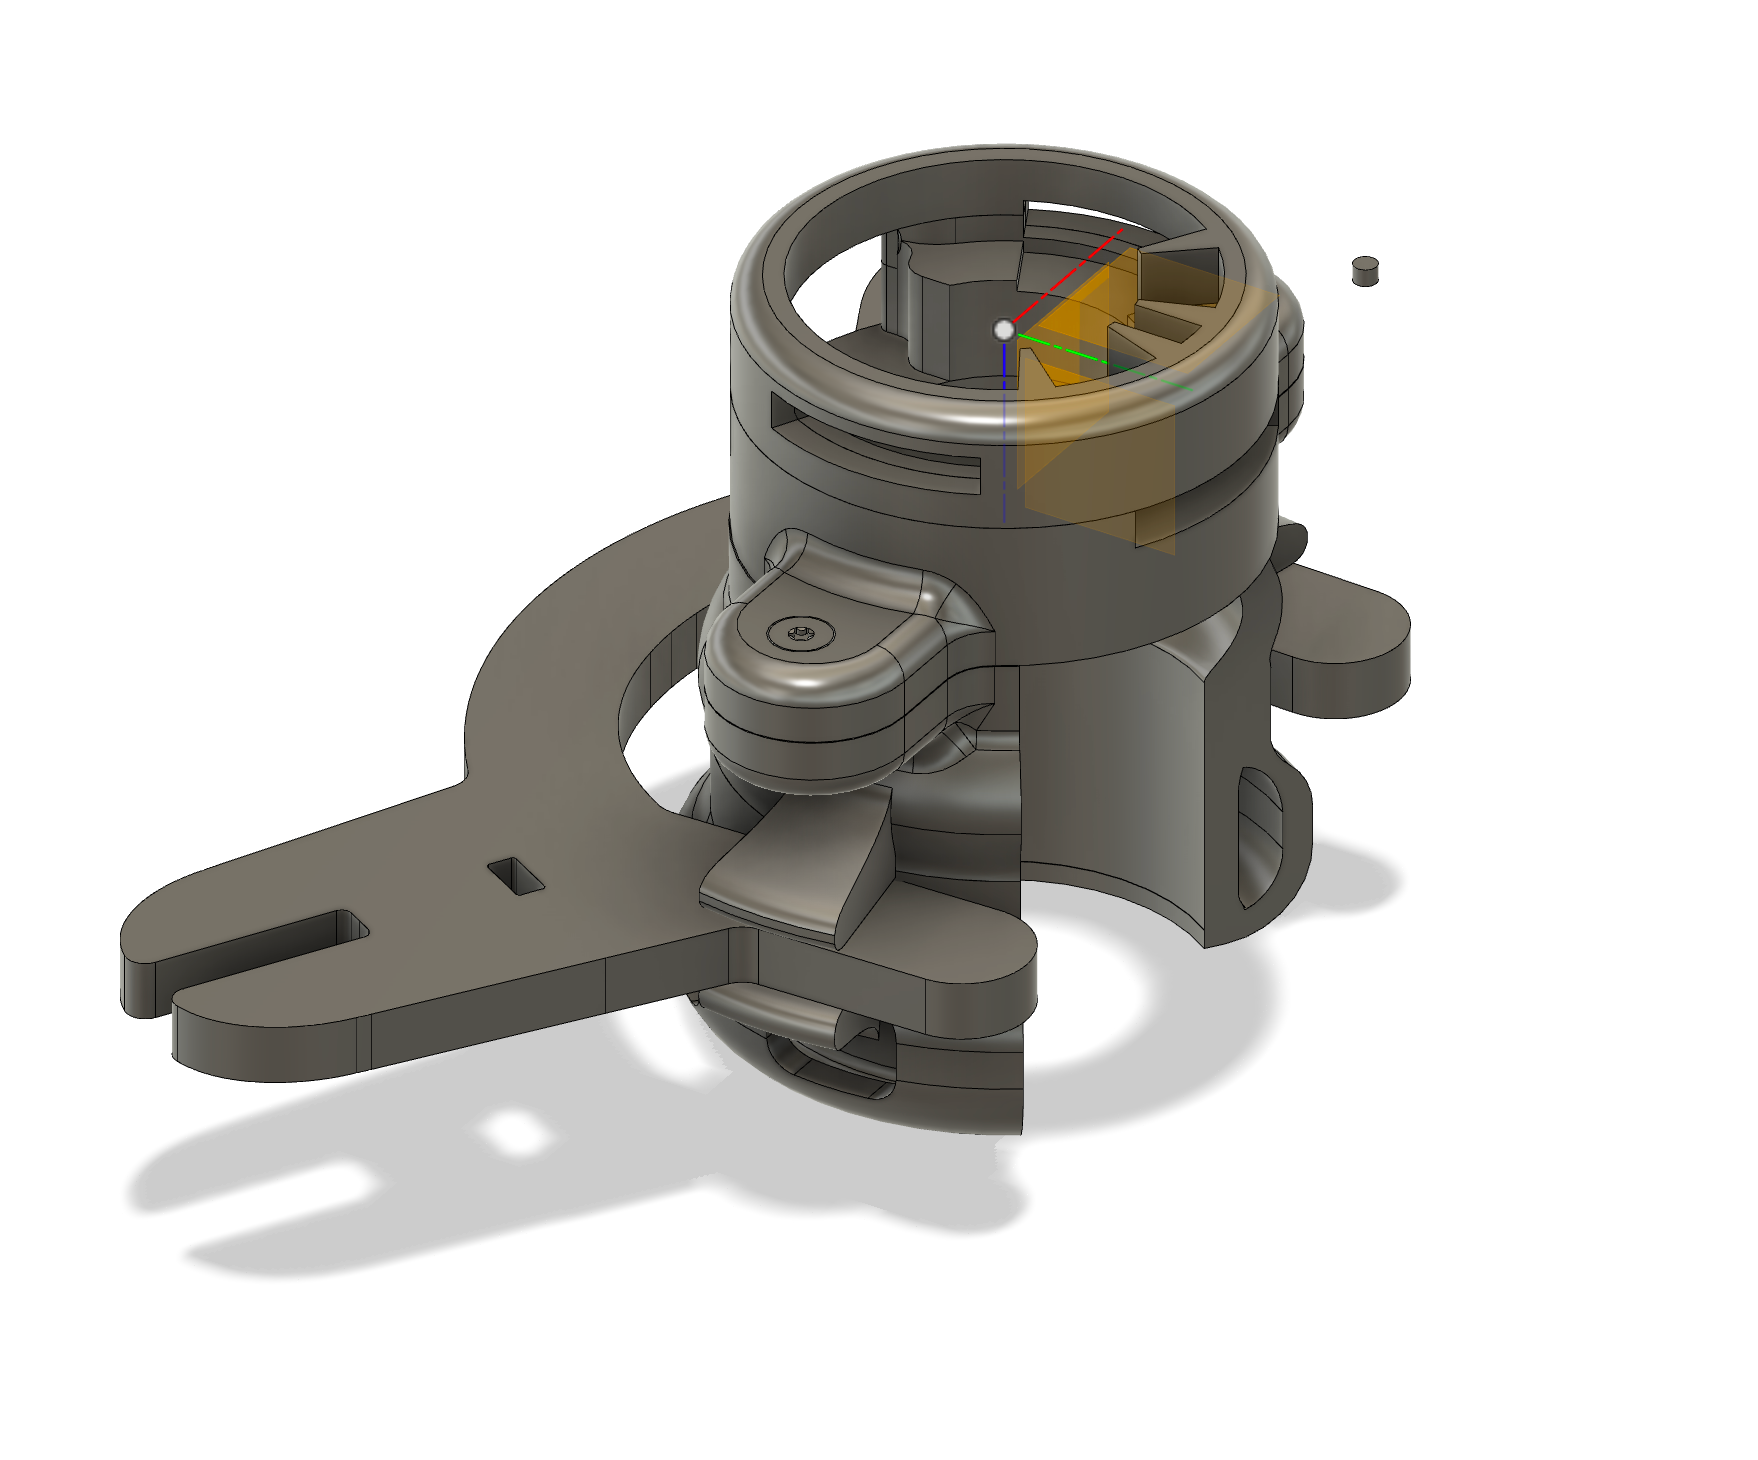
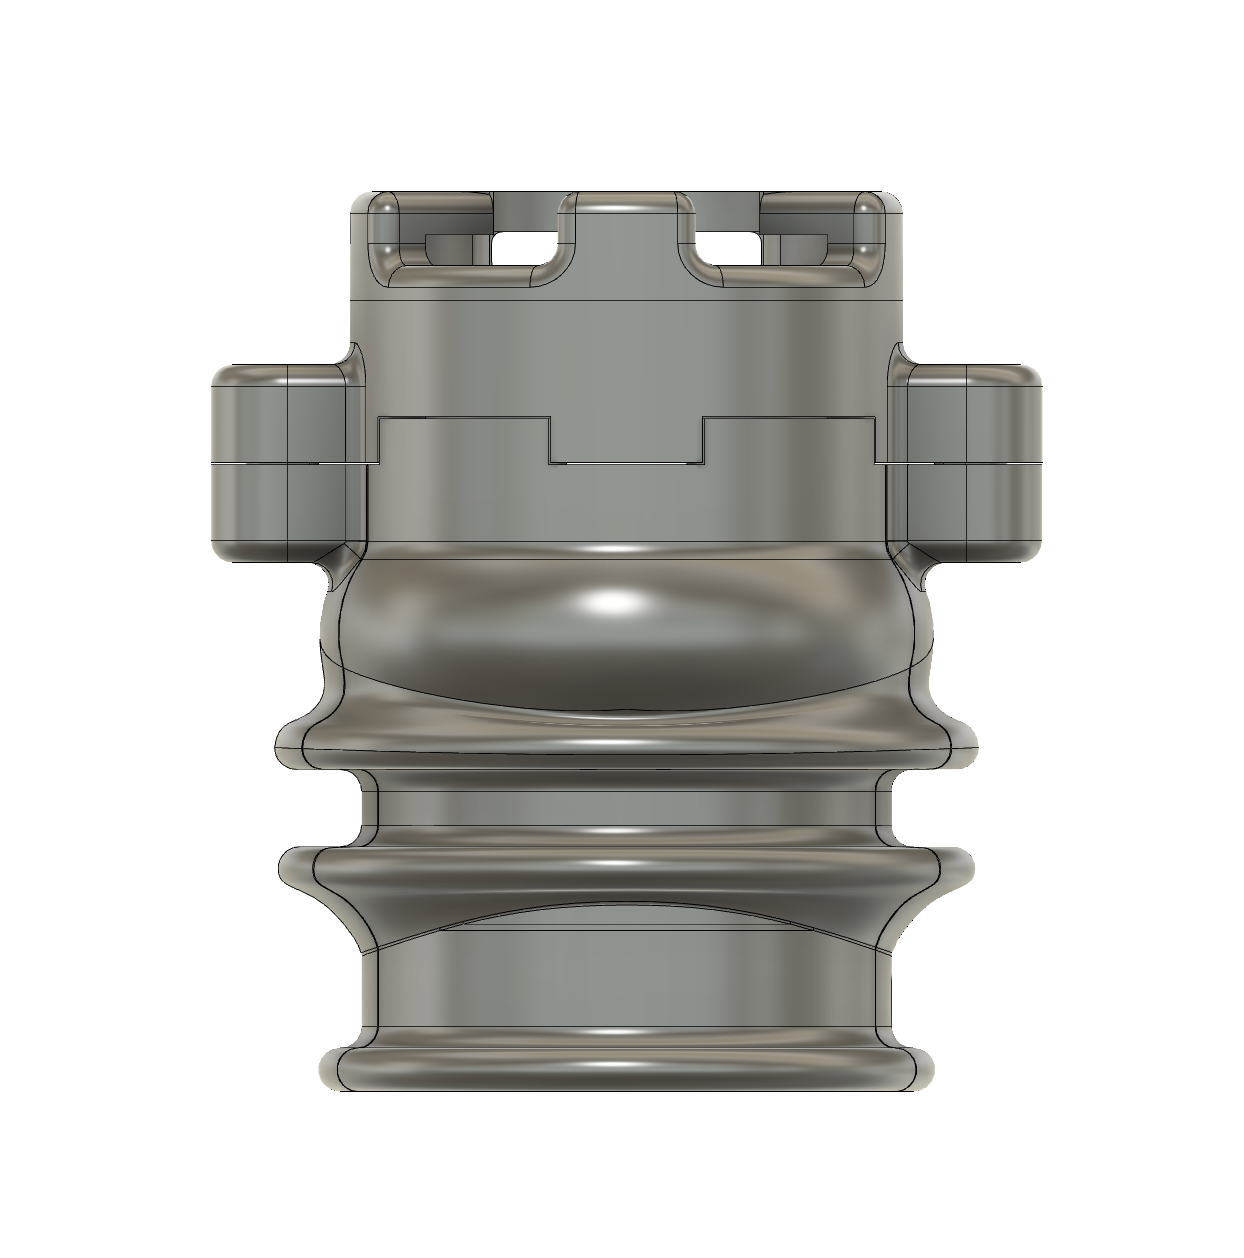
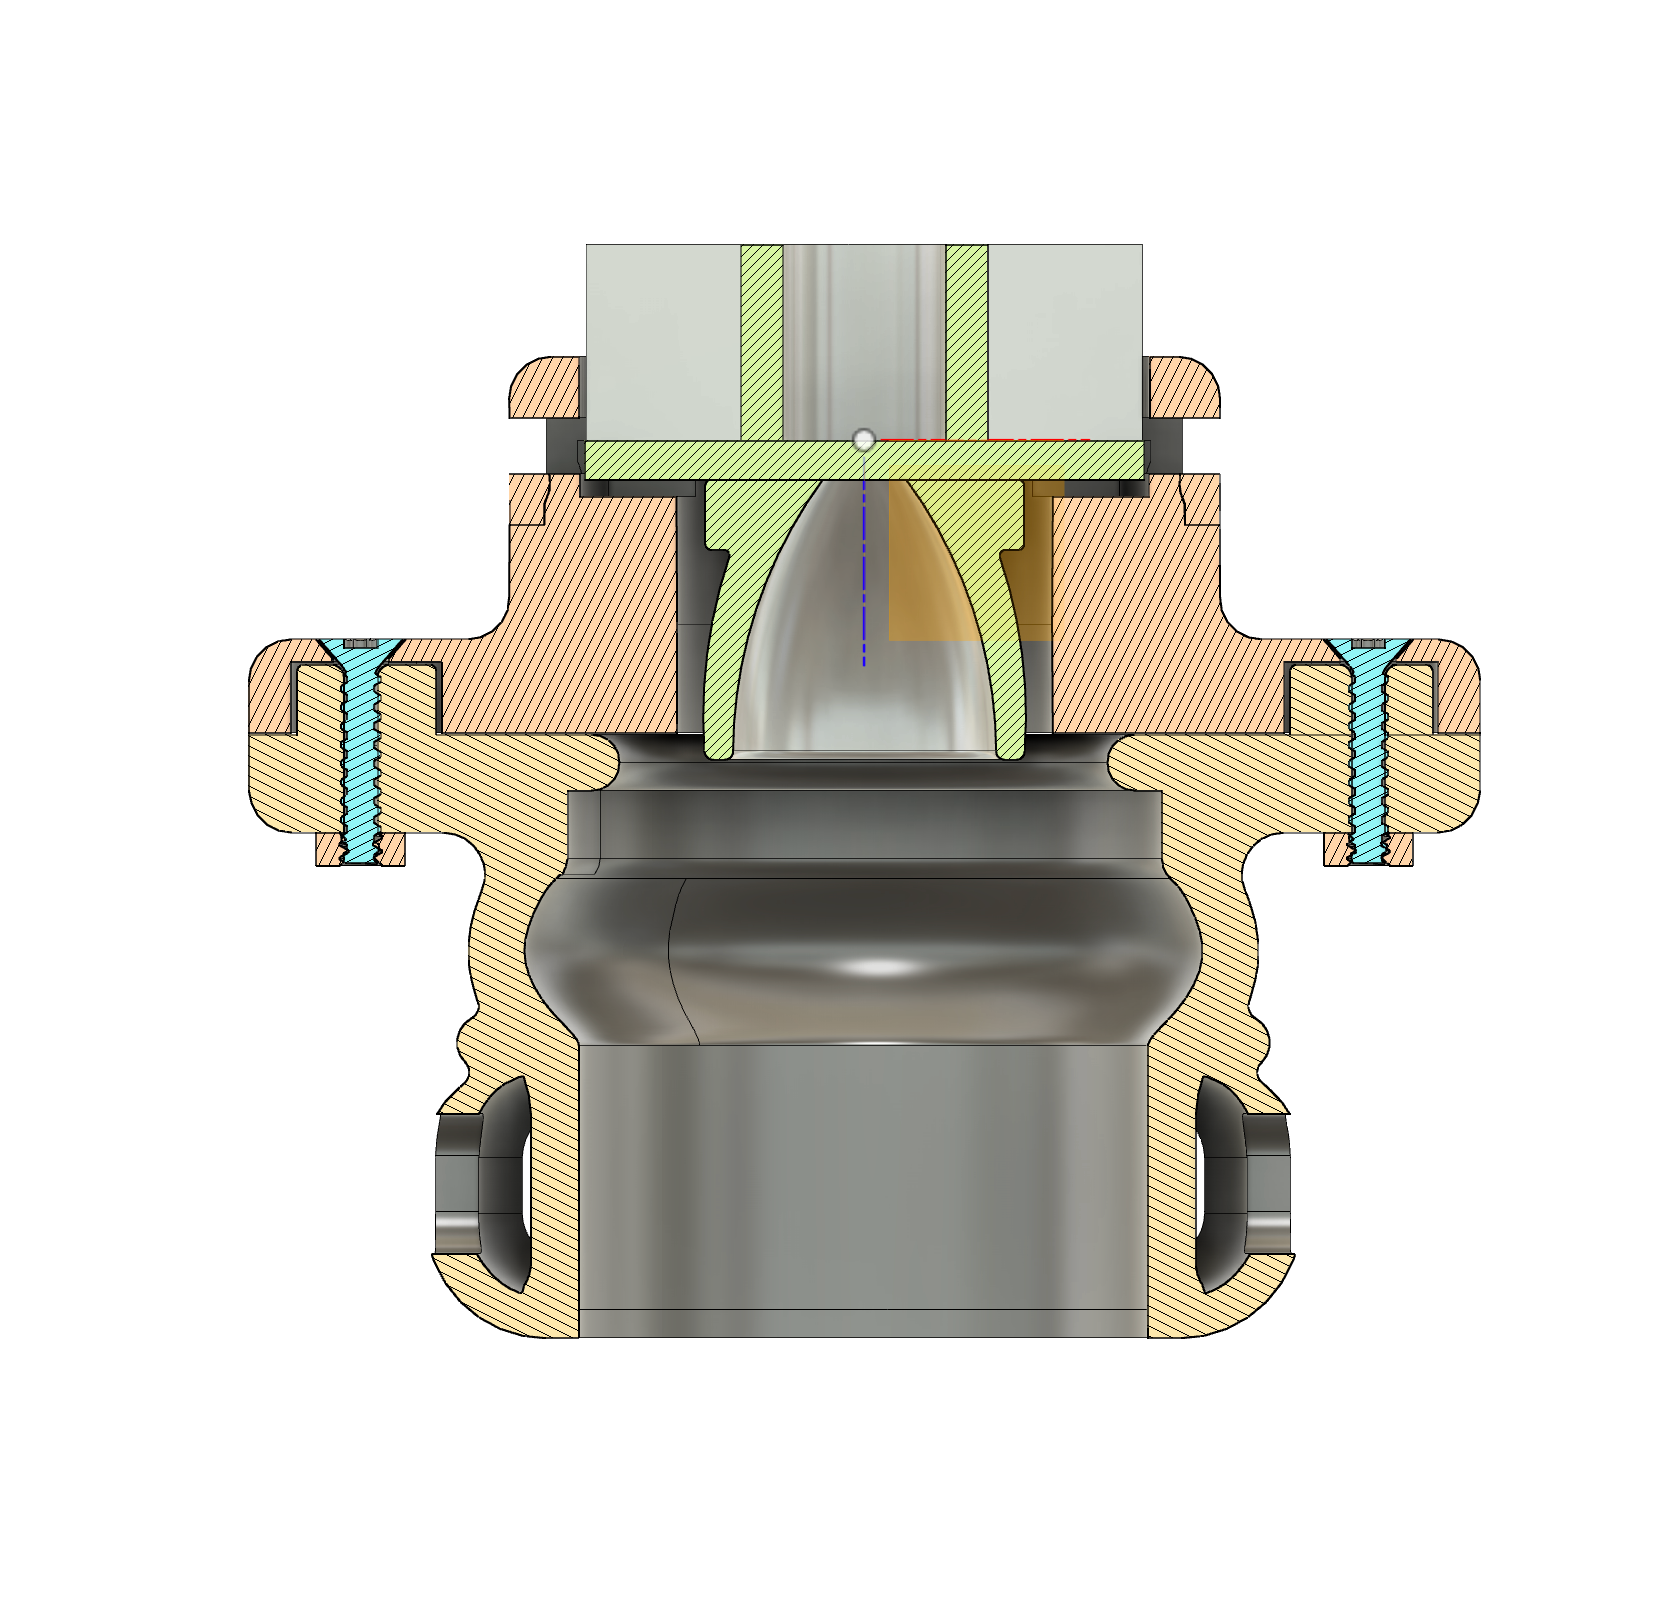
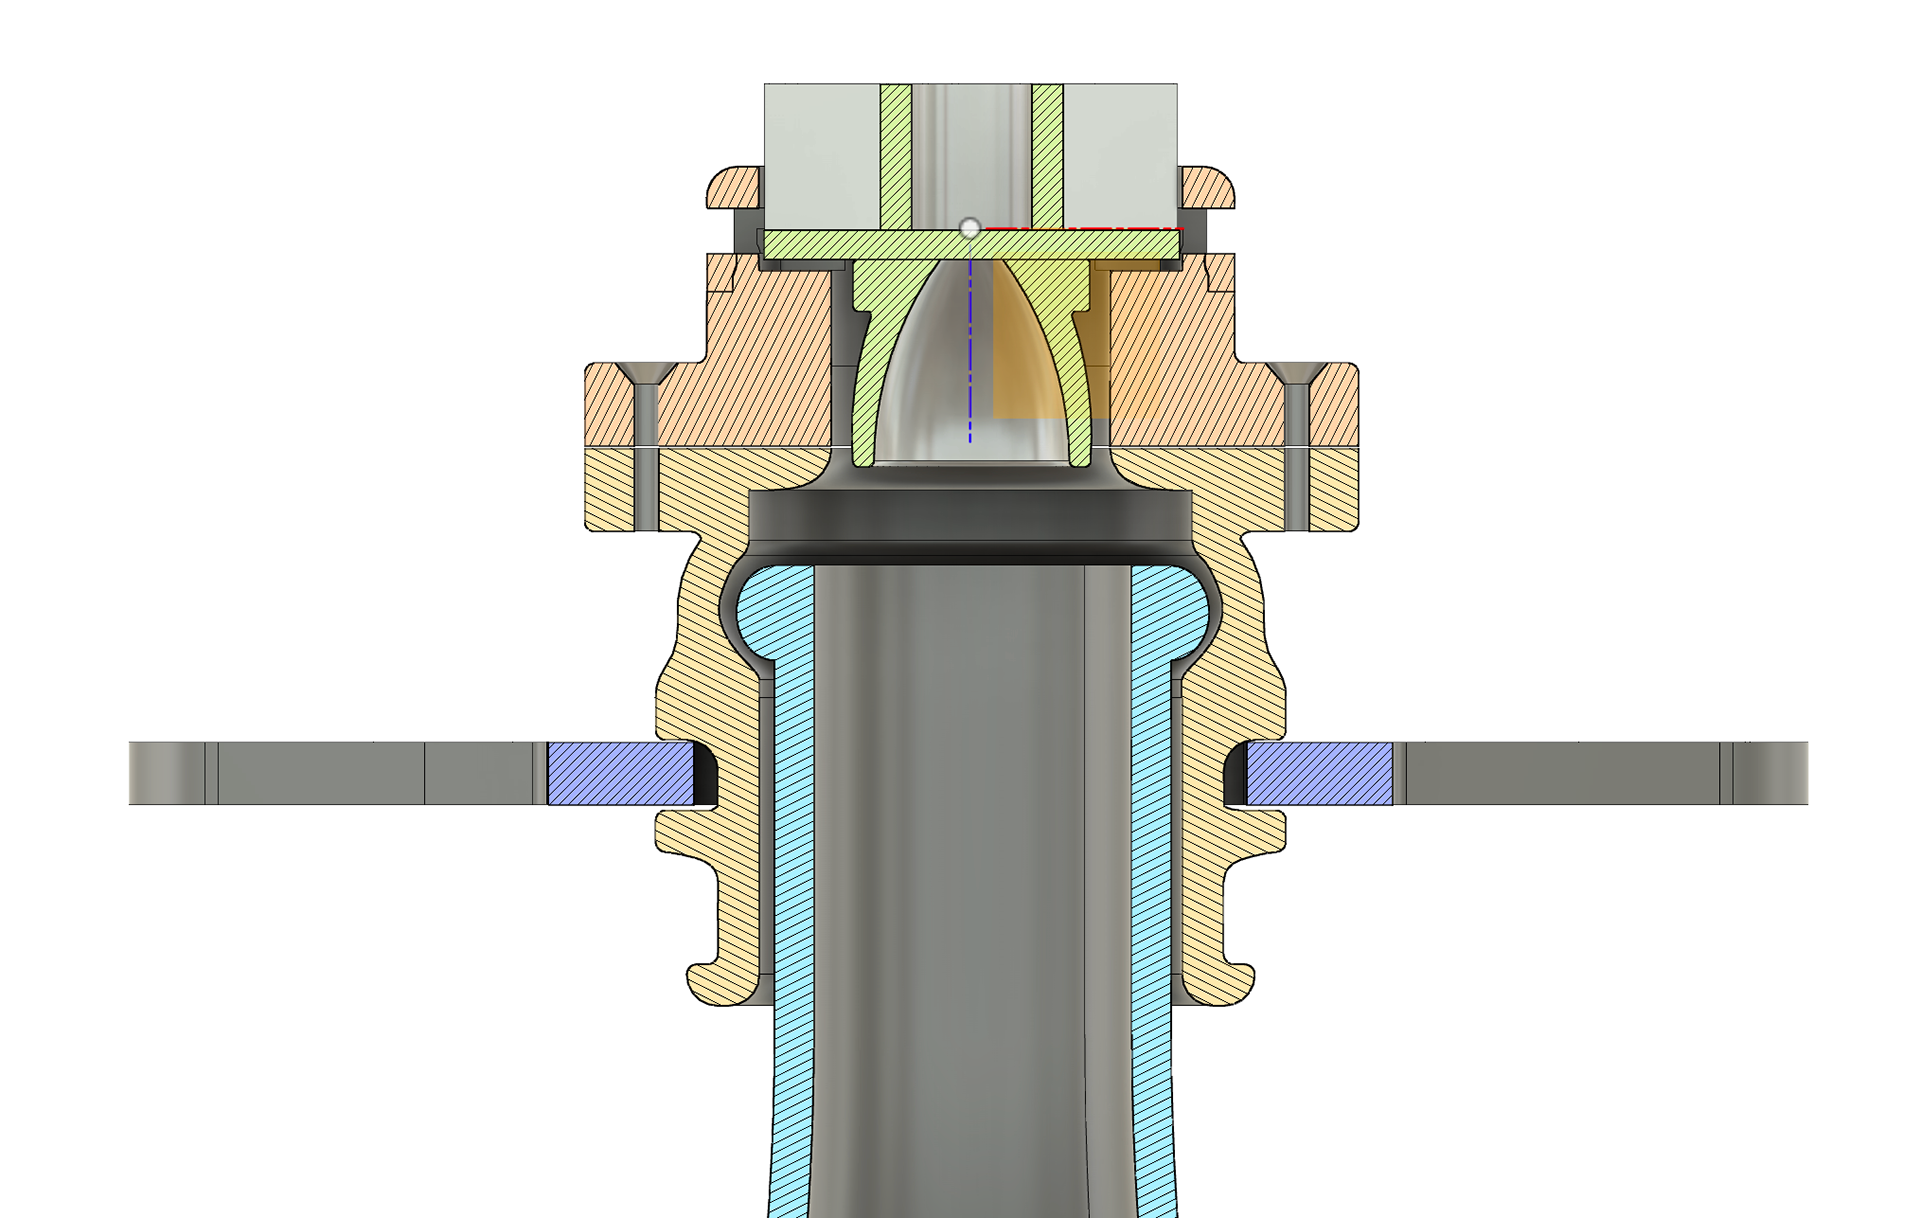
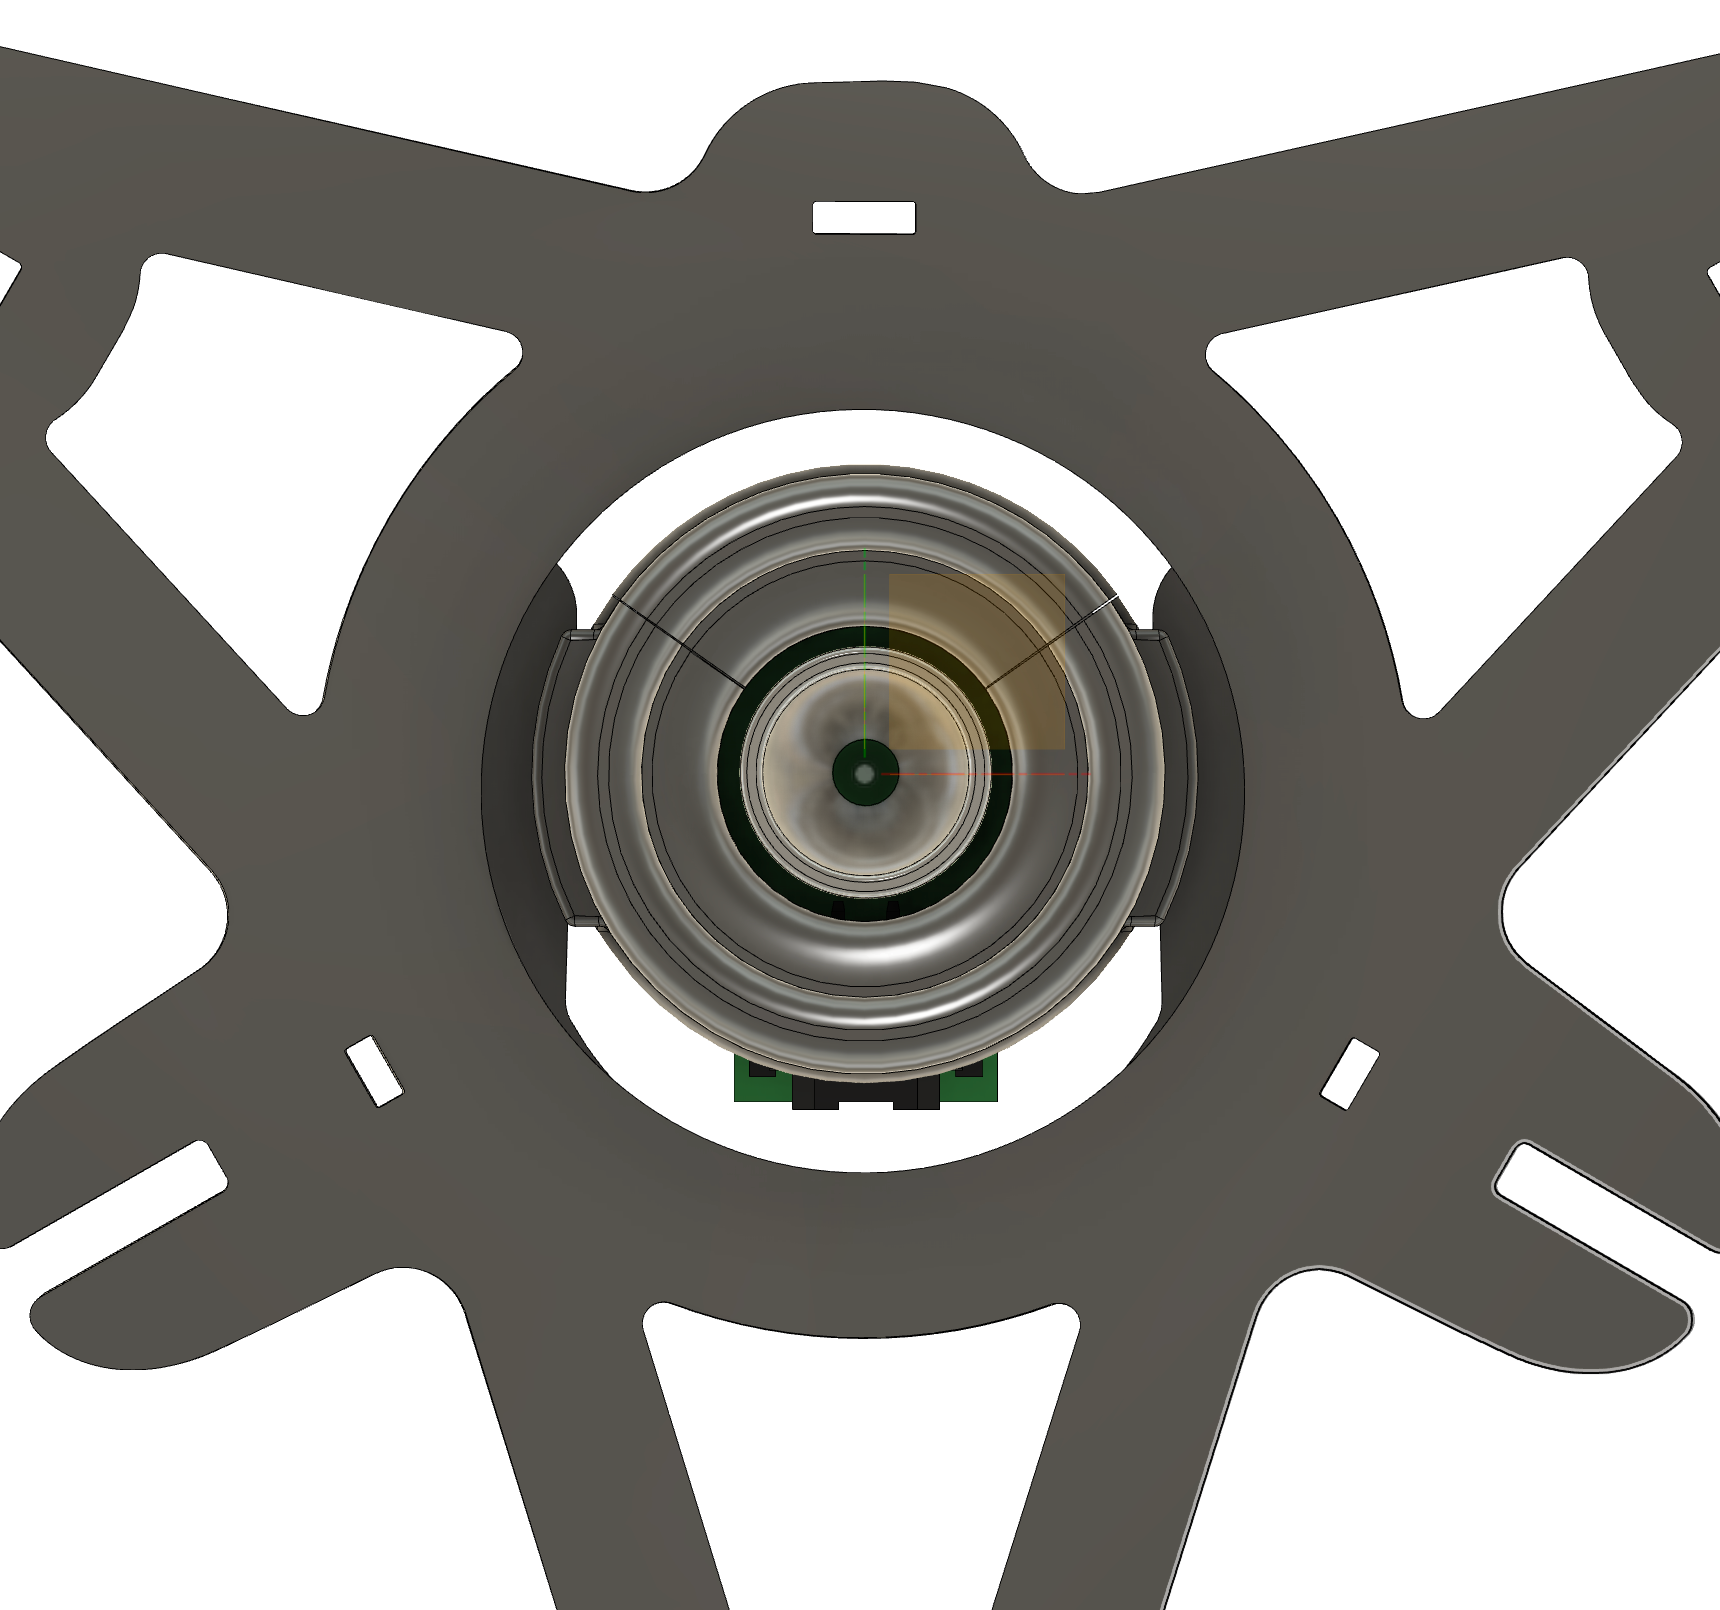
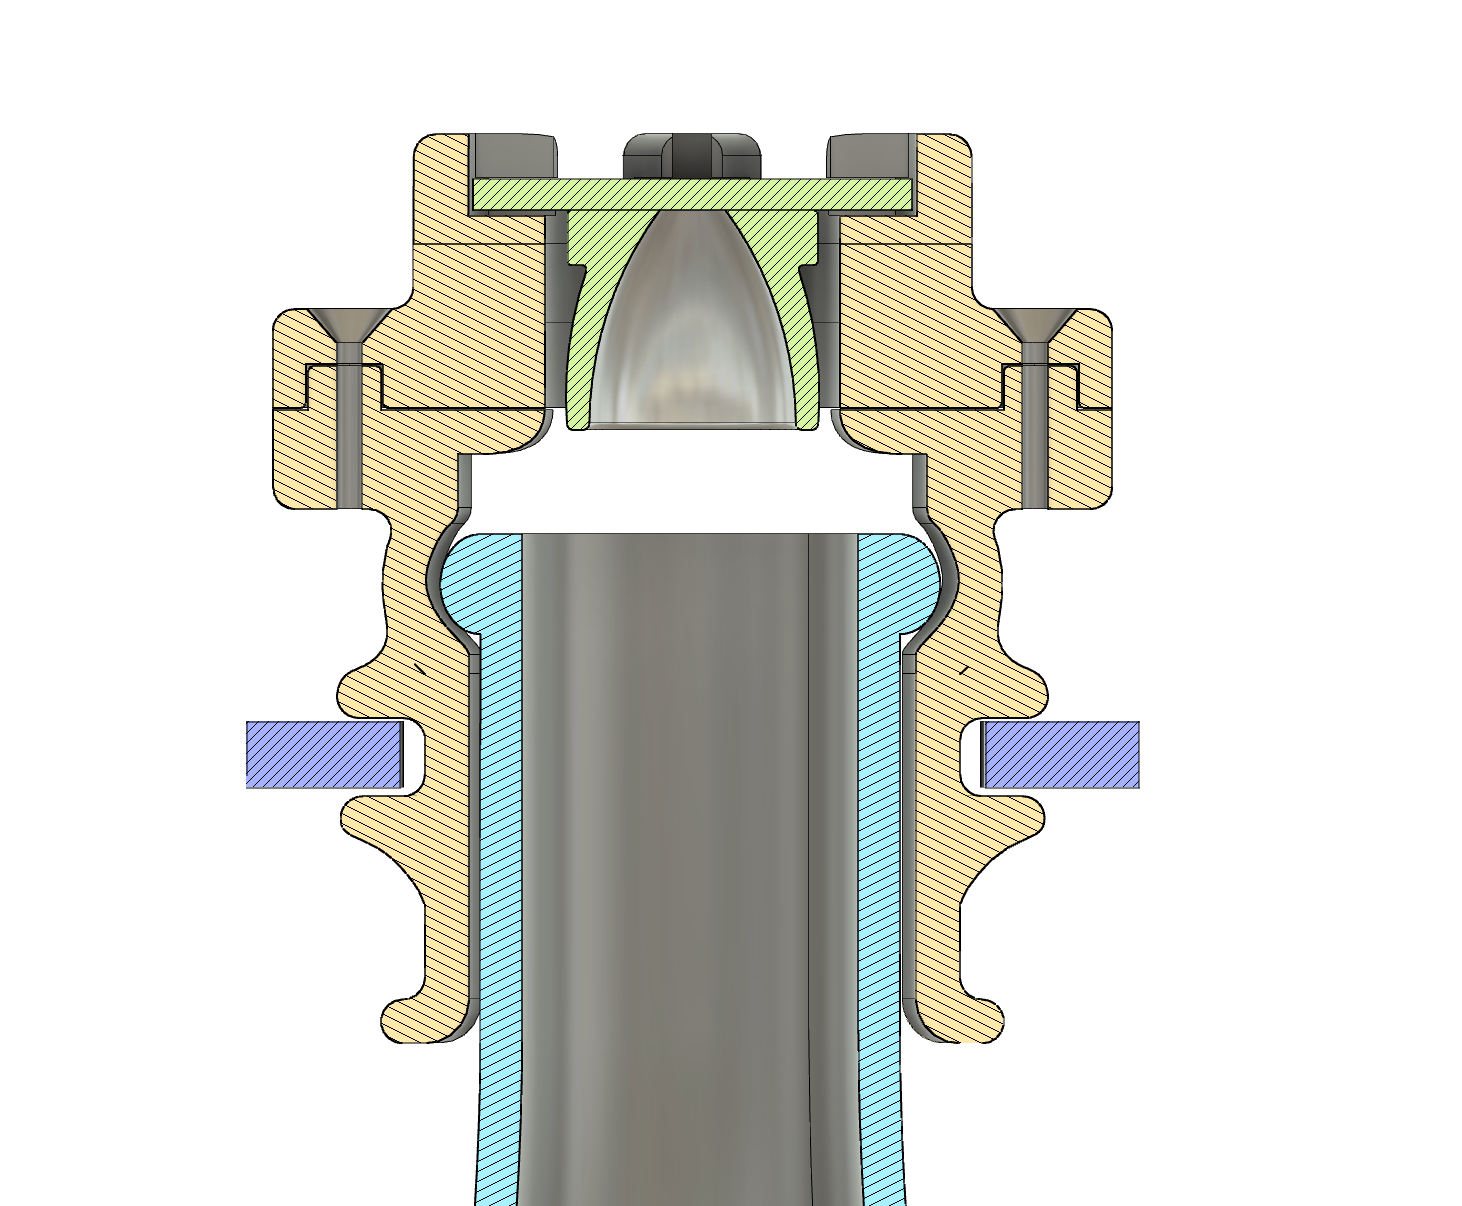
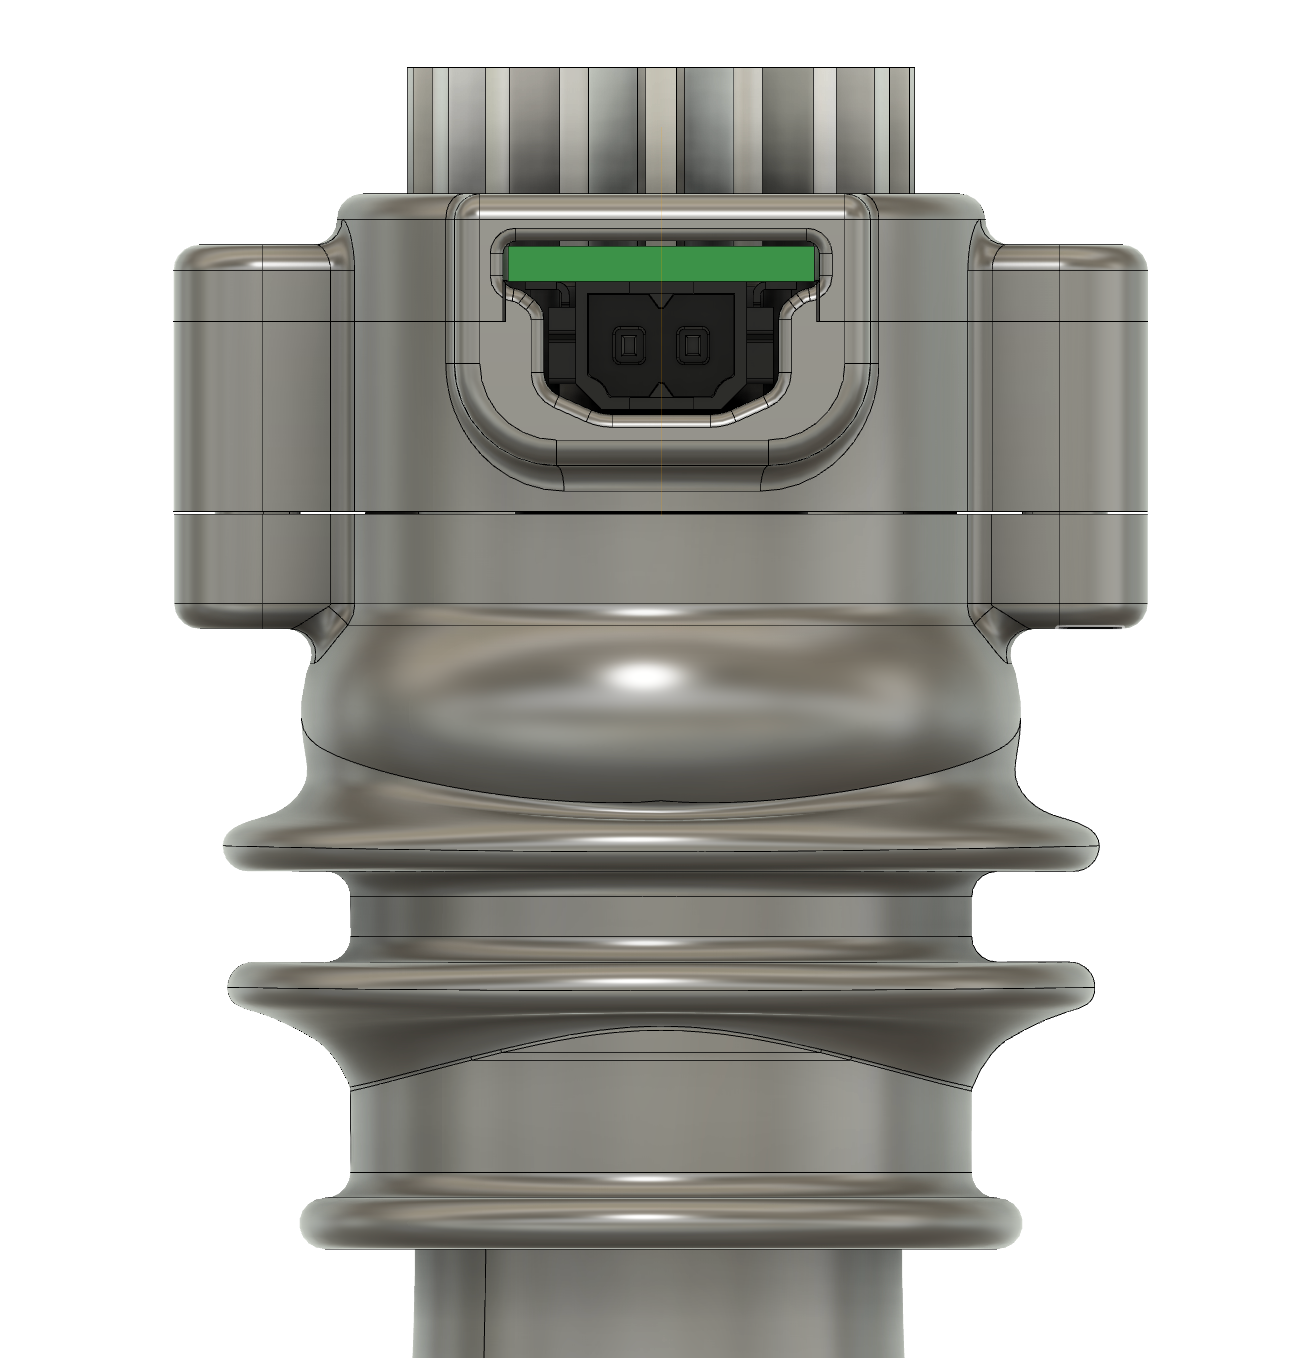
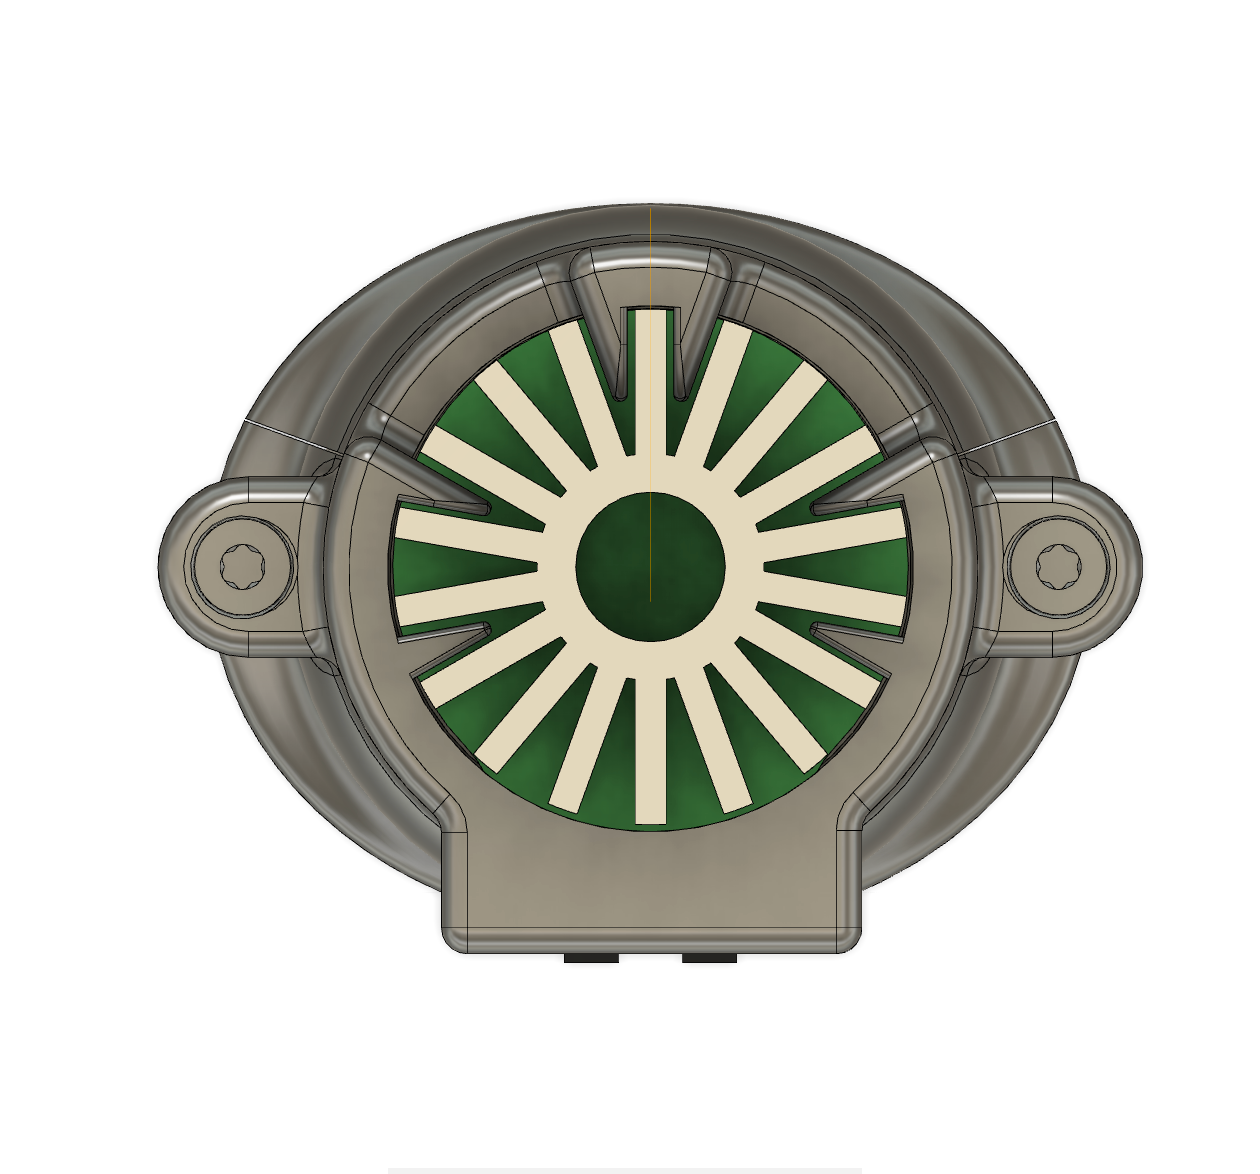
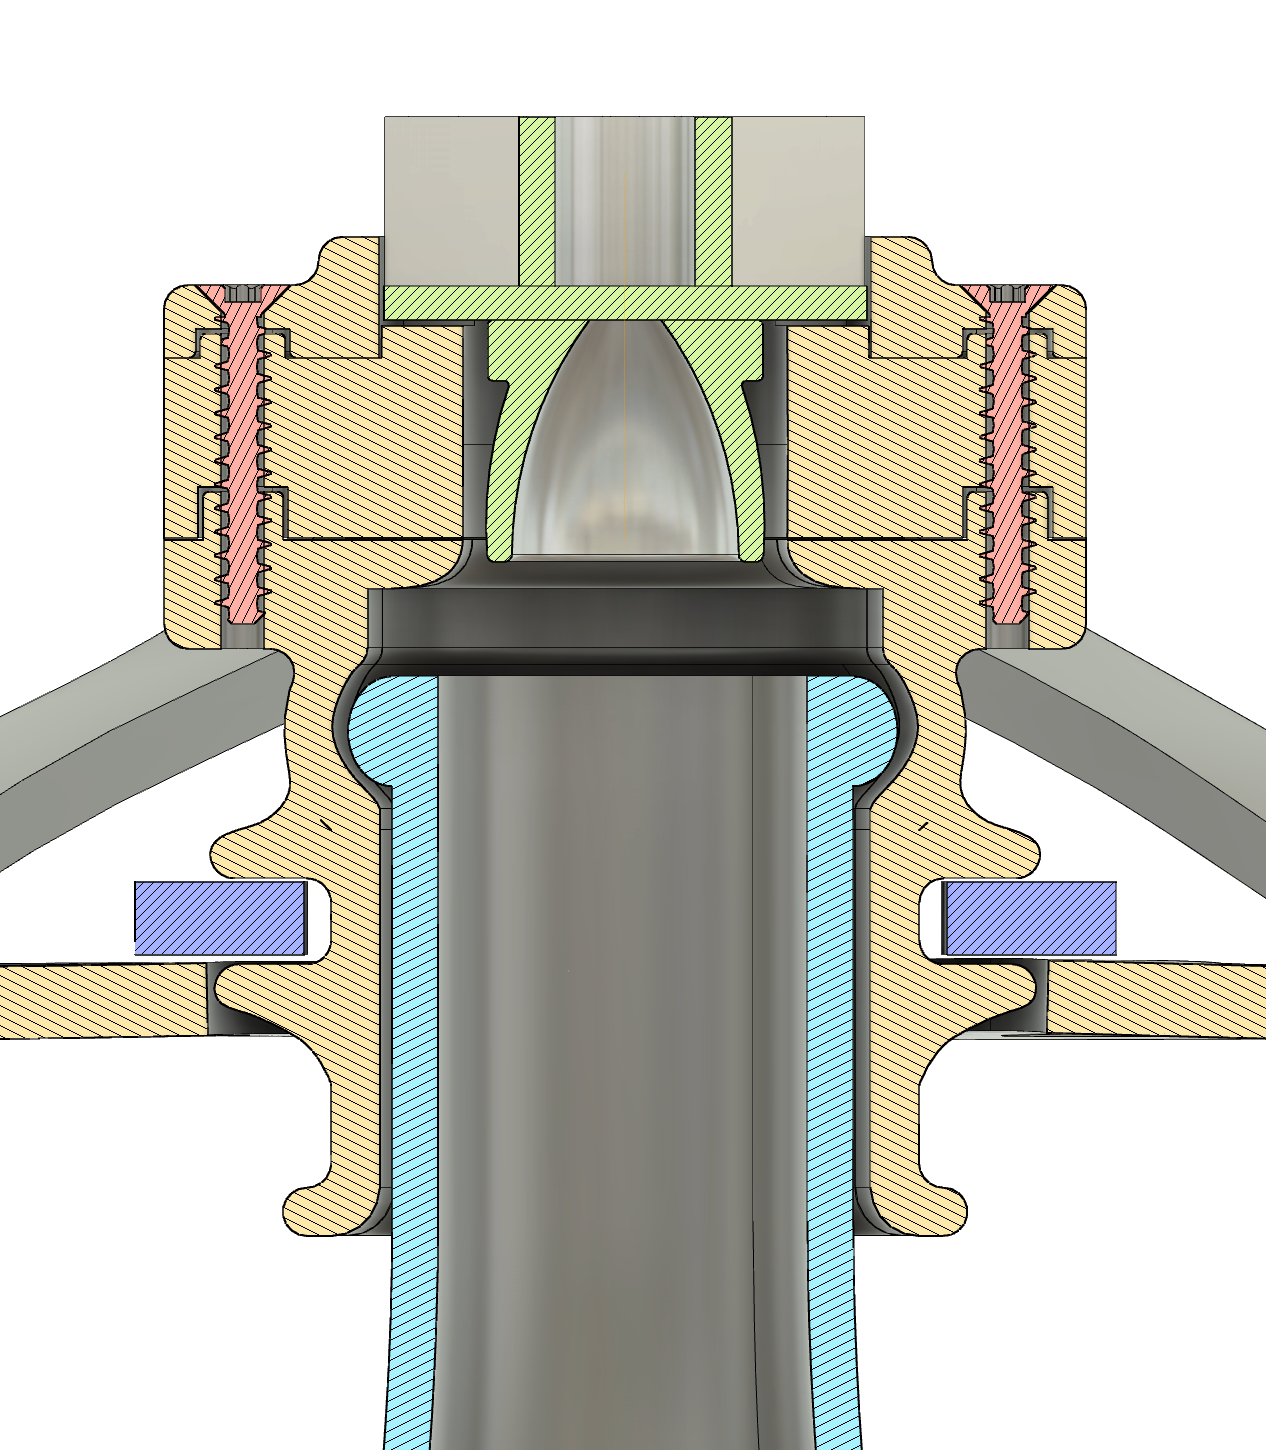
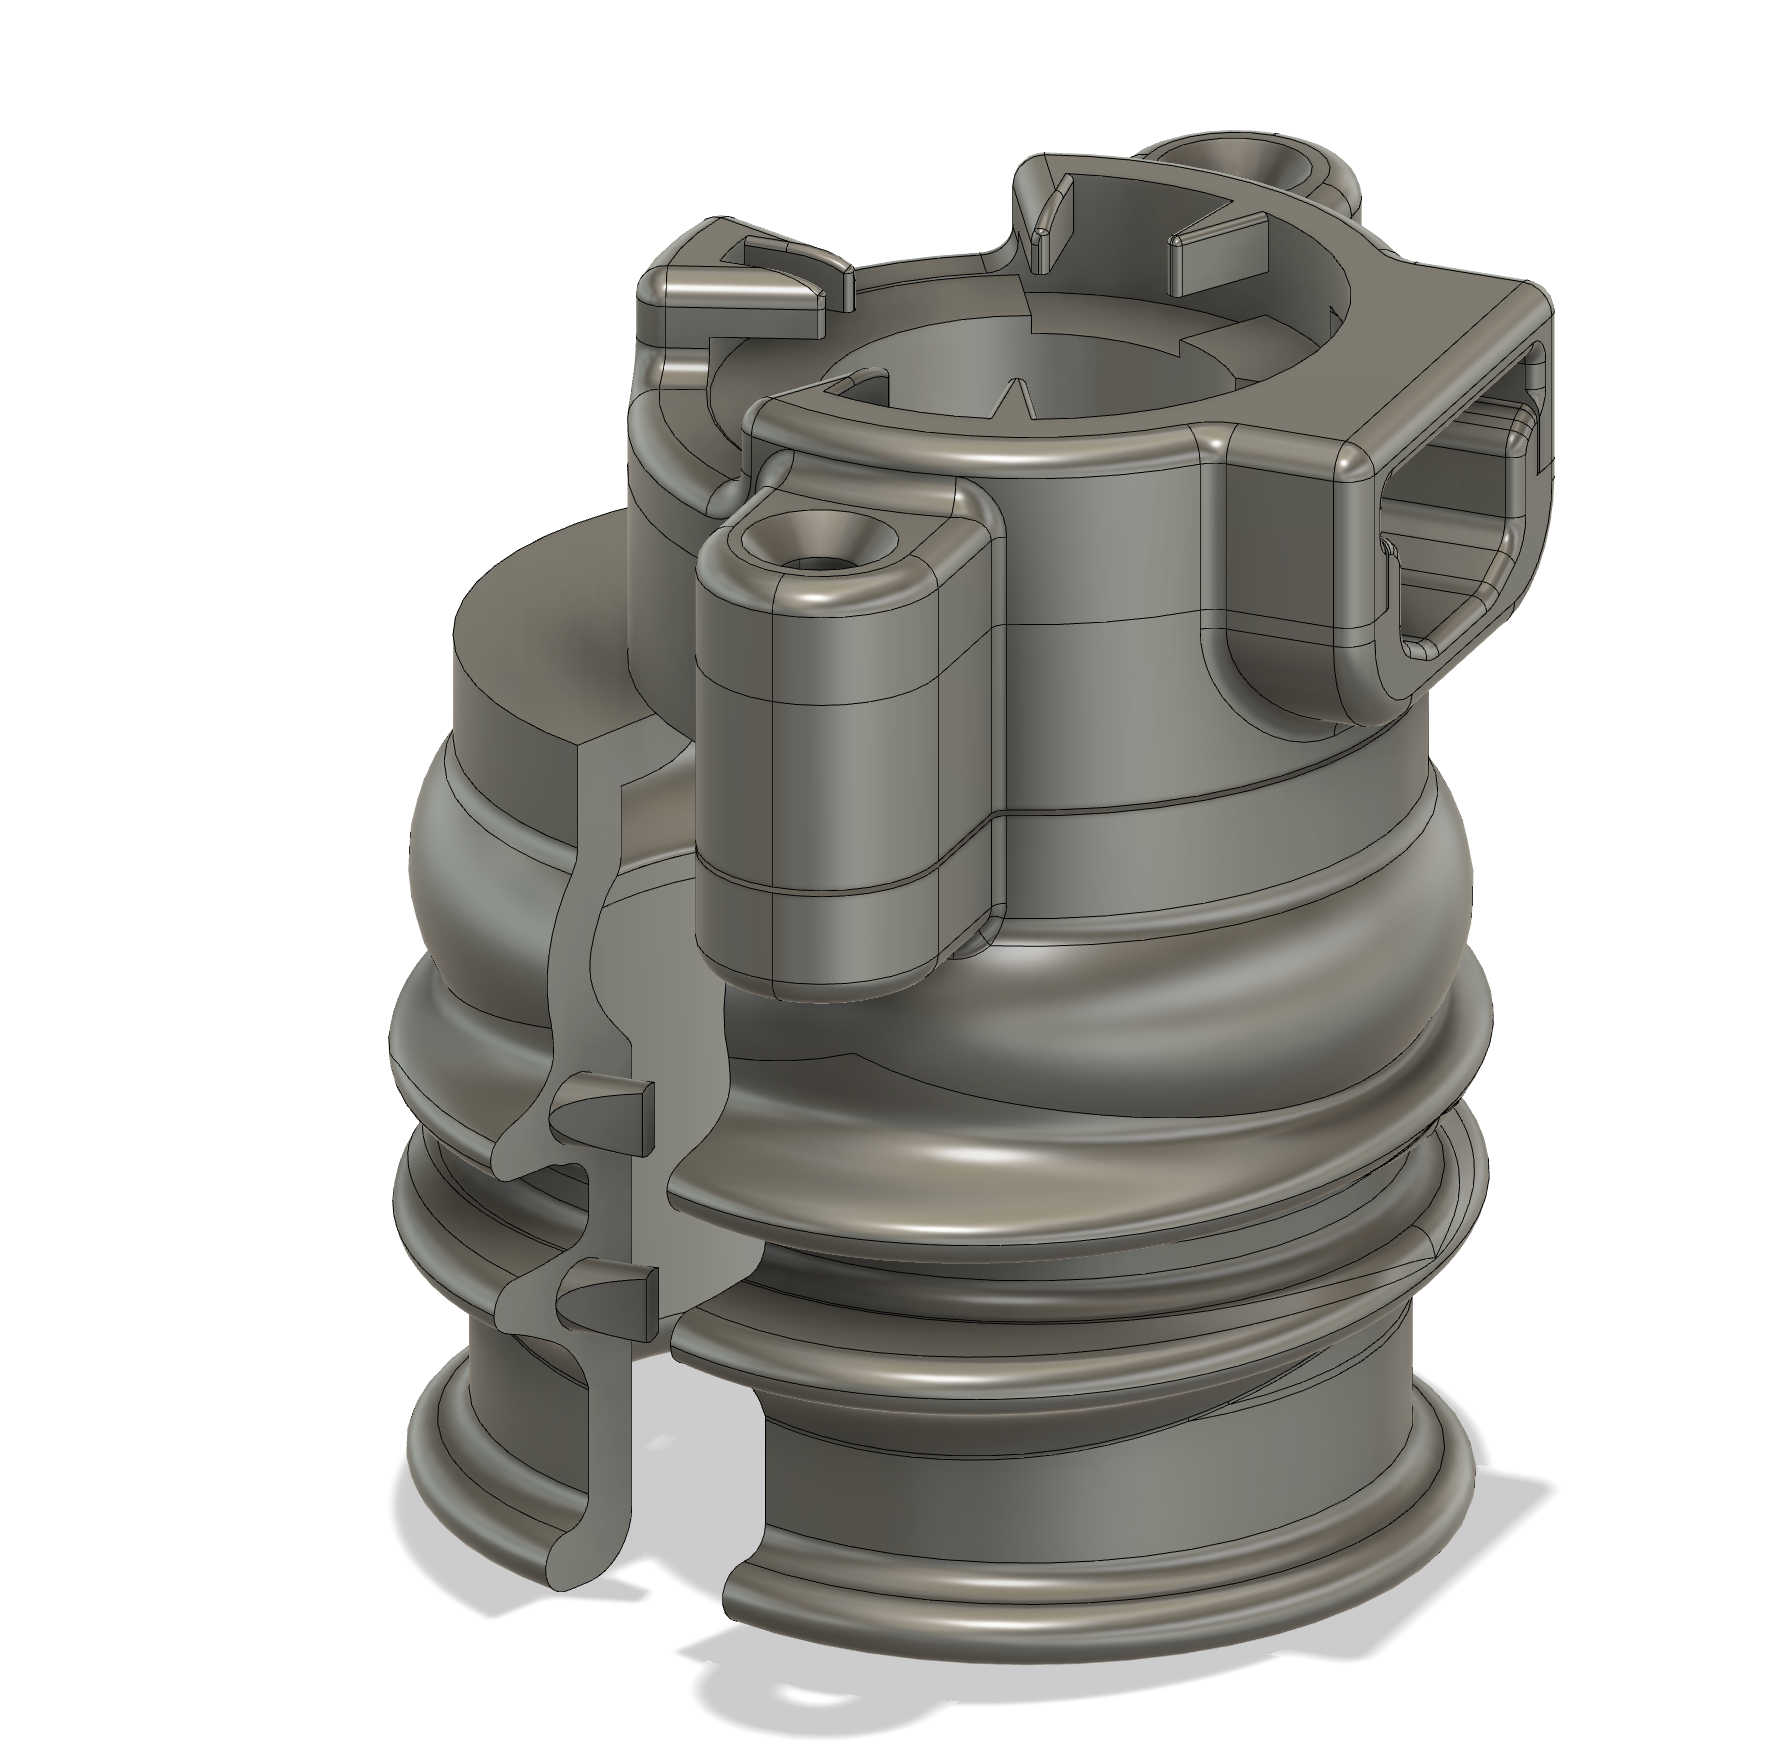
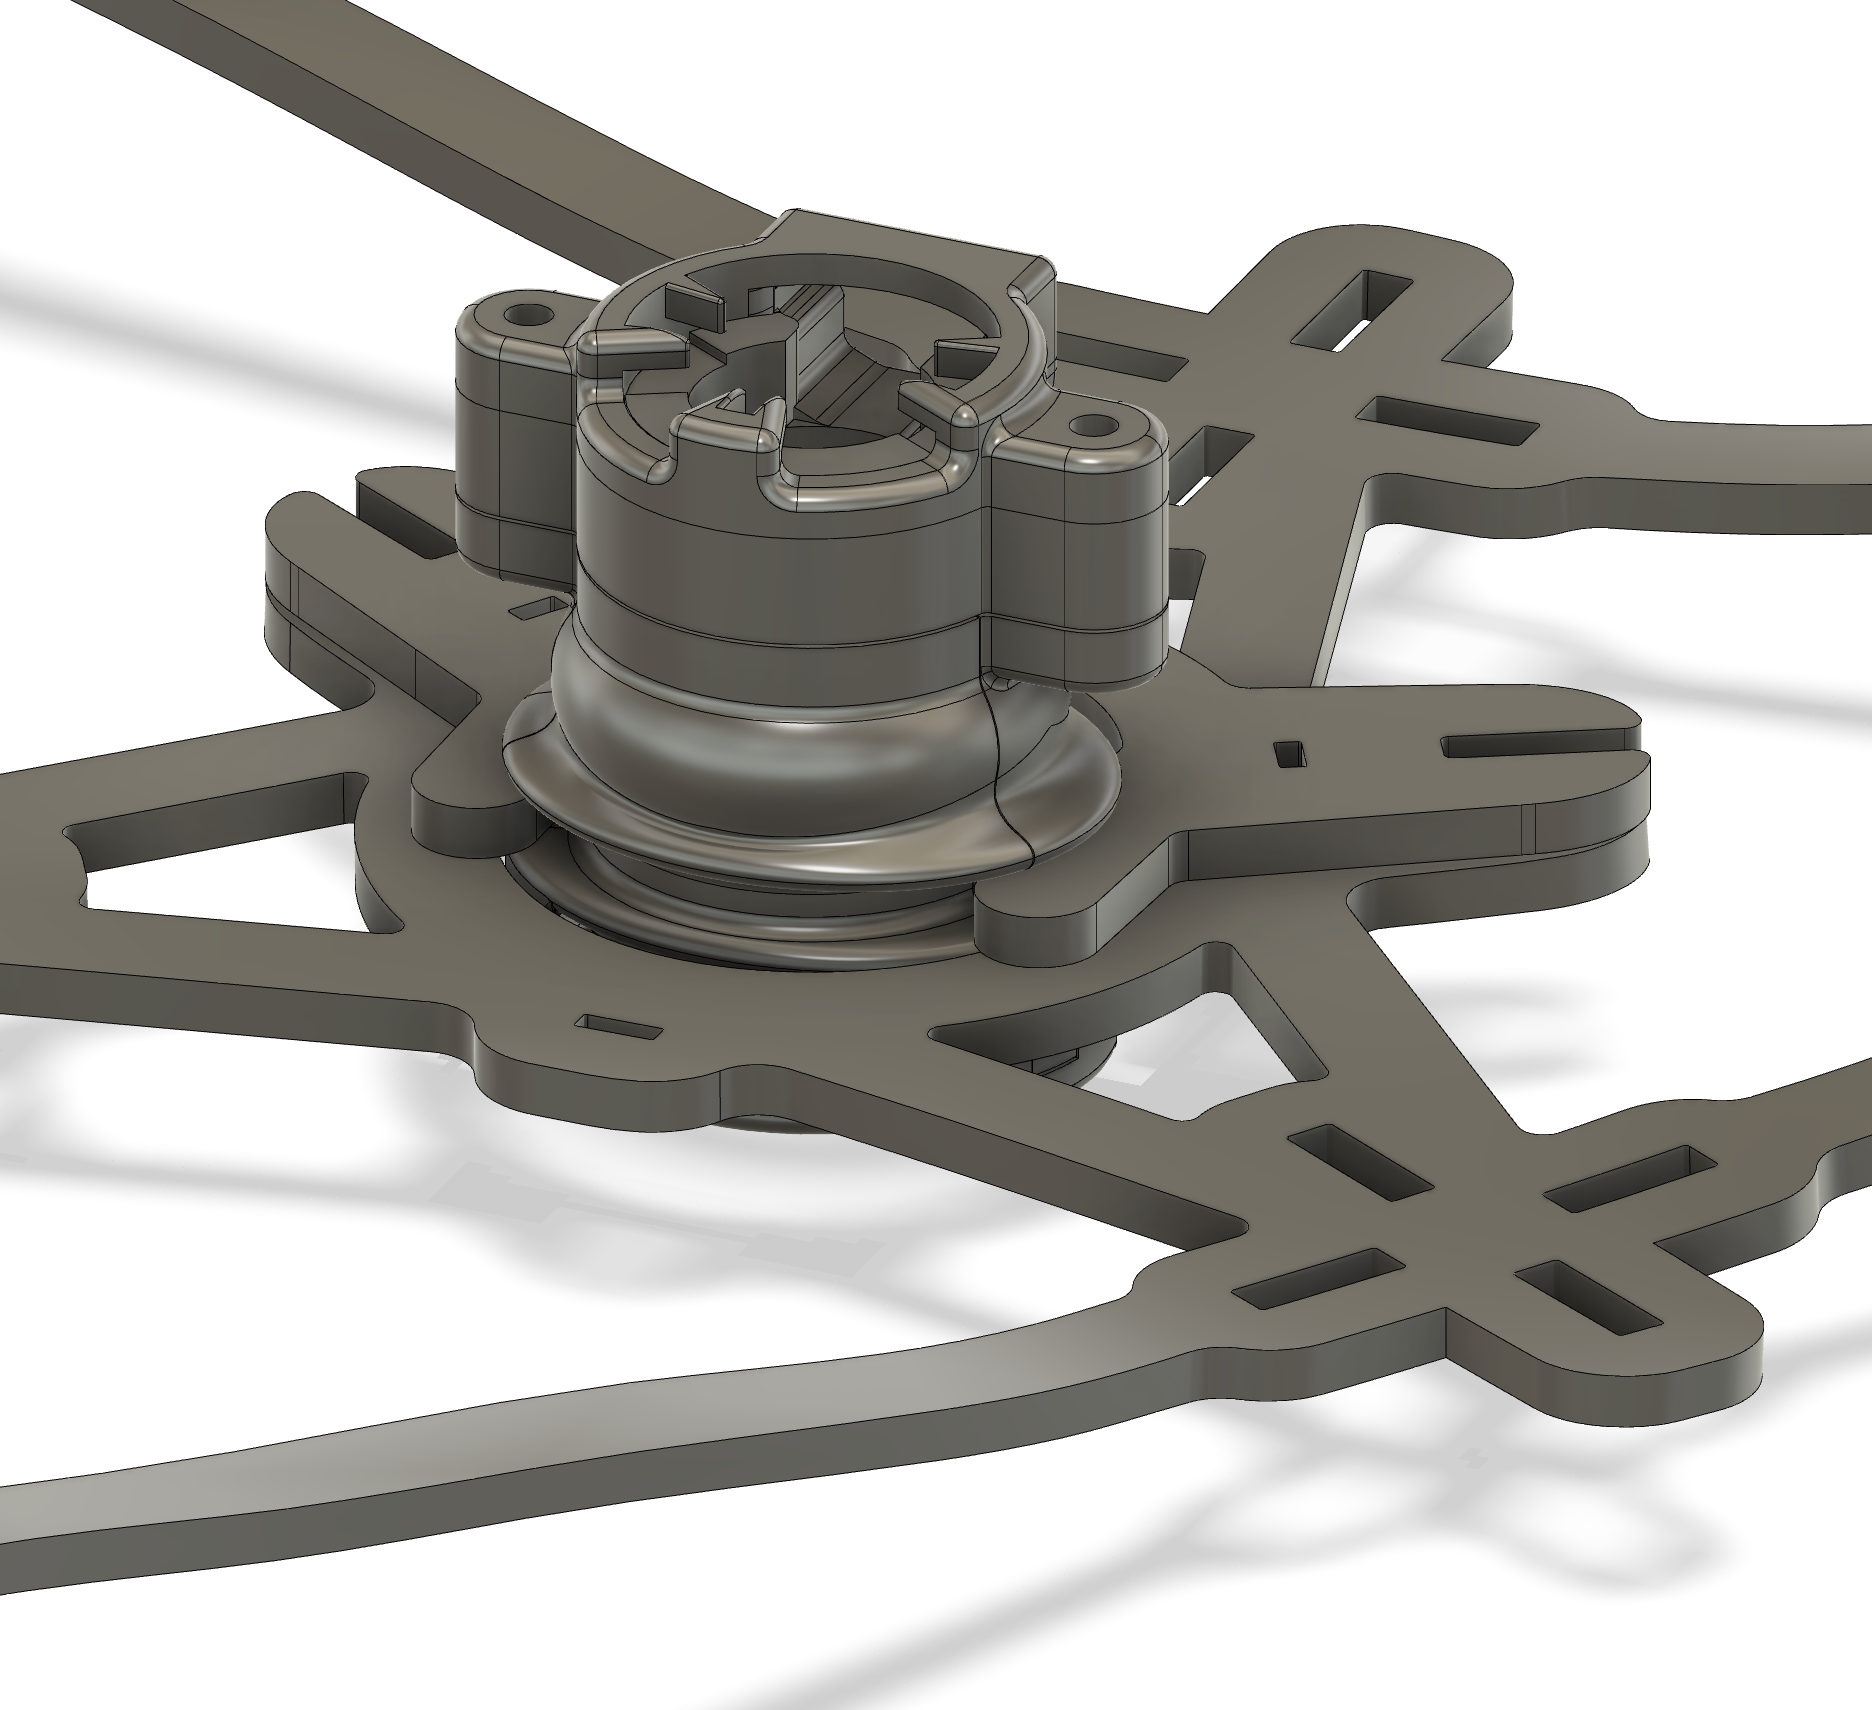
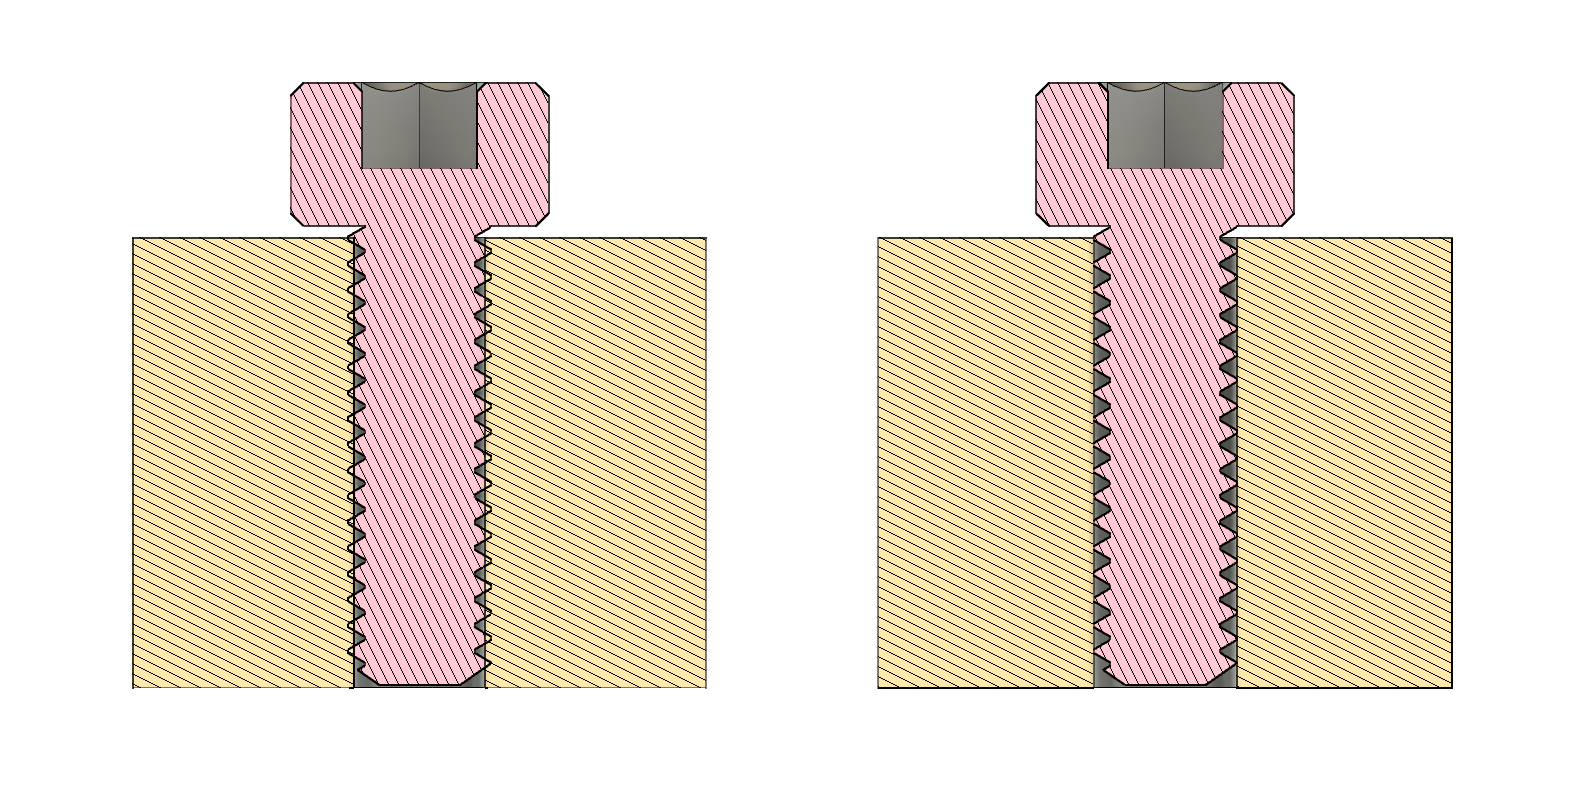
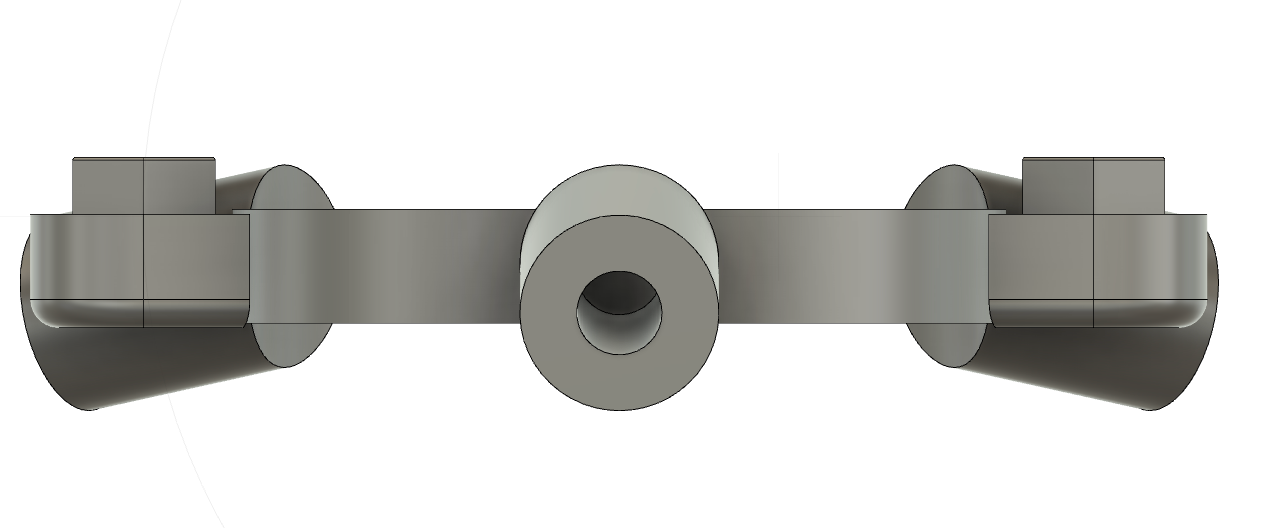
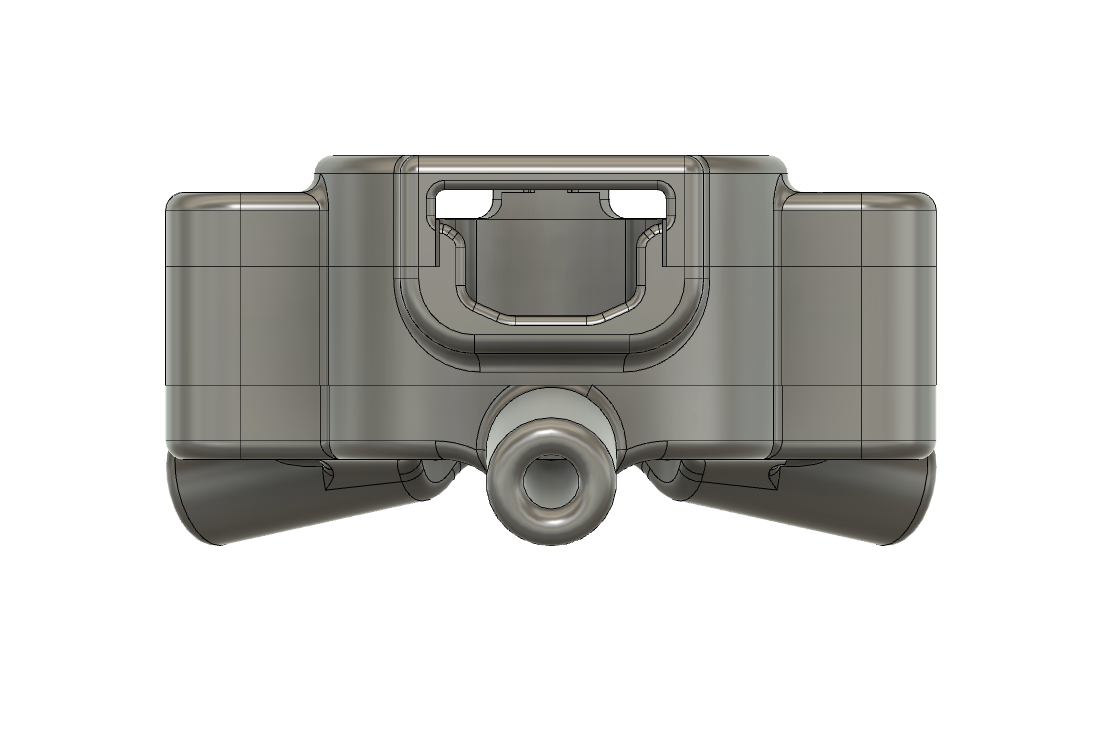
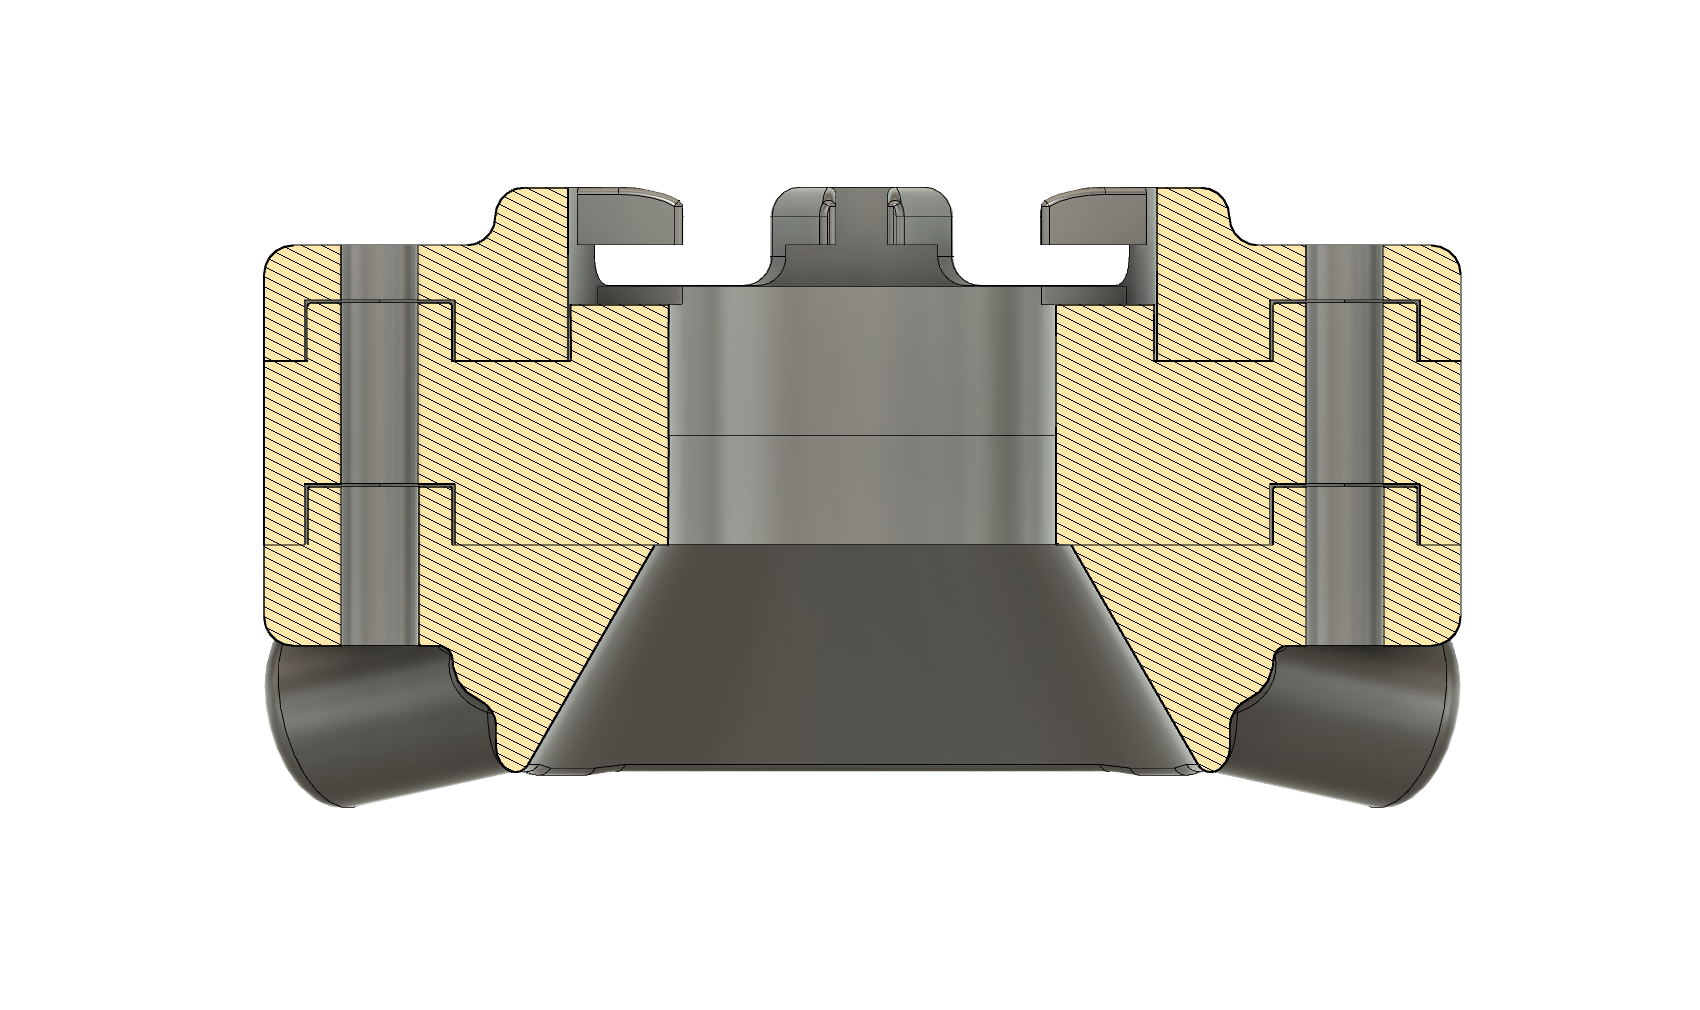
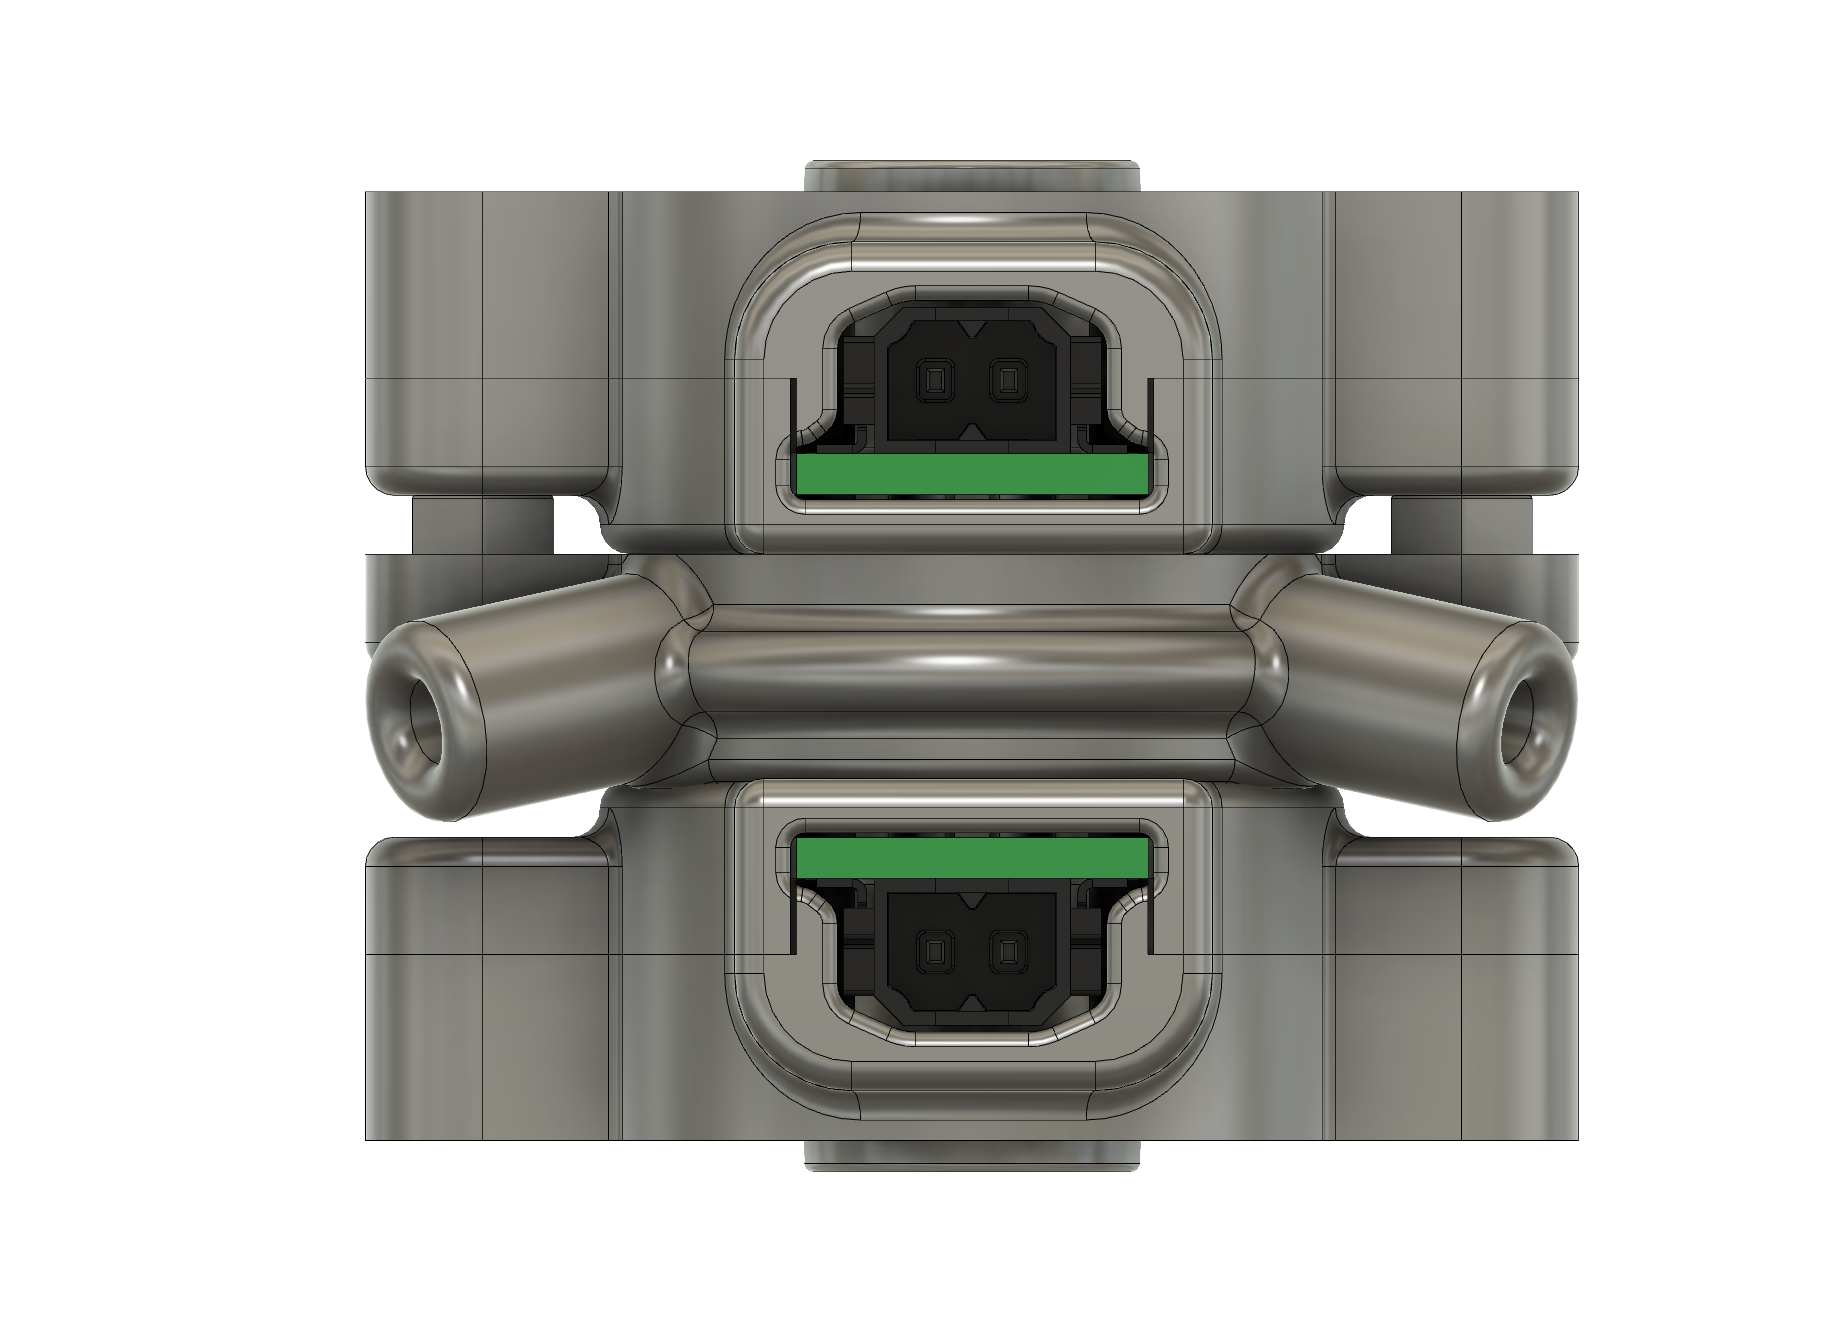
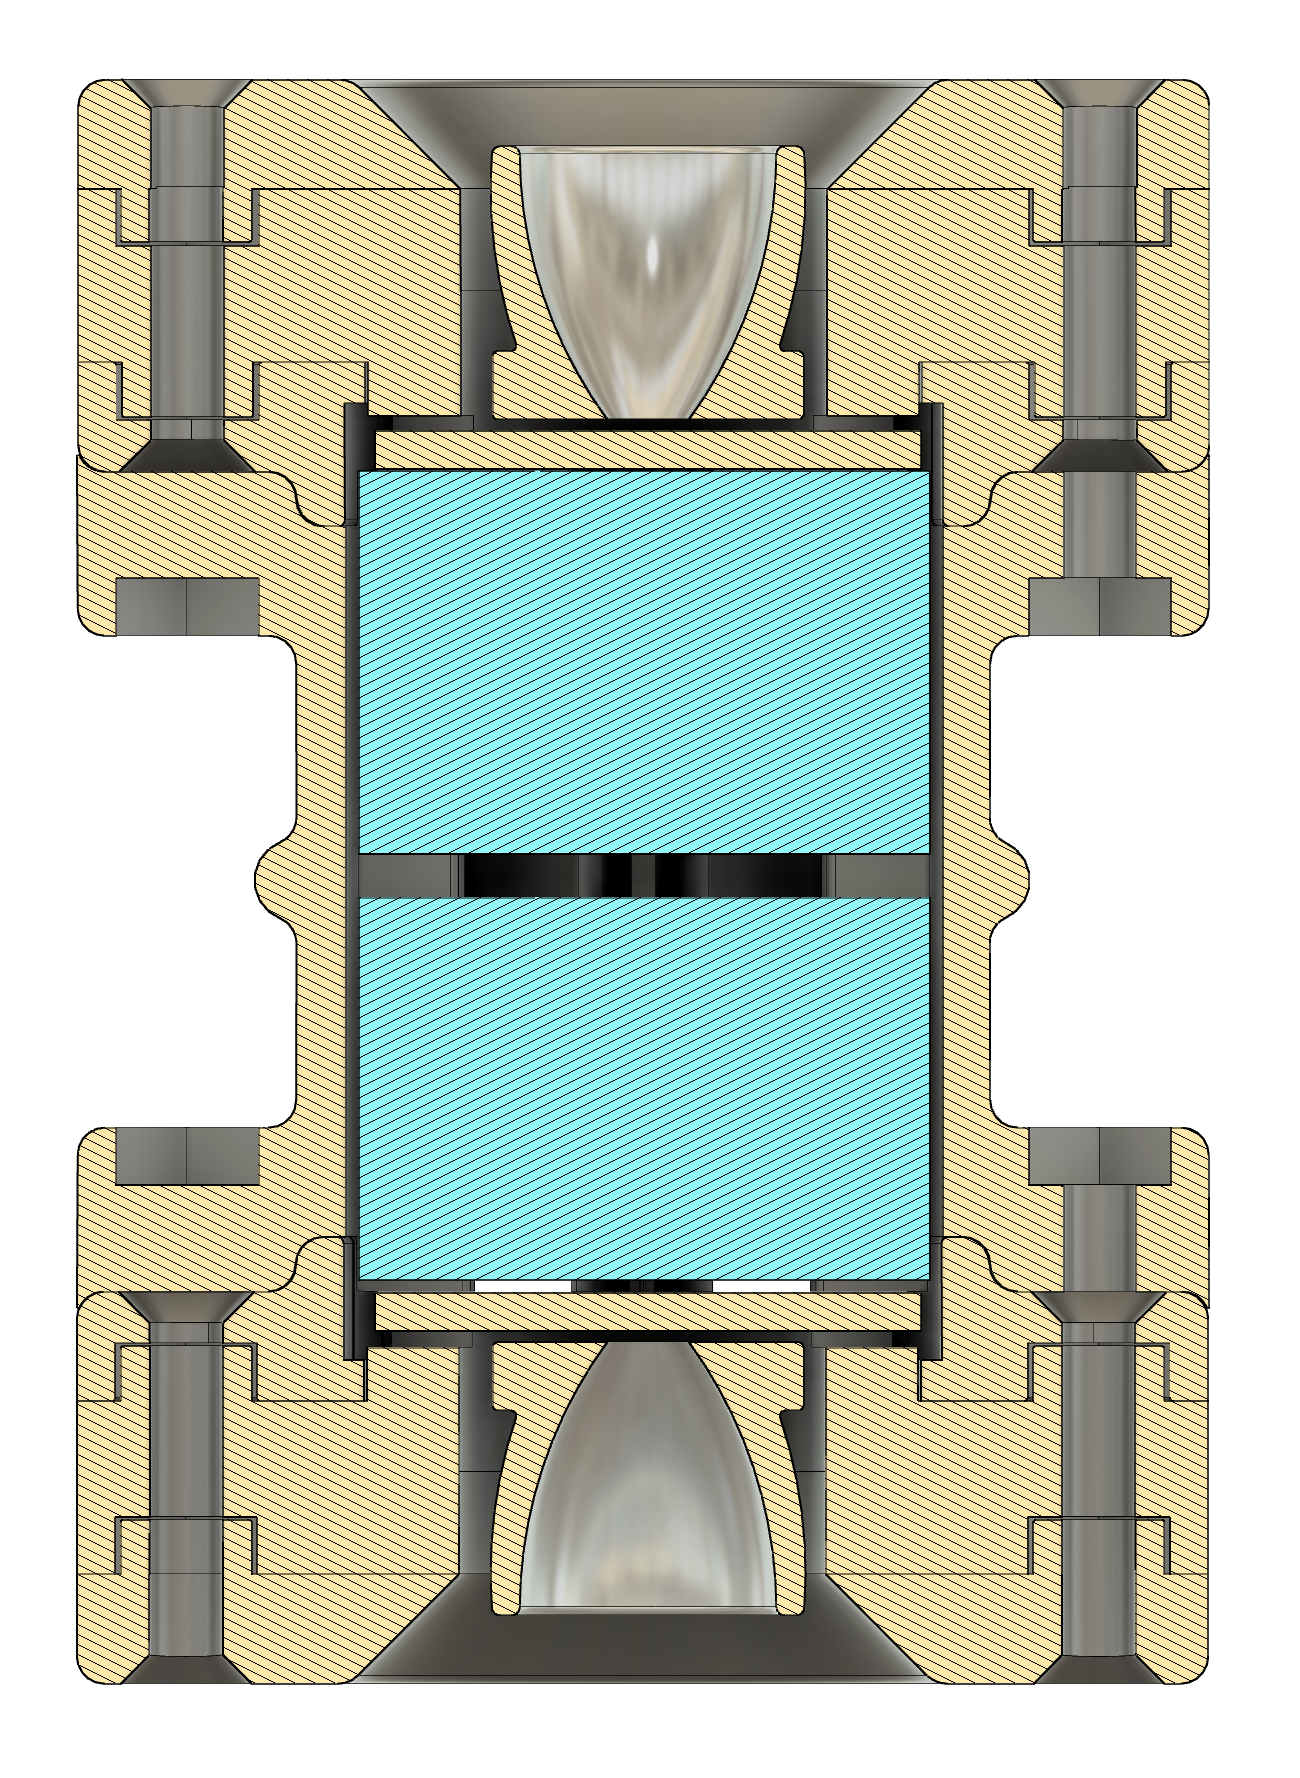
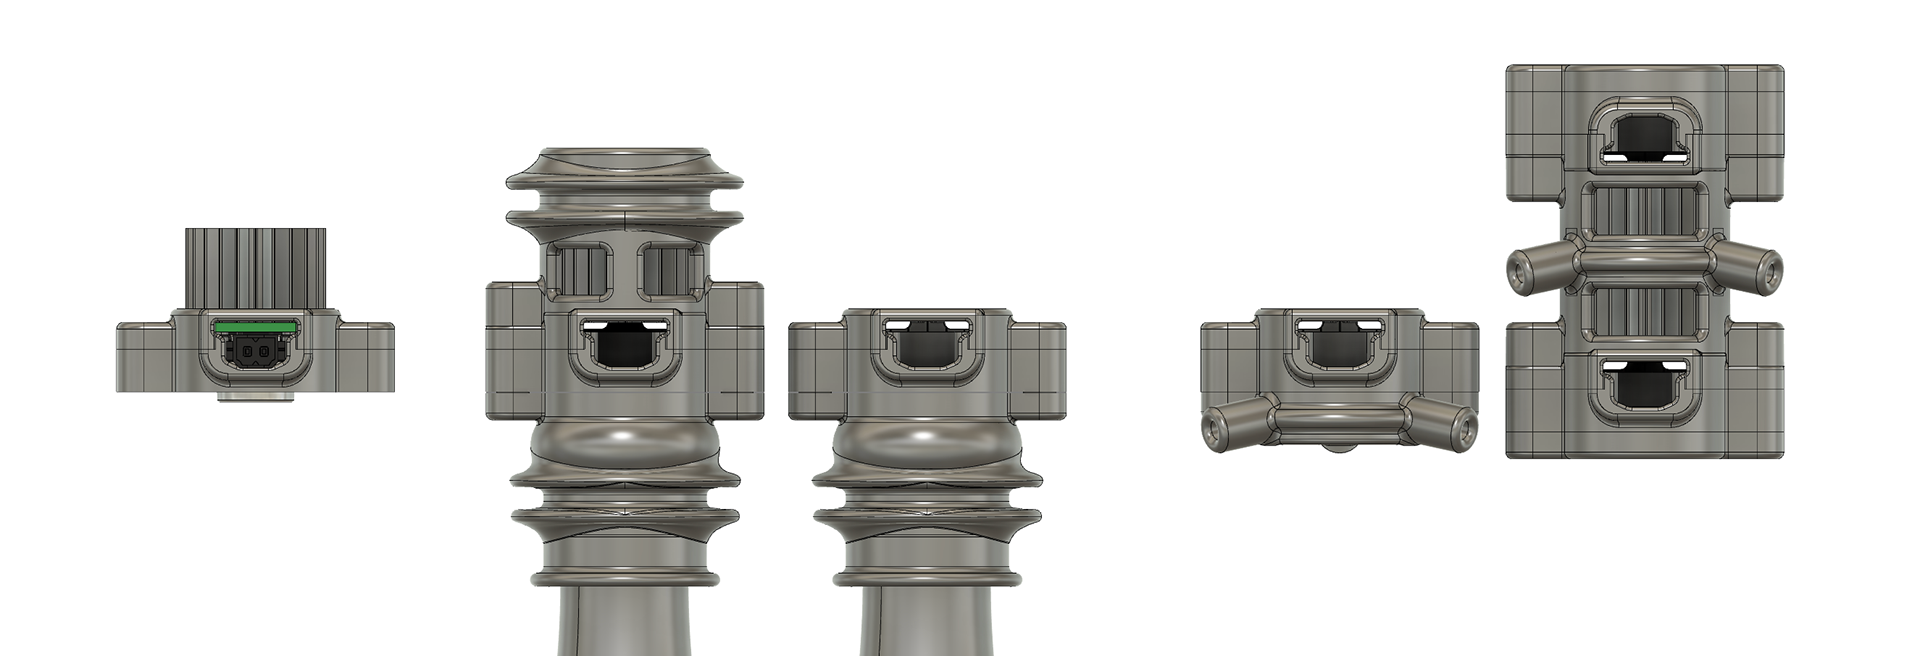
Physical Prototyping

Testing Fit on Glass and Electronics


Testing Fit on Acrylic Clip

Iteration Rounds

Testing Cantilevered Flask

Sphere Garland Mirror Ball Setup


Resin Printing
S4 LED Ecosystem 1
After many rounds of prototyping I arrived at this series of parts and assemblies that fit all the existing contexts for the LEDs. The parts are resin printed because of resin's accuracy and relative robustness compared to PLA.
Assemblies are centered around the universal parts, a kind of base unit encapsulating the electronic components. Parts fit into each other through hexagonal locating pins and slots. The hexagonal form allows for slots to accept both a thin nut and the pin of another part, depending on the assembly.
Hexagonal Fastening System
We realized an oversight for assembly: the base unit would have to be taken apart and different screws put in to attach it to different assemblies, it couldn't just be assembled on its own. I remedied this by widening the 'ears' and putting two holes on each side so that the base unit could be screwed together and then attached to other parts to create assemblies without taking the base unit apart. The ears for all the parts were widened accordingly as seen to the left
S4 LED Ecosystem 2: Sphere Light
There was some concern about the degree to which the LED flasks diffused light, taking away from some of the shadow play on the floor. I was asked to remedy this by looking into ways to create pinspot lights by mediating light through different shapes of glass.

Testing Light Through Filled Sphere


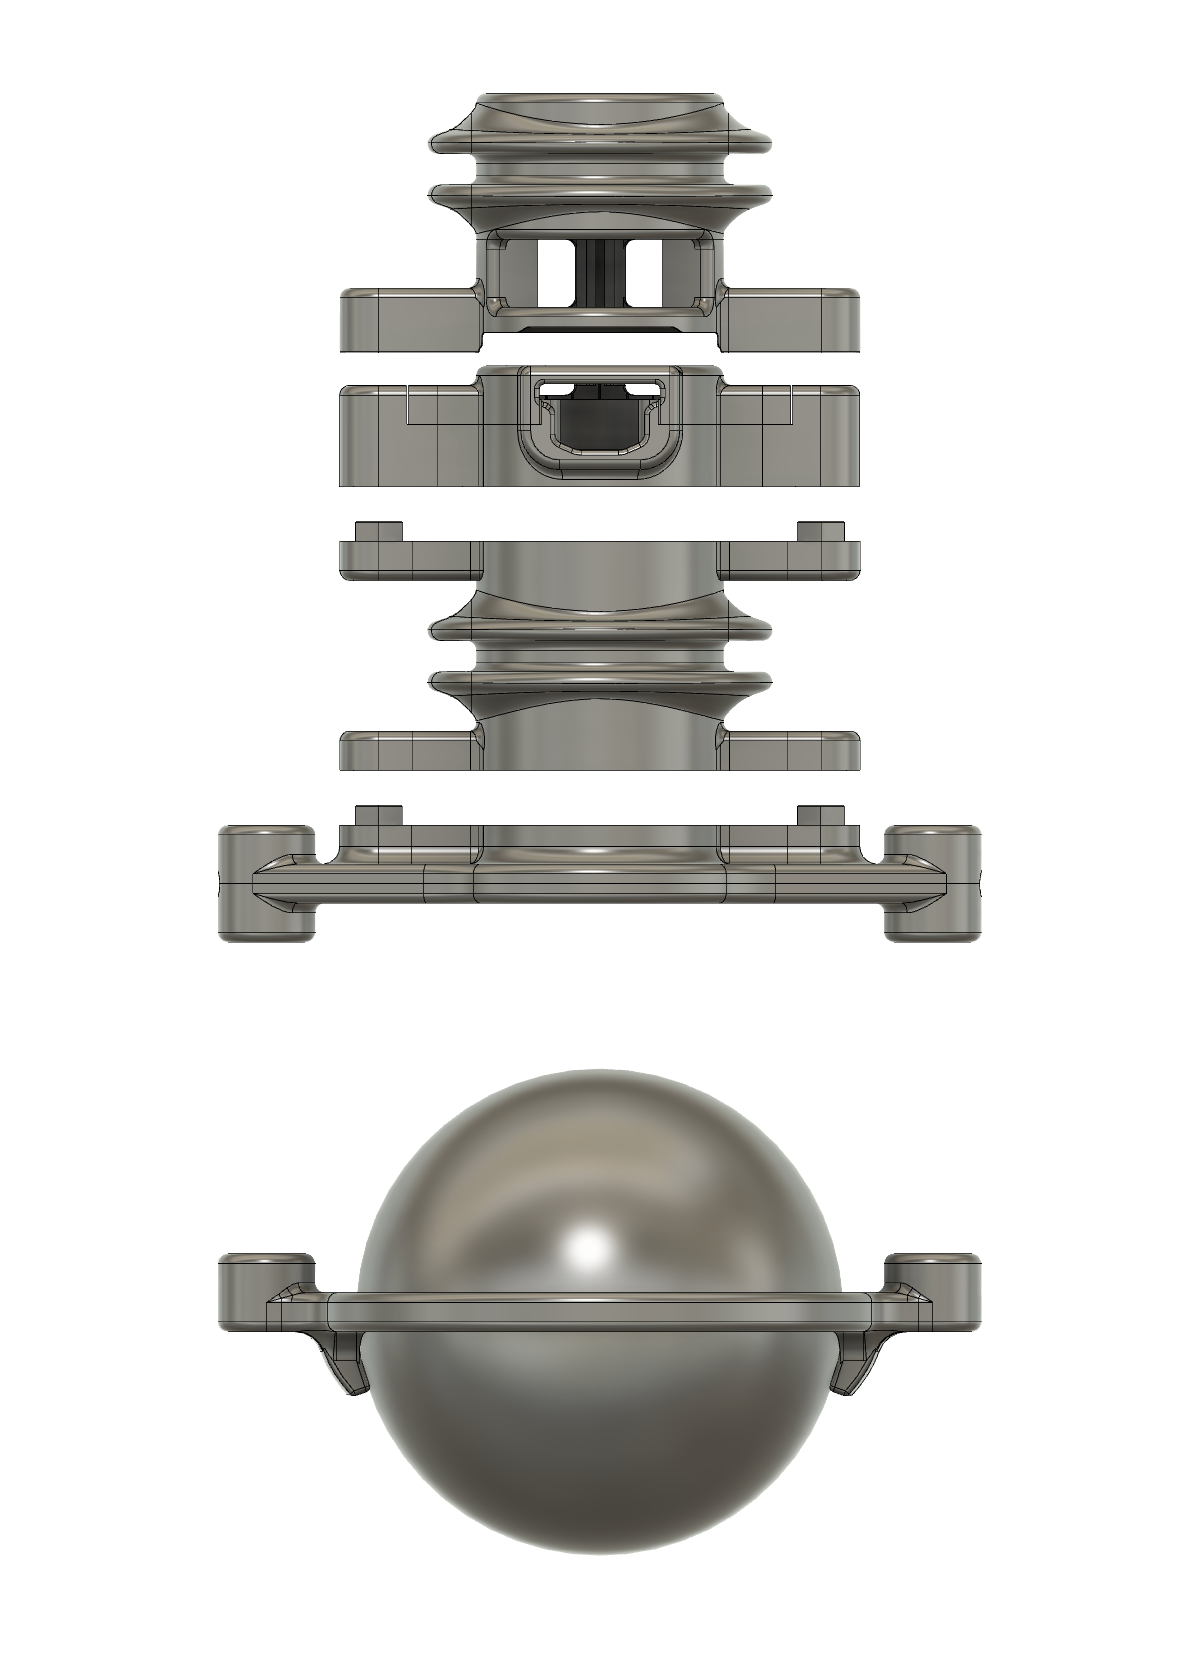
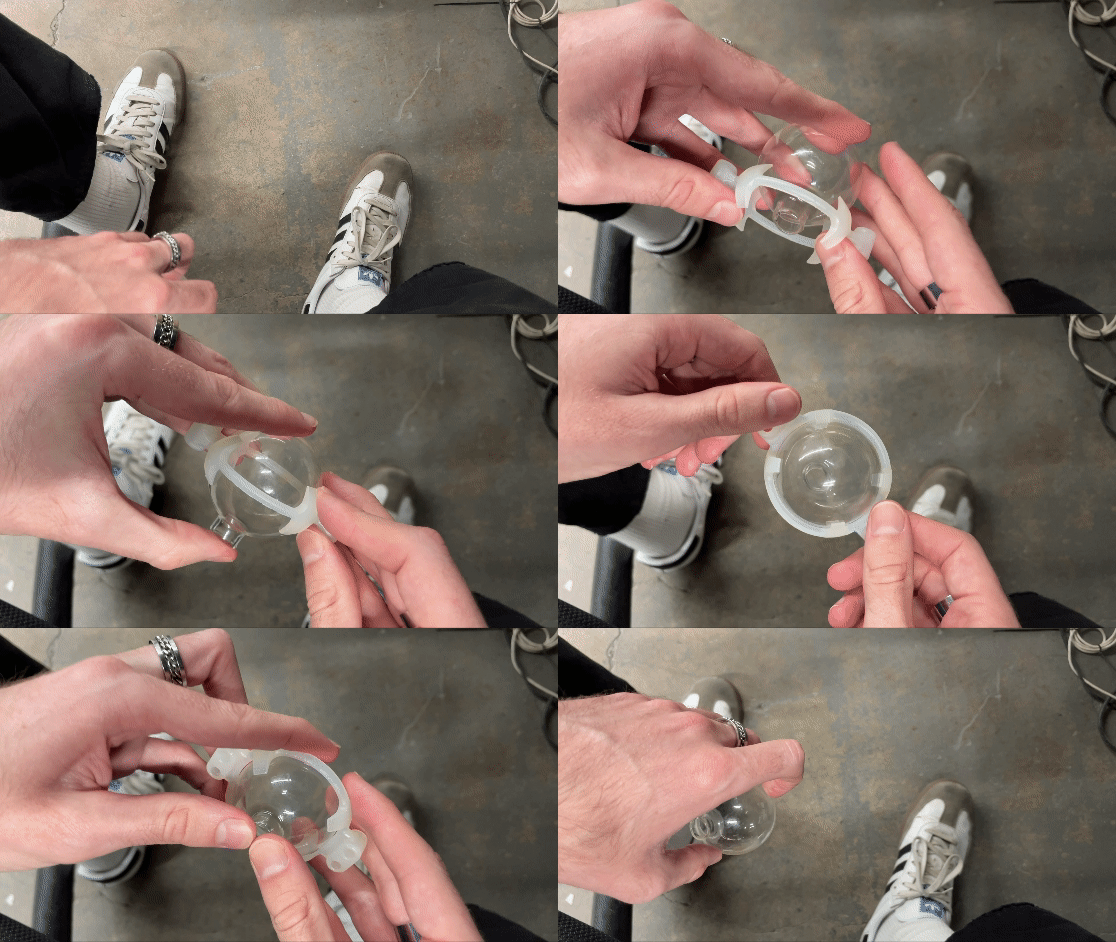
Resin Printed Prototype for Snap Fit Sphere Ring
I settled on a filled sphere fairly quickly after some testing; it created a sort of lens that focused the light and created a distinct shape, but one that was not too sharp or bright. I then developed a mount that could withstand the weight of a filled sphere and could be adjusted to different distances from the light. I used the updated base unit parts S4 LED parts, along with a reinforced top, snap-fit sphere ring, and a set screw system for adjusting distance.
This part allowed for a whole new behavior in response to visitor interaction. In the final sculpture, many of the instances originally meant for LED flasks were even replaced by the sphere lights. Final drawings in multiple assemblies, a gif of the new behavior, and a picture of its final physical form are included below.
